7 ways to get inspired for your next big shoot
Sometimes you just need to shake things up a bit in your creative biz, you know? Whether you're a professional photographer shooting brands, weddings, portraits or you're a momma with a camera, giving yourself some space to get inspired pushes that creativity up a notch.
Plus, we all get burned out. You take something you're passionate about, see a little traction, get a little stressed and then you have the perfect recipe for burnout. Just want to reiterate this: burnout happens to everyone.
I'm sharing 7 things you can do if you're feeling like you want to change it up, do something different, and knock this next shoot out of the park. I mean... we all want to knock every shoot out of the park which is kind of why you get burned out in the first place!

7 ways to get inspired for your next shoot
Oh! Did I mention that I'm switching up a few things visually? Pardon me — we're going dark and moody today!
I knew when I set up this shoot with The Well that I wanted to approach the shoot with a darker, edgier feel. Their coffee shop has a moodier feel and when I mentioned the idea of taking a different visual perspective, they were excited.
1. Shoot or edit your personal work with a different style
Call up your best friend or take your little one to play at the park and think about the light in a different way. Shoot it opposite.
If you were going to take a picture on any given day, how would you approach the light? Do it the exact opposite and find a new rhythm during your just-for-fun shoot.
That shot above? Just imagine hearing coffee beans falling on a plate or the coffee grinder doing its thing. I can almost smell coffee brewing now!

2. Give yourself permission to forget your own rules
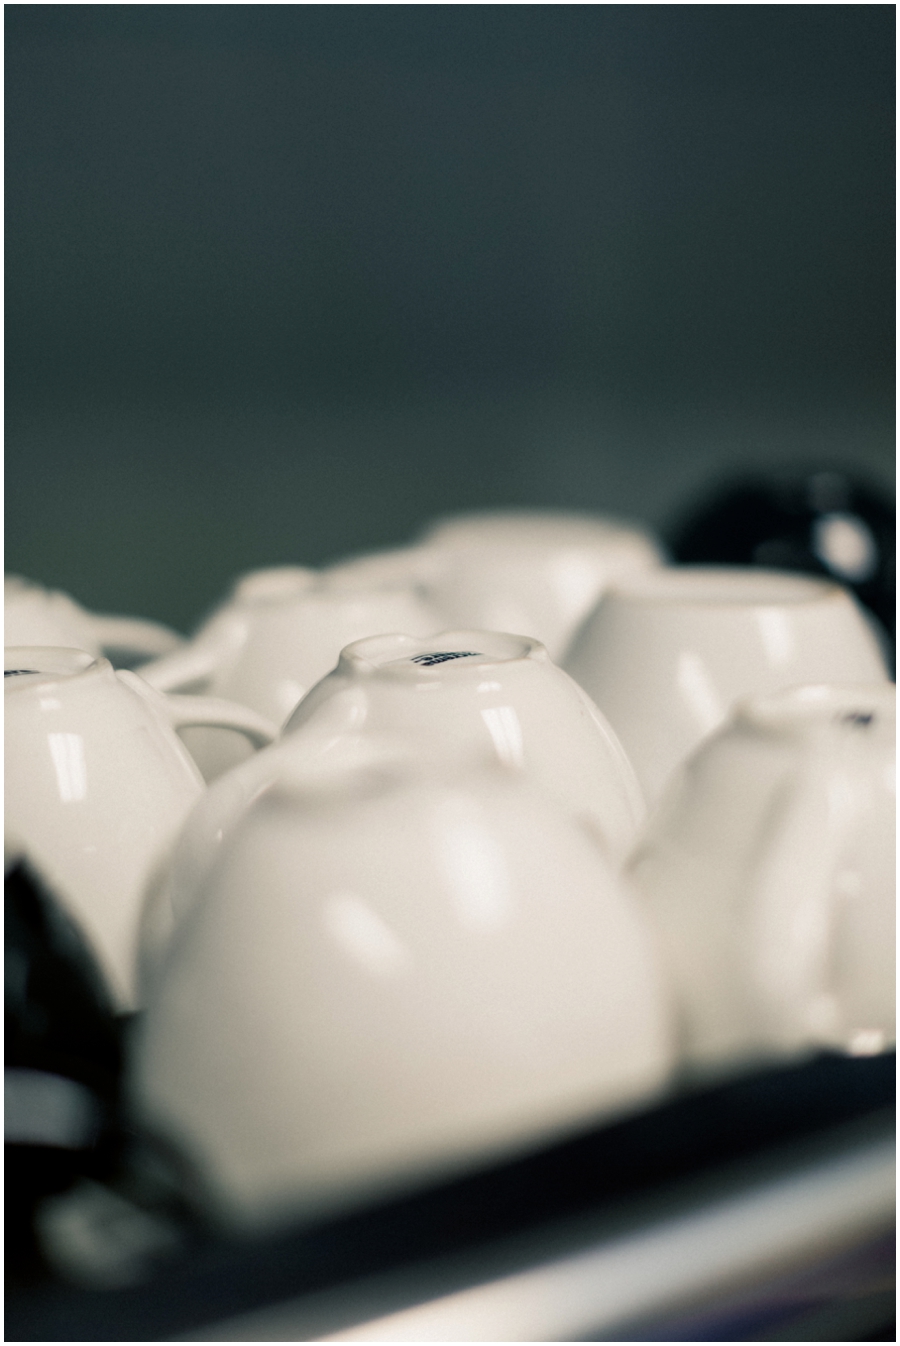
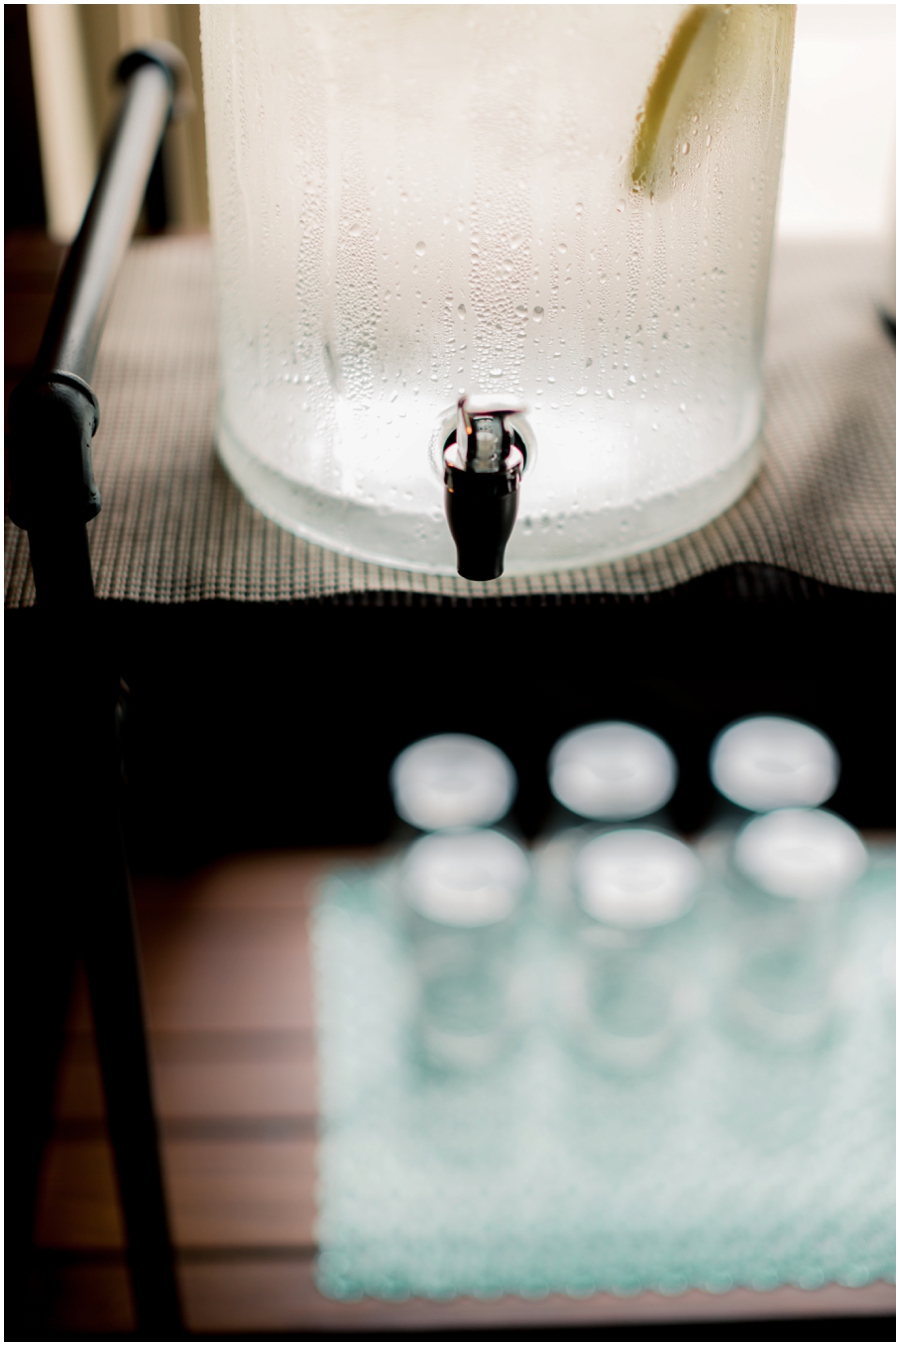
The photo below has absolutely no natural light! Even though I'd choose natural light over anything else on a typical day and I could have rearranged these mugs on a tray by the window, I decided to leave them where they were.
I wanted this shoot to have a mix of produced, commercial images that they could use for their brand and images that felt organic. The image below has that touch of (1) film-like grain and I also added the (2) Overhead light from the L&A Preset Suite to nix the strange colors from the florescent lights.
Story time: I was going to show how you could get a dark and moody edit with the Light & Airy Preset Suite. You can go through the 10 second editing system or apply a preset and bring the exposure down, but there's such a difference in how you should approach coloring when you're dealing with the dark and moody style.
So as I was editing and playing around with this darker style, I realized I wanted a really specific look — dark with a distinct difference between the light and dark areas, but not overly sharp or grungy. I still wanted those film-like color with a soft look to the image.
This right here makes me want to go shoot a ton of dark and moody images!!

What's a Lightroom nerd to do when you build a bunch of presets from the ground up? Well, well. Give one of them away, of course! I have the free light & airy preset which is a small taste of the full L&A Preset Suite and now I'm giving you my version of a dark and moody edit all wrapped up in a Lightroom preset for you!
Free preset
Download the dark & moody preset
Lightroom not your thing? I have a lot of tutorials on how to get started in Lightroom! Who knows? Maybe by the end of today you'll be whipping up edits faster than you can order a chai tea latte with almond milk!
- Get started with Lightroom editing
- Light and Airy secrets for Lightroom
- Never do this when importing presets into Lightroom
- Are you using these Lightroom shortcuts?
- How to use the Light & Airy Fuji Modern Preset
- Open your color profile next to Lightroom and edit consistently
- My process for making digital look like film

3. Shoot with a new lens
You don't even have to buy a new lens to let a new lens spark some creativity! You could just rent one. I actually am returning two lenses from Borrow Lenses today — the Canon 16-35 III and the Canon 24mm 1.4.
I'm planning on buying one of them, but I wanted to see which one would serve me better for YouTube videos. Wait, what? Did I just casually throw in the fact that I'm going to be vamping up and officially starting a YouTube channel? Yes, yes I did.
You can click here and subscribe, but warning: the channel is under construction. I repeat: the channel is under construction.
I wanted to see what each lens "felt" like while recording. Weight, distortion, stabilization and how my personality meshed with the lenses will all be factors when I purchase one of the lenses.
On that note, you could also...
4. Shoot with one lens and only one lens
I think it'd be so fun to set up a personal shoot and bring the Canon 100 macro. Only the canon 100 macro. It would stretch me so much and force me to think differently.
I feel like every photographer needs to find their one lens. The lens that let's you bring out the personality of your subject the way that only you can. The lens that fits your own personality, too. This is a secret we use in the video world and your choice of lens and movement and focal point all work together to tell a story.

5. Use a tilt shift effect
This was a really popular effect a couple of years ago and I actually still love it! Use it at the right moment, when it fits with the story and don't forget to bring your aperture to f/3.5 or f/4.0 so your image is in focus.
If you don't know what the tilt shift is, you can do this on your camera by turning it on and then detaching your lens from the camera body. You just barely... barely (said in a squeaky voice)... move the lens forward on one side of the lens — top, bottom, left or right. It might take some time to get the hang of, but it will change the plane of focus.
Normally your plane of focus is up and down. That's why when you're shooting in f/1.2, you have what looks like a sliver of the image in focus an that's handled in vertical slices like a file cabinet. When you use this technique, you're shifting the plane of focus and you can create an effect that looks like only the horizon is in focus.
Does that make sense? Maybe I should do a whole post on this technique? Let me know in the comments!
Related Post:
How to take brighter photos
*So ironic to include this blog post as a related post, but it will teach you to shoot in manual!
6. Make a mess
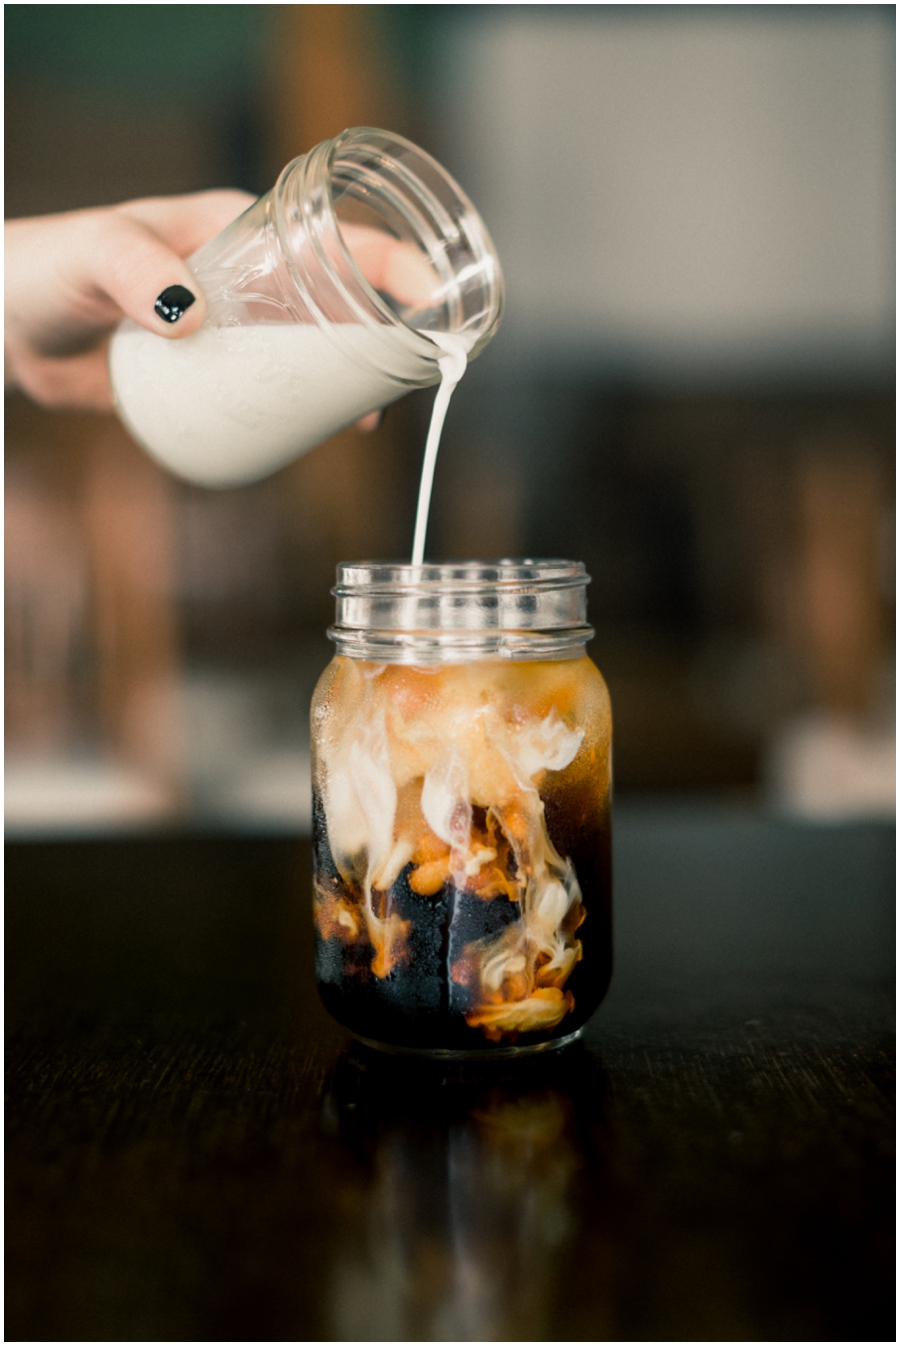
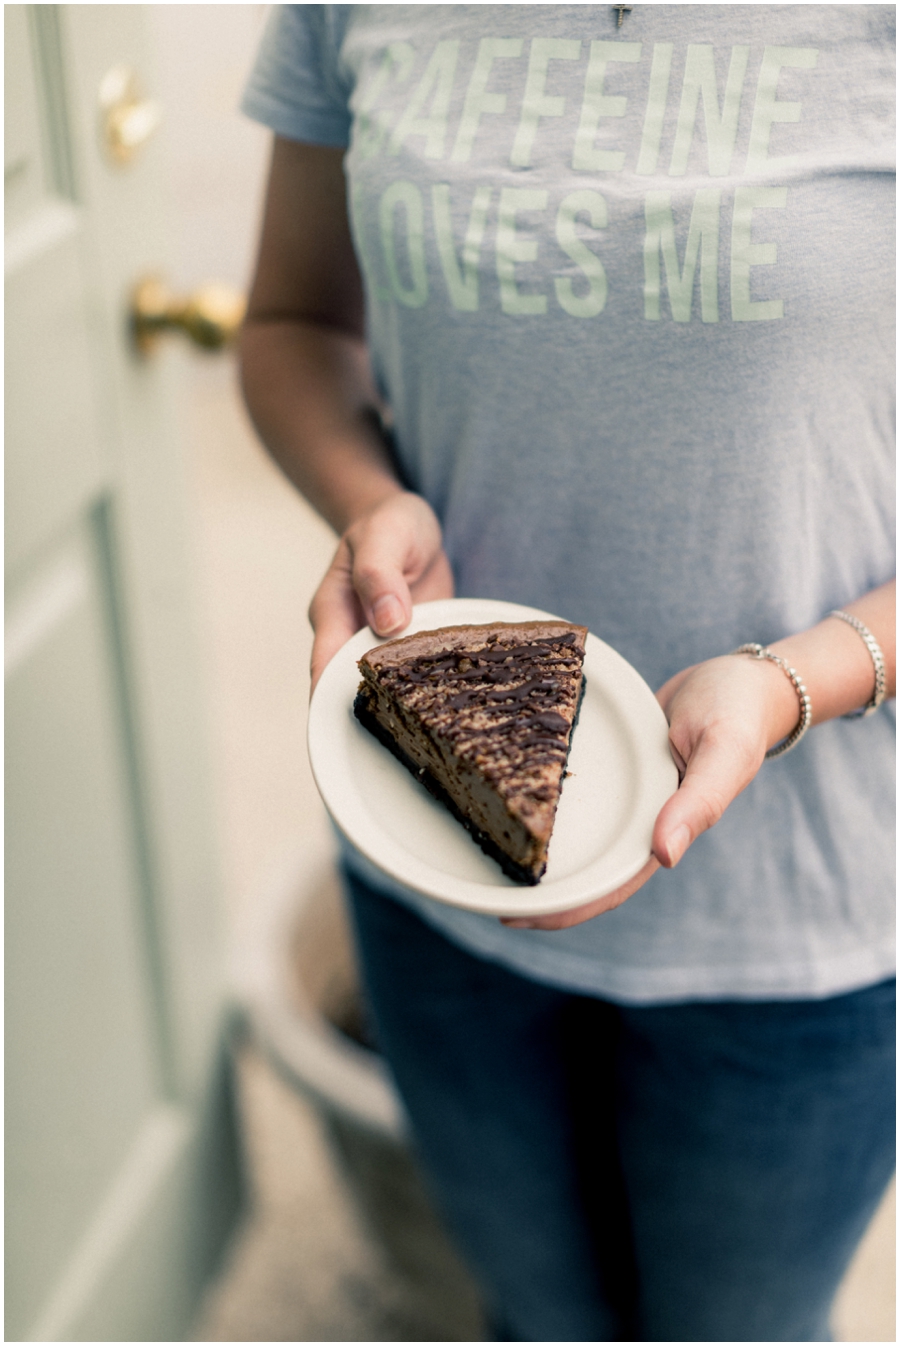
The photo below is one of my favorites from my shoot with The Well! It was actually a little spill and they would never serve a cup like this (gotta get that perfect latte look, right?!) but I loved it because it felt more engaging to me.
The coffee drip and spill makes you pause just a minute and whether it's subconsciously or consciously, you're kind of wondering why it's like that. If you're shooting an editorial piece or a styled shoot, if there's creative freedom in that specific photo job, you could set up a time to style at the very end.
You could deconstruct different elements from the shoot and take all the pretty down to the basics. Photograph that. Some of my best work has come from making a mess.

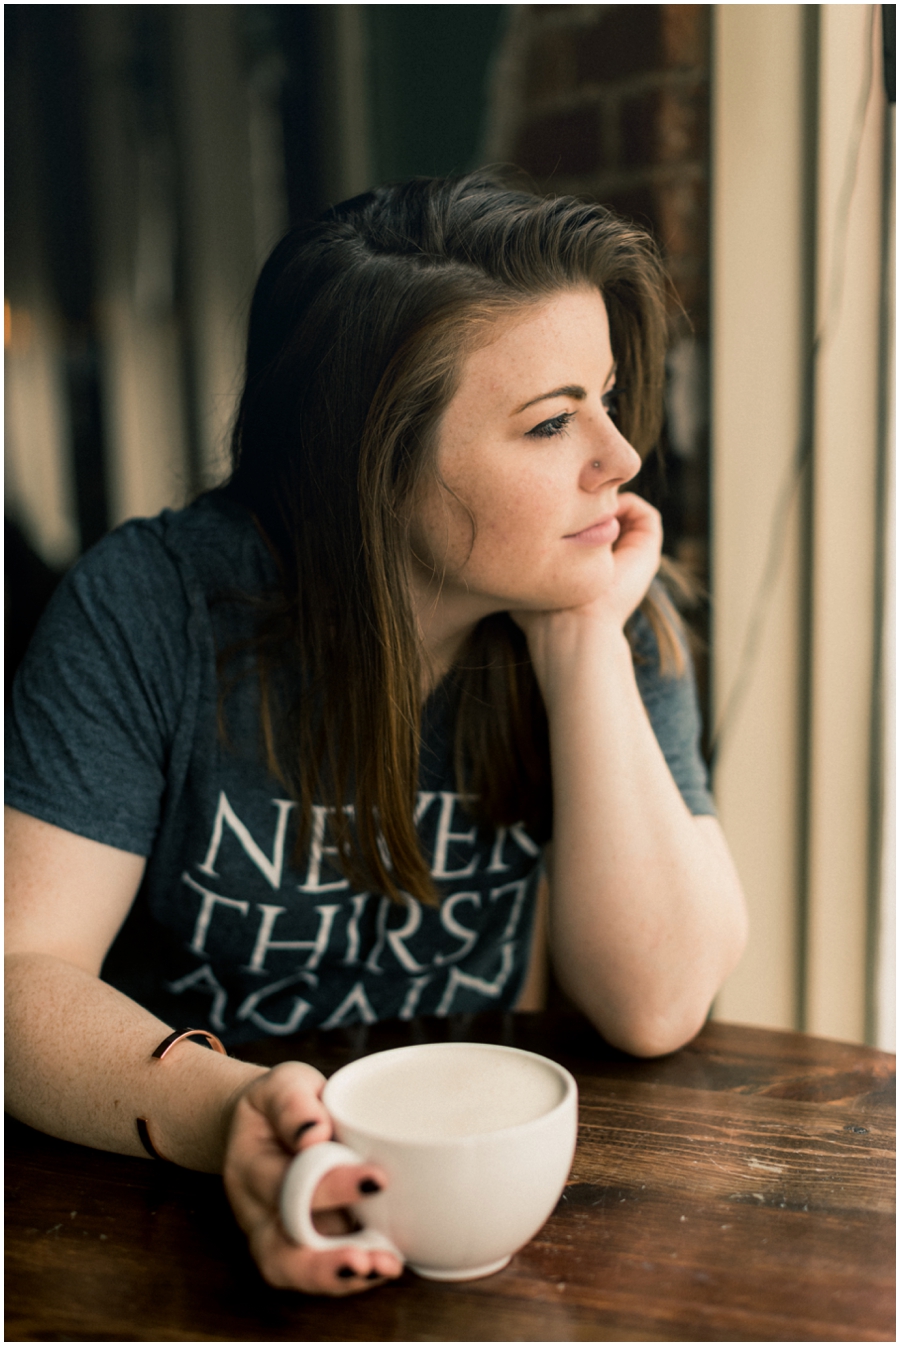
7. Take the perspective of someone else
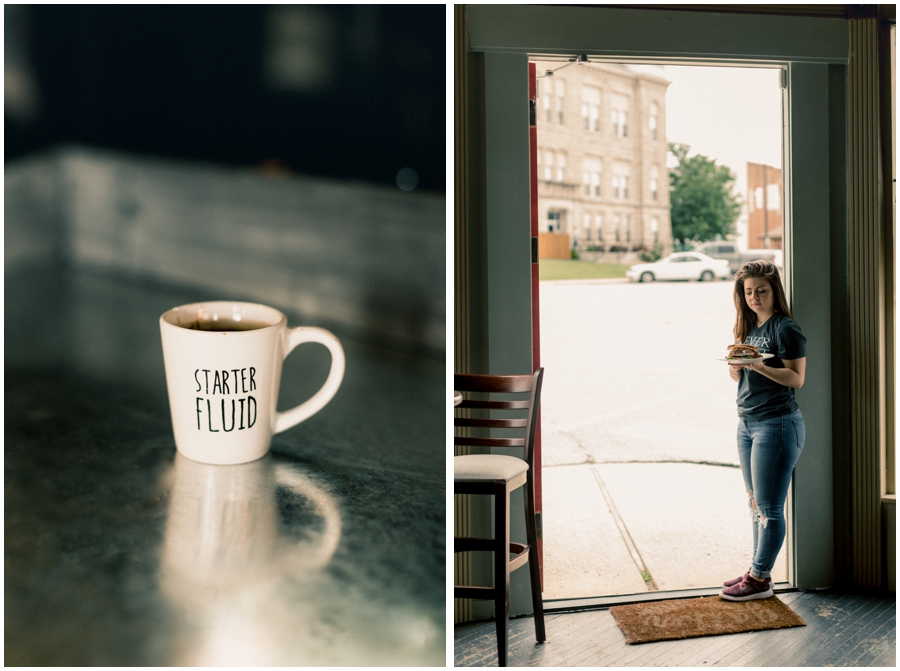
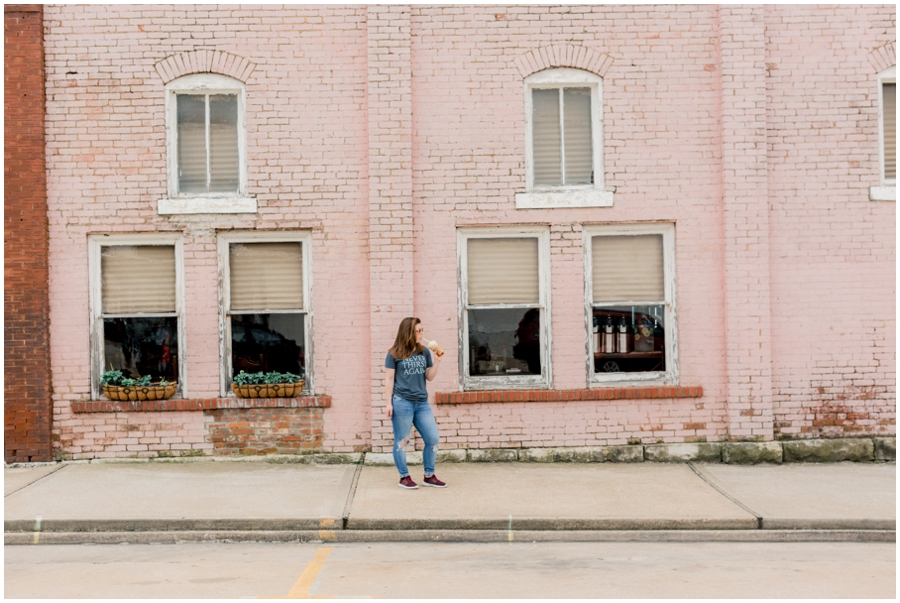
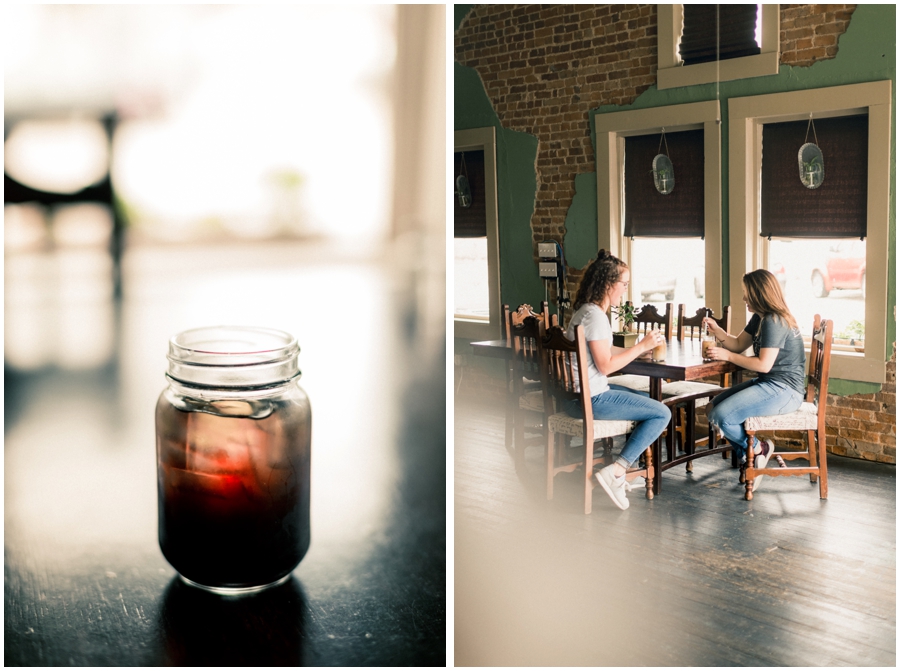
It was a cloudy day in Bolivar, Missouri. Did I mention that I live in this small town in southern missouri? We have one main road through town and Isaac bought my wedding ring just down the street from this coffee shop! This coffee shop also hosts a church on Wednesdays and Sundays while the church finds a building. How cool is that? Pop in, grab an iced latte and get your worship on!
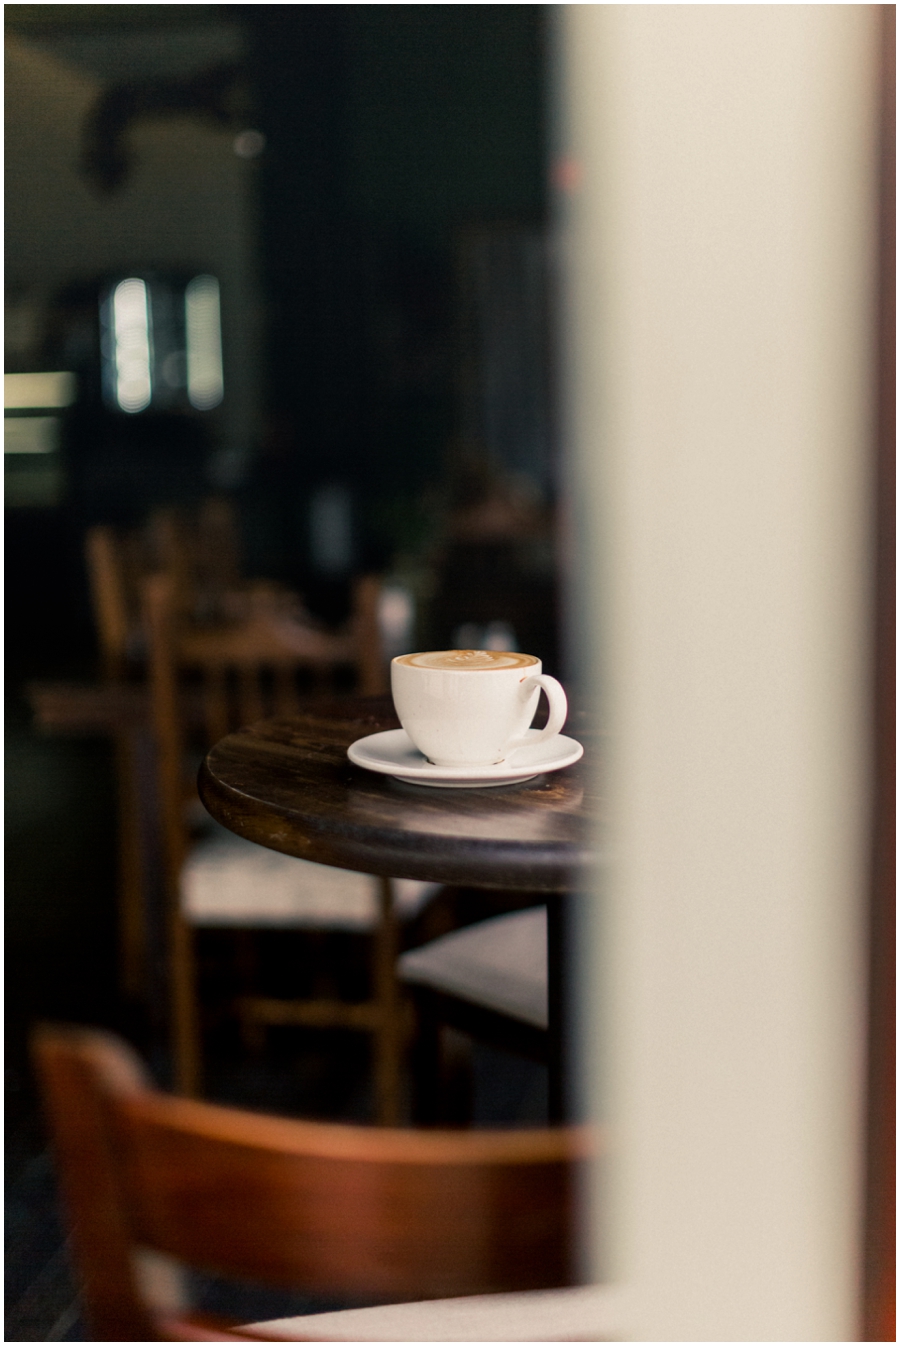
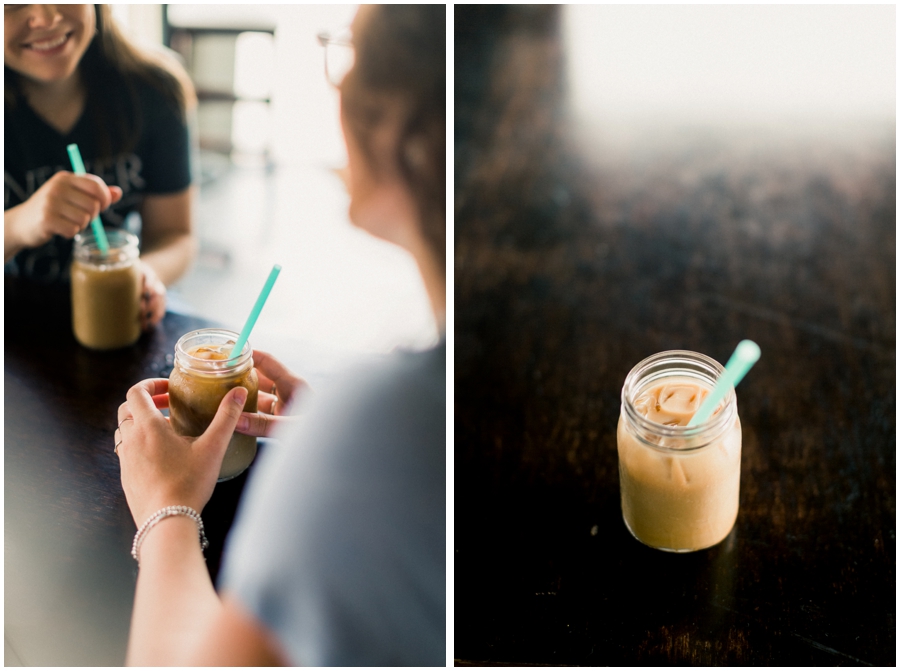
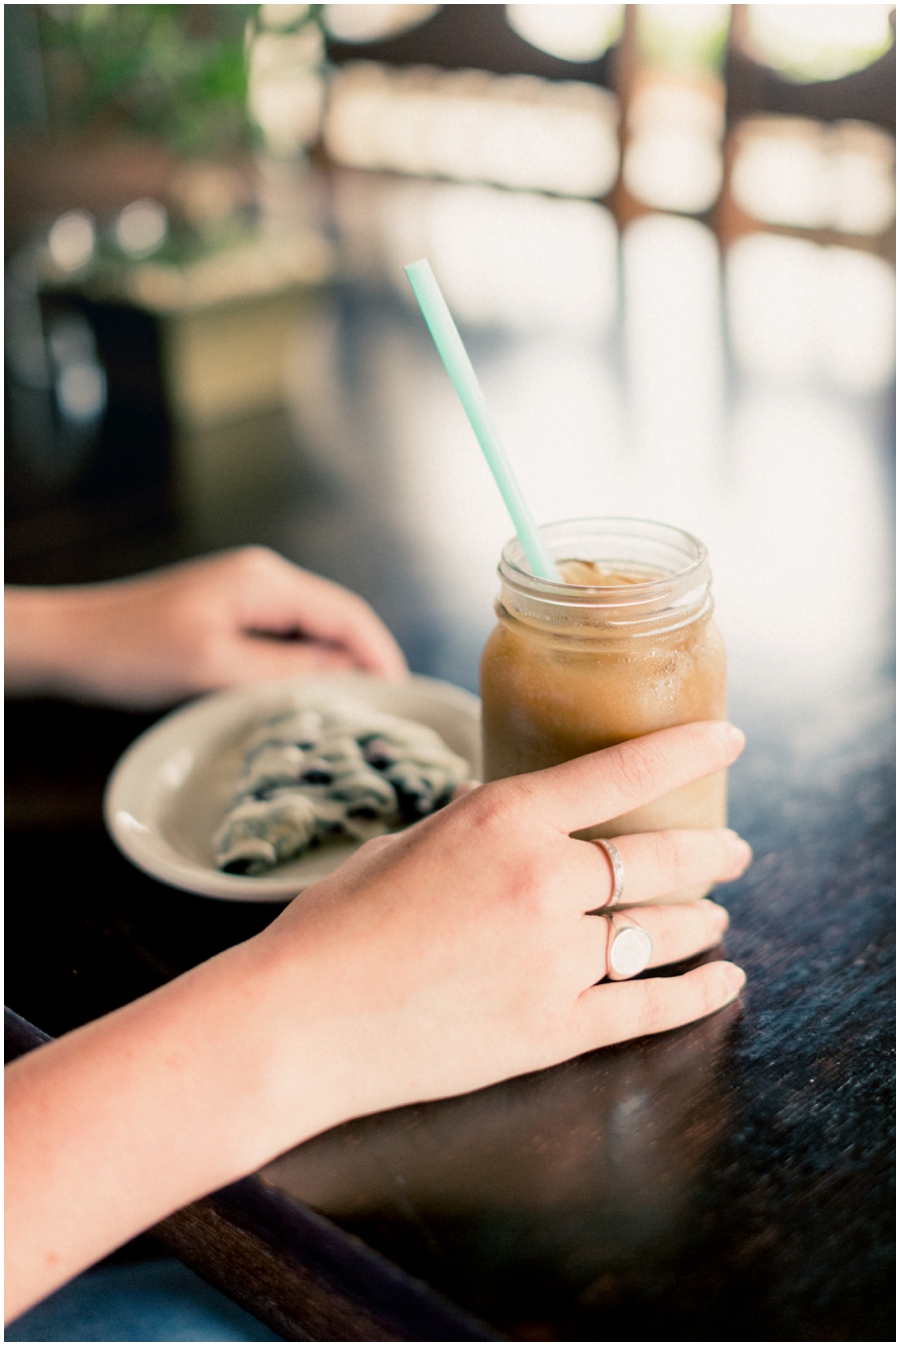
When you're walking up to the Well, the first thing you notice is the big red door. You pull it open and walk into this dark and moody space with seats lit by the windows. I wanted to photograph that feeling, so I stood outside and shot from the entrance and into the space. I could have shot the coffee cup below from anywhere in the building and it would have been great! But this specific shot has meaning because it's how a customer would experience the space.
I'm going to be totally honest with you right now — because that's how we roll in this space — I'm obsessed with my edits on this shoot. It was so fun to not just edit the shoot completely different but to also shoot it differently!
This process definitely got the creative juices going for me and I hope it does for you, too! Happy shooting and I can't wait to see you #rockyouredits!


Love pinterest?


