How to take a natural window light portrait
You just nailed all of the detail photos and it's time to photograph the bride getting ready. You love that window light because it can make things all light and airy, but you don't want to feel like you're scrambling to find your settings when it's go time.
I totally get you.

I walked into the room where Ruthie was getting ready and loved the layout of the space. She was getting ready in her Aunt's bedroom which had a master bath and a sitting room - complete with a balcony. Talk about winter wedding meeting light and airy photog dreams.
The bedroom and sitting room were painted with this deep blue-green that photographed so well, but it wasn't quite the story to tell. She was getting married in her Aunt and Uncle's backyard and they had built her an English garden, dressed up a tent to make it feel like something straight from a movie, and her details were simple and dainty.
The sitting room
Light and airy photos are still possible with bolder and moodier backgrounds. After all, it's all about illuminating the image, not just making everything bright. L&A insider tip? Shooting those moodier colors with a light and airy style looks a whole lot like portra film. See what I mean?
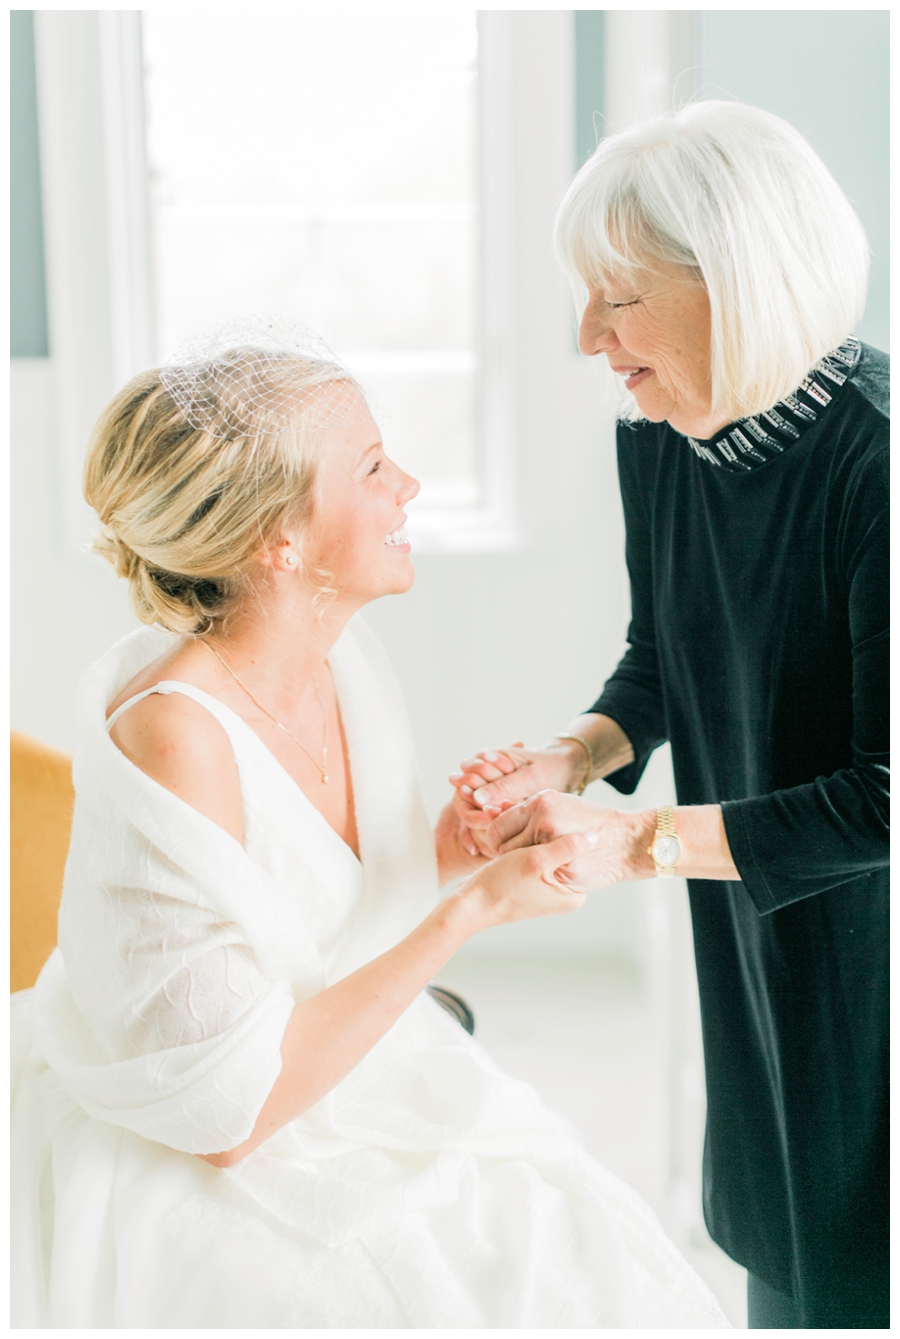
And this is with mixed light.

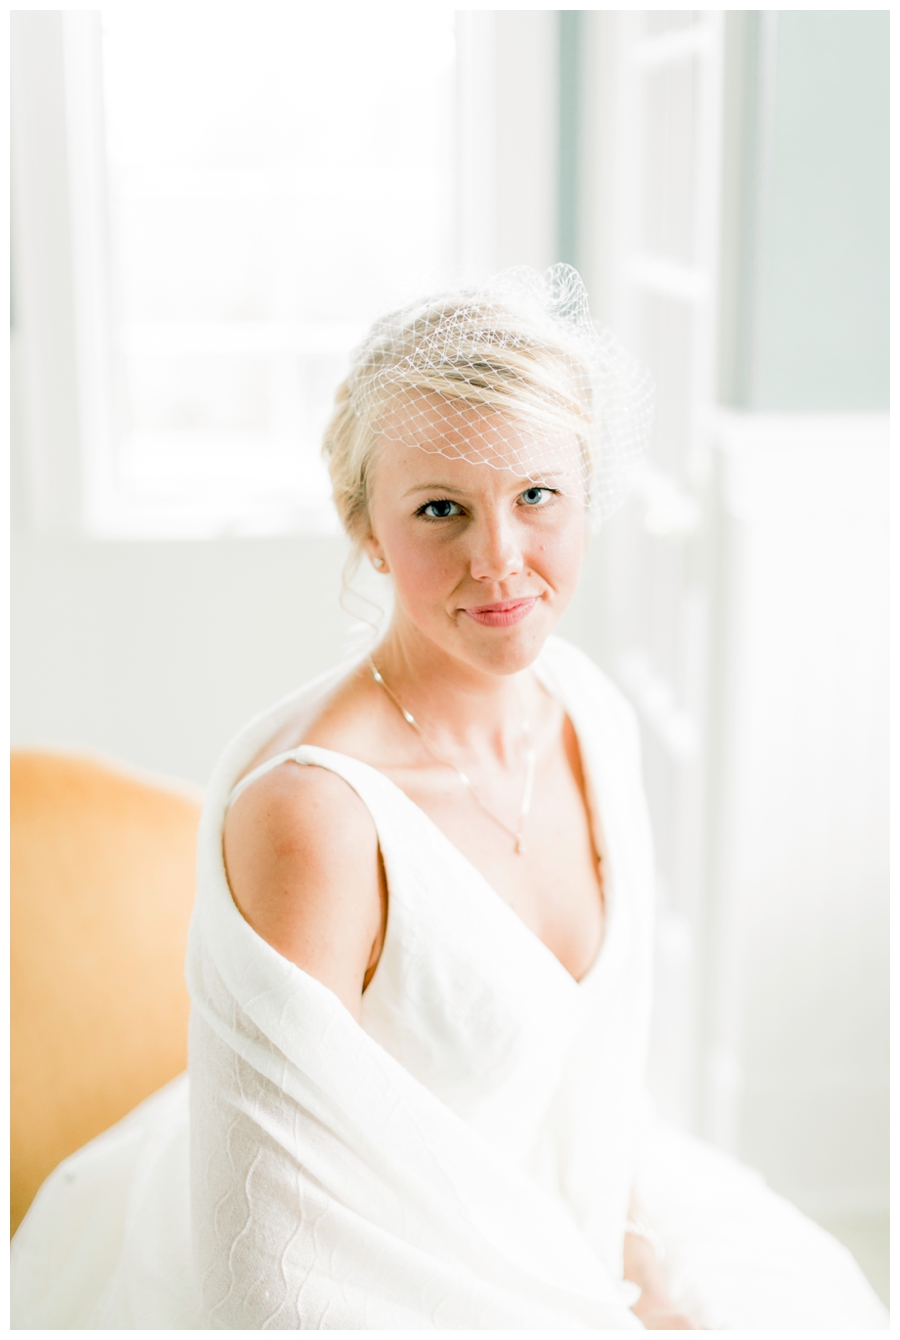
So even though the sitting room was definitely an option, I wanted to keep her getting ready photos a little more neutral and simple to match the rest of the details from her wedding. Have you guessed where I photographed her getting ready? That's right... I chose to shoot in the bathroom.
I know, I know.
Call me crazy, but you go where the light is, use a few simple light and airy photo hacks and you're set for something that is ready to be published on the biggest wedding blogs and magazines.
5 Light & Airy hacks for photographing the bride in front of a window
Now let's talk about how to shoot the bride in front of the window and keep it light and airy without overexposing and losing all the detail in your whites. Because overexposing and losing detail? That's a newbie photographer mistake and you'll lose bookings because of it. I don't say that to scare you. Not one bit! I say it because the easiest way to spot a pro is to look at their highlights, whites, shadows and blacks to see if everything is on point.
And somehow, when a couple is looking for a wedding photographer, they can just tell when something is a little off.
So let's make sure you keep your light and airy photo on point and gain bookings every time you share your work.
1) find a second light source
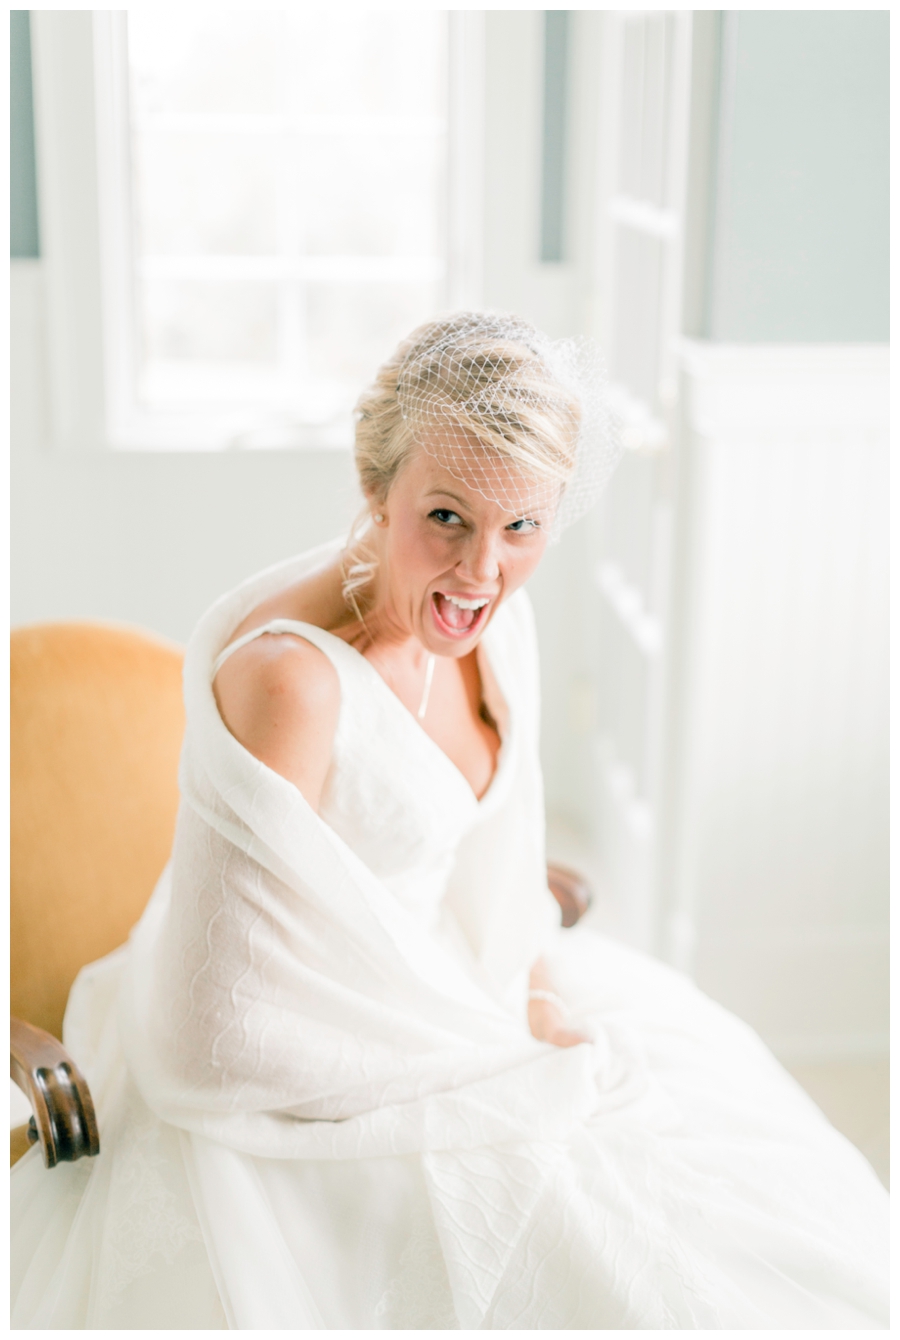
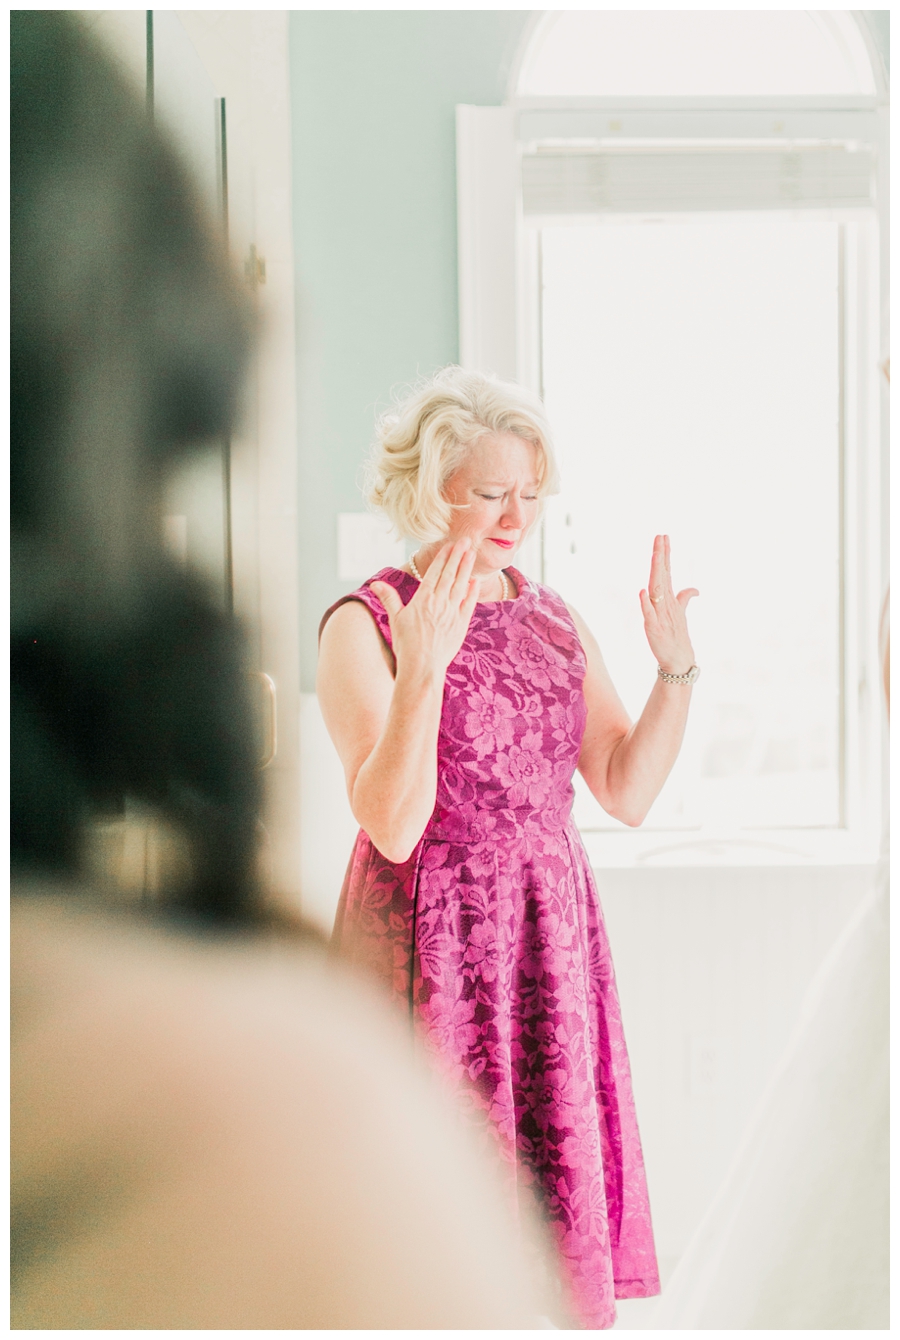
There were two windows in the bathroom: one behind Ruthie and one to my right. Once she had slipped into her wedding dress, I pulled a gold chair in from the bedroom. I love a pop of color! But I would have chosen leave out this gorgeous chair if it hadn't been for the gold chairs that were part of the ceremony decor.
Because I had seen the gold chairs in the ceremony setup, I knew I could add the color to her getting ready photos and tie everything together.
So no matter how beautiful that chair is or how good the architecture is in that room, only include what fits with the wedding as a whole. If the bride requests something, I always make it happen, but I never choose to include a detail that doesn't fit with the feel of the wedding day.

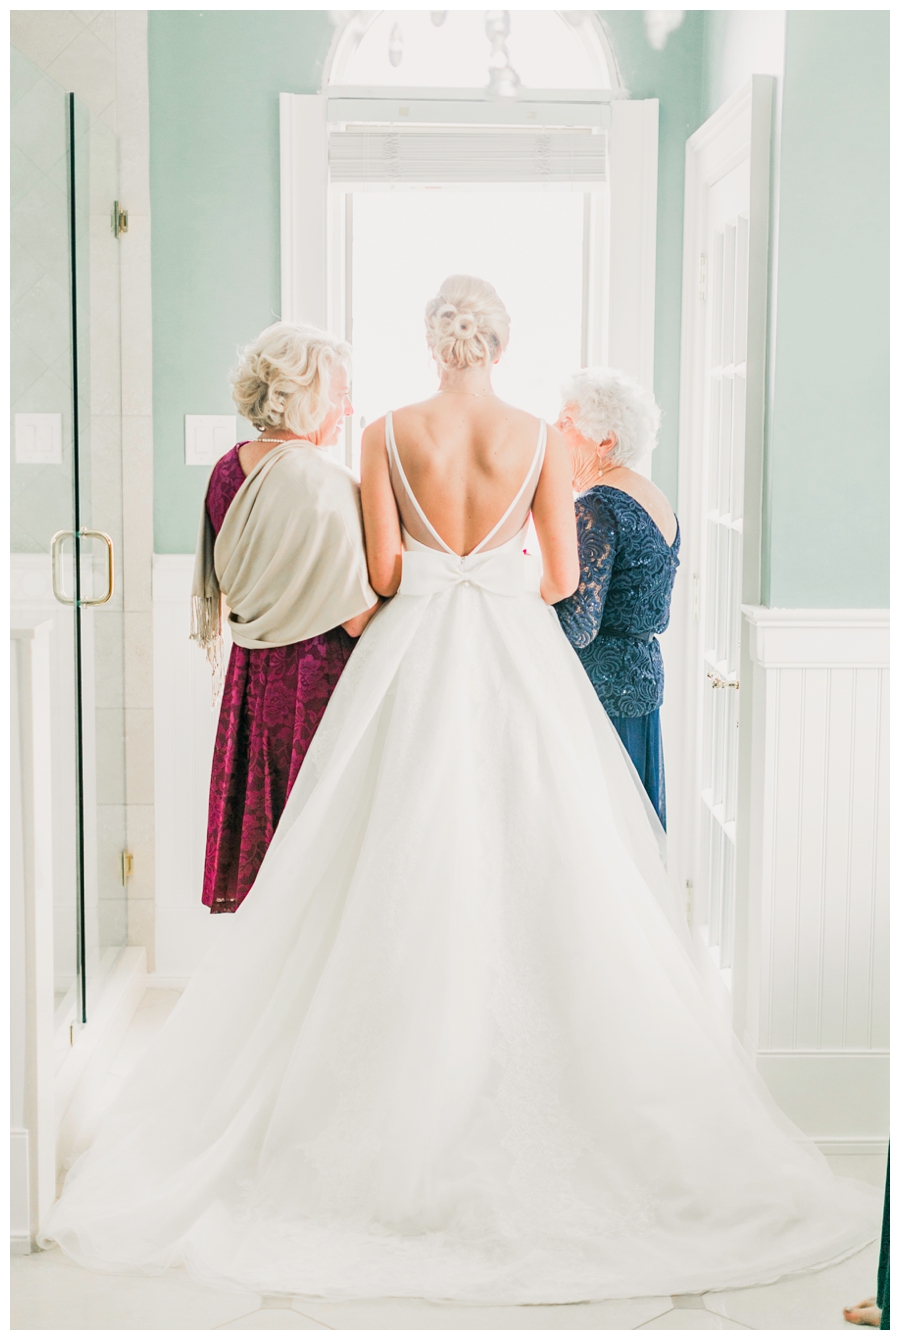
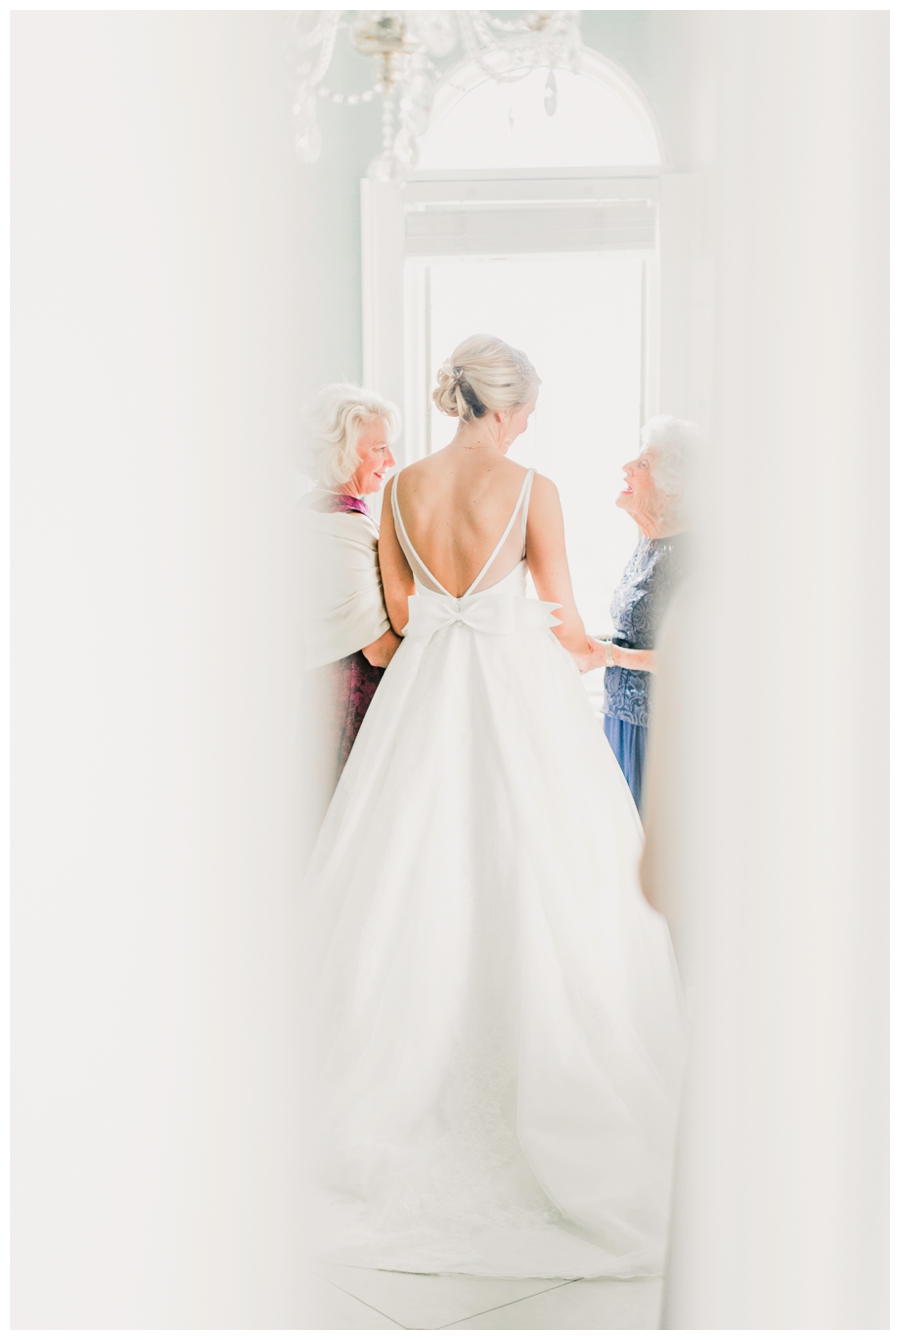
One of the reasons the bathroom worked so well is because there were two windows.
If there had only been one window, I would have photographed her getting ready in the sitting room. Or, I would have asked her to slip in her dress in the sitting room and then taken the rest of her photos on the balcony.
Because we light and airy photogs never sacrifice light for a paint color.
[Just pretend there are a string of happy emojis right here.]
But, if you're forced to work in a one-window room and there's absolutely no other option, then here's what you do...
If you only have one window in the room
If you only have one window in the room, you are working with some serious directional light. If you only remember one thing about this, let it be this: don't shoot into the light if you only have one window. If you're going for that light and airy look, you'll want your client to stand facing the window or to the side.
As a general rule, if you're indoors and working with one window, shoot the brightest side of your subject. Rules are always meant to be broken, but to break this rule and keep your photo light and bright, you'll need another light source.
2) Block unwanted objects by using the foreground
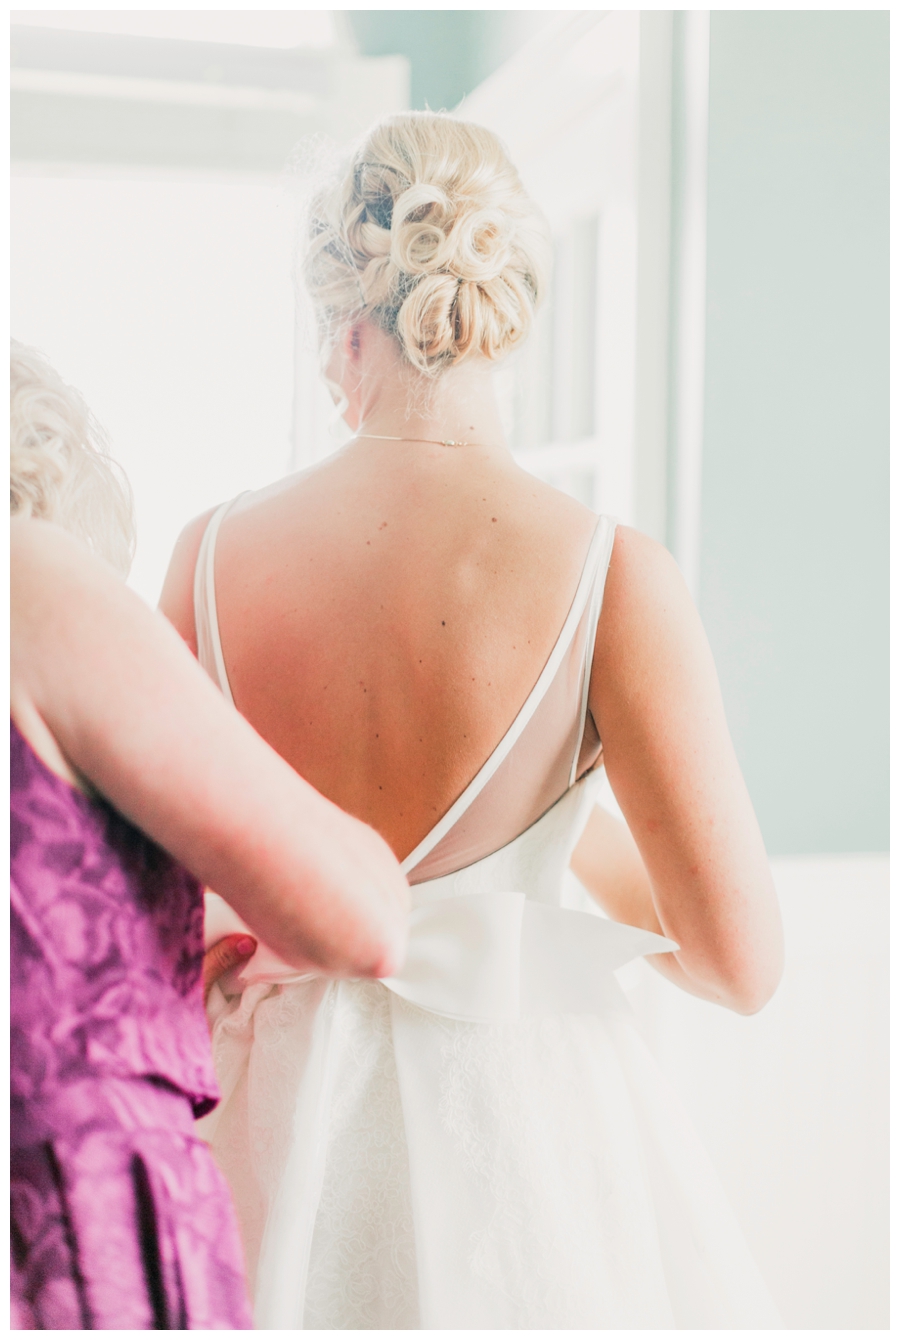
So... I'm so thankful the toilet was tucked away in its own room and I didn't have to avoid that. I think there would just be something about taking your wedding photos next to a toilet that would make you feel... distracted. Haha!
But right there next to all that beautiful light? A shower. And sure, it was a shower that would make all the interior designers stare for hours, but no one wants a shower featured in all of their wedding photos so I had to start thinking about my foreground. I stepped out of the bathroom, pulled the sliding doors almost totally closed and used them to block the shower.
3) Shoot at a higher aperture
When you're working with a strong light source behind your subject, increase your aperture to avoid distorting your subject. You'll be able to use the free light and airy preset to recover your whites if they were a little bright in-camera, but if light is bending around your subject and you had a small aperture like f/1.2 or even f/2.0, you'll lose detail around their head and they'll start to look a little fake.
So bump up that aperture to f/2.5 or f/2.8 depending on how bright your light source is (and the amount of light coming from your second light source).

4) Add a reflector
This is the simplest of all the light and airy hacks and the different seems small, but once you're editing in Lightroom, the difference is illuminated skin vs grain-filled skin tones that don't look one bit like film grain.
Throw in a white reflector on the shadow side of your subject and let that light help with creamy skin tones.
5) do this if you don't increase your aperture
It's an easy mistake because (1) no one would ever notice and (2) there are a gazillion and one things going on and (3) your photo probably still looks rockin'. Come on! It's a wedding day and you were probably focused on giving a great experience or didn't want to bump your aperture in a time crunch and waste a few precious seconds fiddling with your settings.
Can you tell I've totally been there? I definitely prefer to get it right in camera because extra editing is just lame, but there are times when the best thing for the timeline is to get it done quick and changing the aperture by a fraction is going to mean more photos for the bride and a little extra editing time for me. I'll take it!
If it is going to result in a change in the quality of the photo, then you always change your settings. But if the quality won't be effected and you're crunched for time, you can keep the smaller aperture and do this...
STEP 1: Open Lightroom and click on the develop module
Select the image you need to work on and then click the brush. You'll find the button for this right under your histogram on the very far right. I think it looks just a tad like a makeup brush with sparkles around it. Ha!

STEP 2: Decrease the exposure or increase the contrast
The creative process, right? So many ways to get the look you're going for. Start by decreasing your exposure by -0.5 and "brush" on the adjustments on your subject(s).
I don't use brushes but maybe once a year, but when I do, I always zoom in to make sure I'm as precise as possible.

You'll be able to see where you've brushed on the settings by hovering over the black and white dot (located where you first begin brushing). All that red in the photo below? That's where I applied the brush on this photo.
STEP 3: Adjust if needed
If that doesn't do the trick, bring your exposure back to 0 and try increasing the contrast.
Make sure your adjustments don't create a line or noticeable difference. By following the light and airy hacks above, any change you make here will be very subtle. Anything more will create some pretty sad things in your photo.
Want to know what I'm talking about? Drag that exposure all the way to the left and watch your subjects turn into a sad rendition of... well, a sad, creepy horror movie.

If you want to apply what you've done with the brush to another photo, click "sync" and make sure "Brush" is checked under "Local Adjustments."

I'd only suggest doing this to photos taken with the exact same crop and setting. Even then, you'll have to go in and move the brush so that it only covers what should be covered.
What's your favorite way to photograph the bride getting ready? If you got to choose your dream location to photograph the bridal details and the getting ready part of the wedding day, what would you choose?
I think I'm a little in love with anything that feels like an estate - thoughtful architecture and tons of windows. Obviously. Obviously I'd gush over huge windows in any space! You know, as long as there's a second light source to make all the light and airy dreams come true.

love pinterest?