
The do's & don'ts of Light and Airy photography
So you’re sitting there in Starbucks getting pumped up for your light and airy editing session. Okay, okay… you probably don’t edit in Starbucks all the time… or ever. But I highly suggest you sit by the window with a flat white or a peach tranquility tea sometime and edit a shorter, really inspiring shoot.
Put in your headphones, turn on your favorite music, punch out a 10 second edit, and make it happen.

But before you even do that really inspiring shoot so you can go edit in Starbucks? Well, there are a few light and airy must-haves and definitely-don’ts that you’ll want to keep in mind.
Here are the Do’s and Don’ts when it comes to shooting and editing light and airy photos. And you know that all rules are meant to be broken but… I pretty much follow these to a T.
The do’s of light and airy photography
1. Do use a reflector
I feel like I’m going to become the use-a-reflector girl. That will just have to be my official job title because using a reflector is going to change your photo game. It’s one of the easiest and stress-free ways to make sure that you always have clean light.
Sure, you could try to find a natural reflector like a sidewalk or a giant white building, but that’s going to limit you to shooting from one direction. And what happens when there are a ton of cars floating around in the background? If you bring a reflector, you have so much more flexibility and you get to be creative when you’re choosing where you actually want to shoot!

Follow Jordan on Instagram
2. Do get it right in-camera
Now, there’s always that one time when something unexpected happens and the light changes during the first kiss — maybe the sun comes out from behind the clouds or maybe it decides to hide. All is not lost! There are definitely a few things you can do like bring up the shadows, split tone to recover color loss, add noise reduction, and a few other editing secrets.
But every other time besides that one time, the goals is definitely to get it right in-camera. This will save you loads of stress when you’re walking away from your shoot and it will save you loads of editing time.
Because… 10 second edits, right?
3. Do shoot in RAW
Yeah, yeah, yeah. You’ve heard me say it a thousand times, but just in case you don’t know, RAW is better than jpeg. And you can’t save a tricky image if it’s a jpeg. And you can’t make a jpeg look like film.
So shoot in RAW forever and ever.

4. Do edit with the Brittley Presets
I don’t say this just because I created the Brittley Presets. If someone else had made it, I’d still be talking about it non-stop. Why? Because it changed my business and it was the thing that actually made me stop shooting film.
Wait, what?
Yup! I haven’t picked up my film camera in months and it’s not because I’ve been on maternity leave. I can now make my digital photos look like film and I can do it in 10 seconds.
But the thing I’m most proud of with these presets?
They will work for anyone and they won’t ever take your photographic voice from you. You still get to be you, put your unique creative touch on every image, and own your style.
I’m not about to slap a preset on your work just so it can look like mine. You can totally do that with the presets, but you get to choose. Because some people love a more vibrant image (Brittley Modern preset all the way for you!) and some people love a softer, more muted image (Brittley Classic for you, my friend!).
Oh, and fake greens? Ewwwww. No way. We don’t do fake-looking greens so you’re totally safe to shoot wherever you want. Just use that reflector so you can get creamy skin tones and looks like film color with the Brittley Preset Suite, okay?

5. Do shoot your kind of light every time
So about that photographic voice that we were just talking about… own it. Own it when you’re styling, and own it when you’re shooting your kind of light.
Here’s my favorite kind of homework to give to someone who really wants to hone their creative photographic voice...
Set up a shoot with a close friend so you don’t feel nervous and tell them that you just want to try some new things.
Give them something comfortable to do and still speak those affirming words or just chat while you’re shooting. You can have them stand facing you, ask them to put their hands together, on their hips, or whatever they’d normally be doing if you were just hanging out. Then ask them to look down.
Photograph them from the spot you’d normally shoot in.
And then walk a little to the left and shoot. A little more to the left and shoot again. Do the same thing on the right side.
Because sometimes it’s easy to get in a groove where you feel stuck and don’t know how to find your photographic voice. Maybe your images just aren’t as light and airy as you want. Maybe you always seem to navigate toward golden colors but you love the greens.
You’re going to see your shoot from an entirely new perspective after this shoot. So go get this shoot scheduled and report back with what you find!

6. Do shoot in front of the window if...
There’s another big lie that you can’t photograph someone in front of a window and get a light and airy look unless you’re shooting film. Well, that lie is crazy town because I’ve done it time and time again.
You just need to know a few secret tricks, so go read about them here!
7. Do keep learning
Does something seem too newbie for you? Anytime I feel that way, it’s a red flag that I’d better read about it and learn a bit more. There’s always something to learn about the light and airy photo style.
For example, learning to take brighter photos? Seems introductory. But there’s always something you can learn. Go read the post below and tell me one thing you got from it that you weren’t expecting!

Don’t do this when taking light & airy photos
1. Don’t get frazzled if you only have 60 seconds to shoot
Just writing those words makes me feel a bit nervous! Ha! But here’s the thing — whether you’re shooting a wedding, an inspiration shoot, a newborn, your latest real estate project, or anything for your biz, there will probably come a time when you’re in a time crunch.
Now there are two ways to handle this…
1. You can let overwhelm kick into high gear and you can speak a ton of negative stuff over yourself. Examples include “you’ll never be able to do this,” or “how did you let this happen?”
Have you ever felt that way? As soon as you catch the negative self-talk, it’s time to shut it off and get to work. Those words aren’t helping you and this is still possible.
2. Choose to ignore the negativity and focus on creating. You? You’ve created great work before in 60 seconds. You just didn’t know it only took that long because no one had a timer going.

2. Don’t be afraid to shoot on the balcony in the middle of the day
With a few simple secrets (and that reflector), shooting on the balcony in the middle of the day can transform your shoot.
3. Don’t think a trashcan can’t tell you things
So, true story… when I was first learning to take photos, I photographed a ton of trash cans. Why? I have no clue. I was in middle school and I… just don’t know.
But it taught me something! Some trash cans would have this illuminated effect where they almost looks metallic and other trash cans — the exact same type of trash can — would be boring and look dull.

4. Don’t sacrifice skin tones for overall image color
It’s an easy mistake to make sometimes, but this is why getting it right in-camera and shooting the colors you want to see in your photos is so important!
When I first started training Jenna, I told her how I hated a burnt orange reception image. So she followed my rules and when I was going through the gallery with her (before I finalized it), I realized that all of the skin tones were blue. It turned into a fun joke between the two of us: “Jenna, people can’t be blue.”
But she was trying to balance an image where the background was a really vibrant orange because the uplighting at the reception was… orange. What’s a girl to do?!
When that happens, you can bring down the orange saturation just a bit, but that’s about all you can do. And honestly, with a wedding, you really don’t want to manipulate reception design and color scheme too much. There’s a reason your client chose that setup and it’s best to honor it.

5. Don’t shoot the shadow side after the sun has disappeared
And don’t shoot the shadow side on rainy or overcast days. It’s easy to get stuck in a rut and always have your clients turn away from the sun, but as soon as the sun disappears, you won’t want there to be shadows on their faces.
It makes for a bit of a moodier image and since you’re trying to keep a light and airy image, that’s the opposite of your #goals.

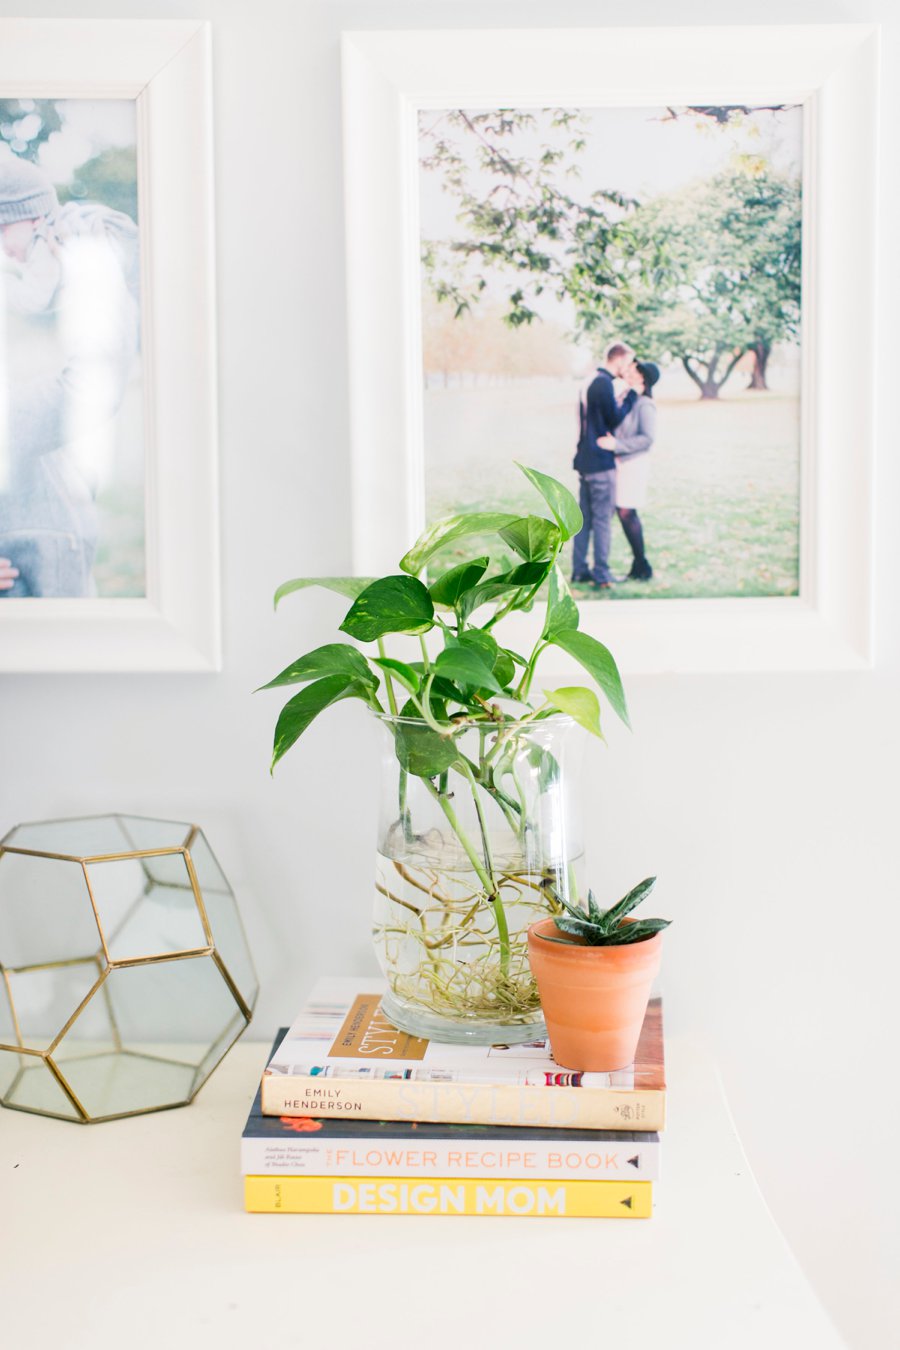
love pinterest?
You and me both! Pin this image so you can come back to it anytime.
Name your board "Light & Airy Photo Tips" so we can find your favorite posts!
6. Don’t forget to use a simple editing system
Editing isn’t about pulling out all the things and hoping to land on the light and airy look. You have a business to run and yes, part of that business is getting those images back to your clients. But you’ve got to create a system that’s going to work for you and not against you.
That could look like outsourcing your editing by training someone to edit your images or hiring a company.
It could look like grabbing the Brittley Presets and mastering the 10 second edit.
Or something else — whatever works for you and will help you simplify your editing system.
If you freed up your editing time and could be totally confident that you’d have light & airy photos, you could focus on things like blogging, marketing, and doing things in your business that are going to increase that bottom line.
How do you get the light and airy look and keep it consistent each time?


