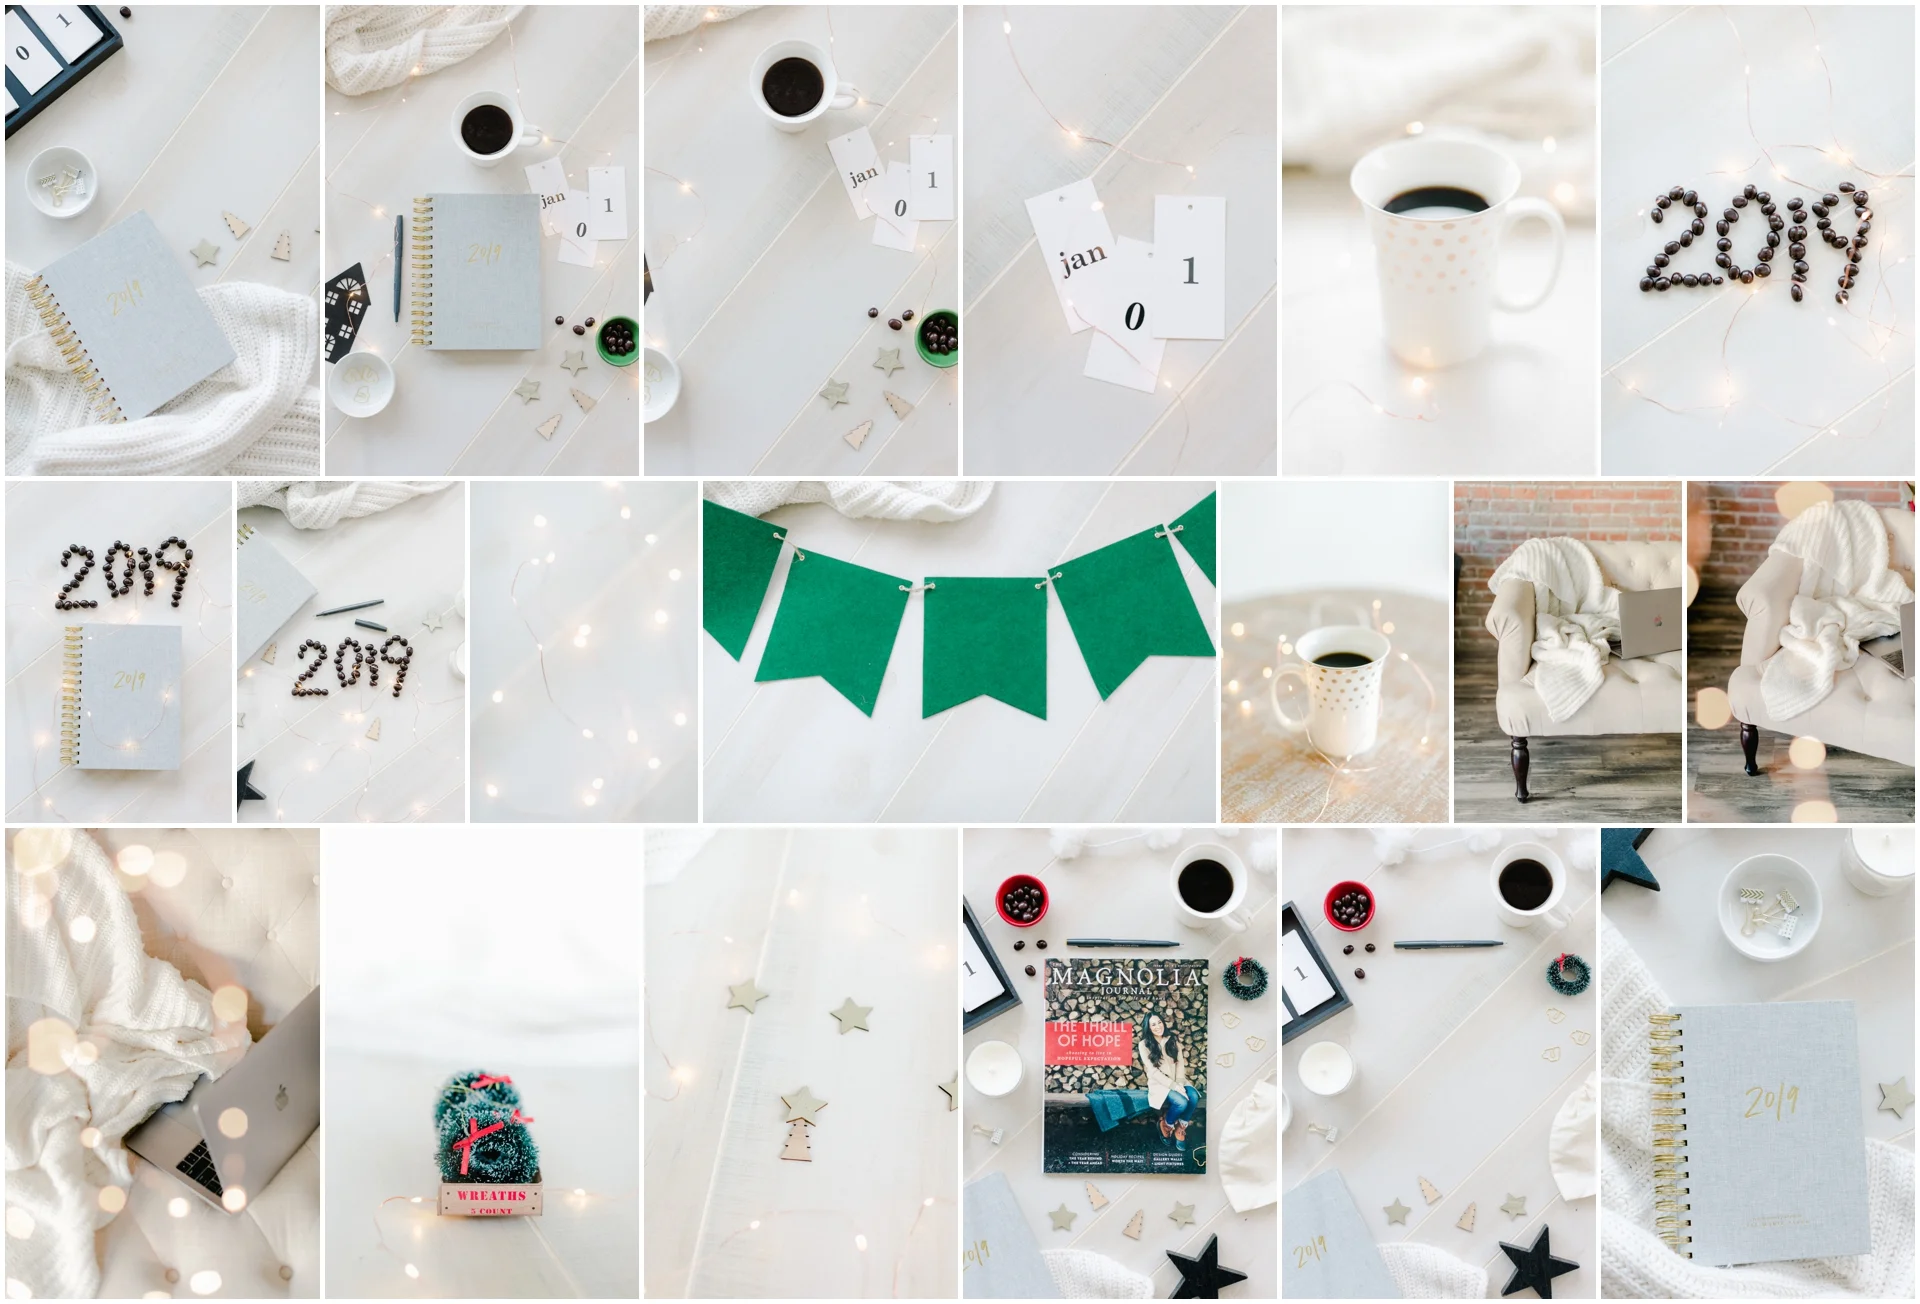
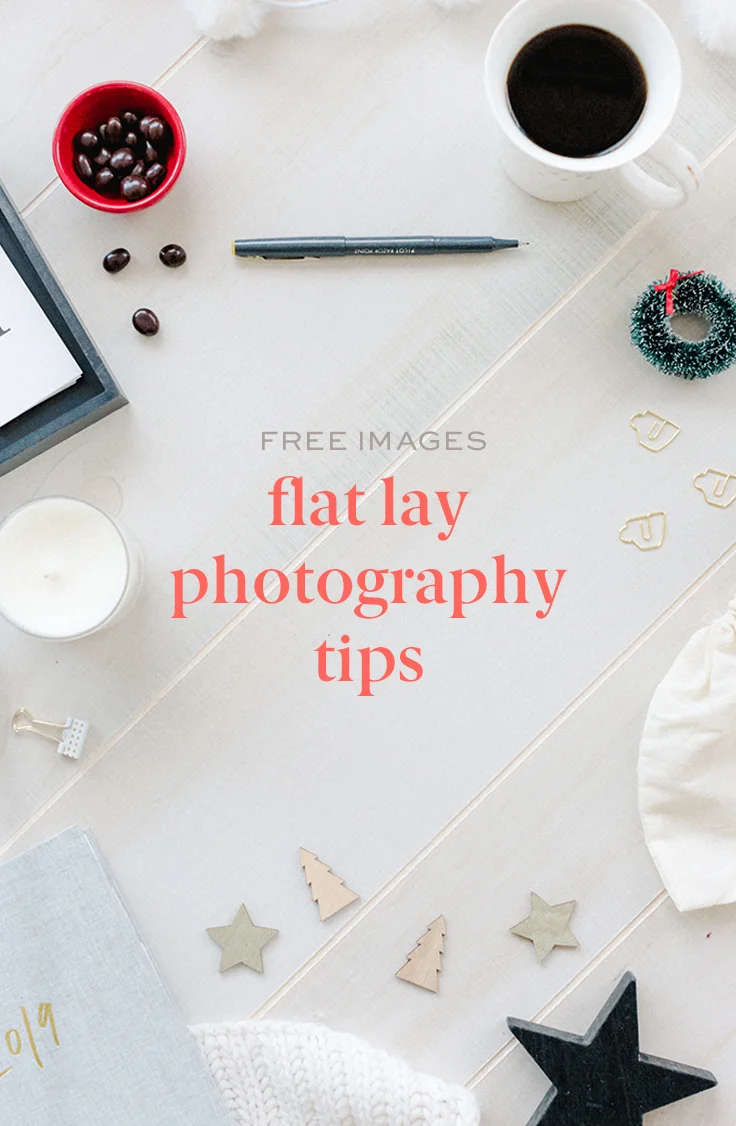
Flat lay photography tips
Flat lay photography has so many uses…
Instagram posts and stories
IGTV cover images
Email newsletters
Marketing images to highlight sales
YouTube cover photos
Flat lay photos are something every creative entrepreneur should have on hand. But finding the time to source, style, shoot and edit those flat lays isn’t always the #1 priority.
So I decided to package up the images and make them free to download. If you think they’d be useful in your instagram feed or in your marketing materials, download them below!
p.s. Don’t miss the video tutorial at the bottom of this post.
free download
Winter Flat Lay Photos
Merry Christmas!!
Download the winter flat lay photos and use them in your instagram feed or business. Enter your name and tell me where to
send your stock images.

Flat lay photography tips
What can you do with just $20 in Target?
Okay, technically what can you do with $22.70 in Target?
I gave myself 3 rules for my Target Dollar Spot shopping spree:
Only spend $20 (haha! broke my first rule but I only went over by $2.70 so I’m calling it a win)
I sourced extra props from home
Do not — I repeat, do not — buy anything from Magnolia Home
Watch the video tutorial.
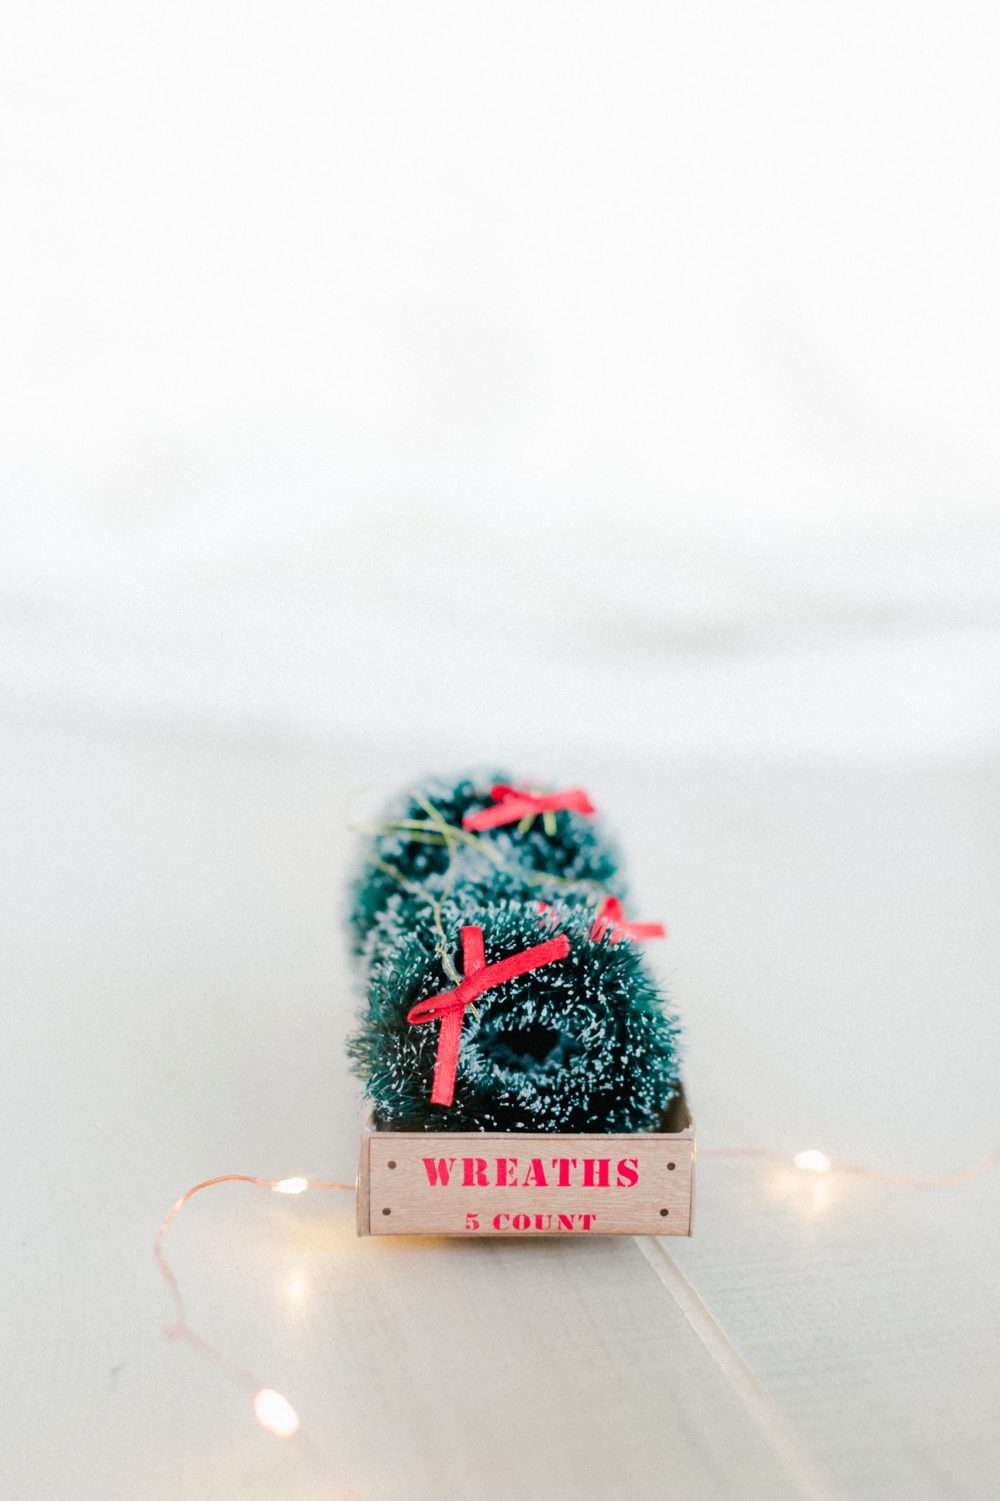
Step 1: Decide on your color scheme
For these photos, I wanted to keep the color scheme simple with a neutral background. It’s winter so the white background made sense.
I kept the greens and reds to a minimum and opted for black props when I could for more of a modern look.
Step 2: Decide your background material
You can…

Create your own flat lay board — foam board + fabric
Buy a pricey flat lay board you can use over and over again
Buy a poster board
I have fancy flat lay boards, but I honestly prefer the poster boards. They cost $1 and I can swap them out if I bend them or if I kick my coffee over. Like that one time…
Step 3: Set a budget
Here’s how it goes: I go into Target to get one thing for my desk.
Or one thing for my living room.
And I walk out with carts full of new precious props and styling materials and buckets of decor and #magnolia + #nateberkus everything.
I kid.
I kid about the carts and buckets… not magnolia and nate berkus.
I didn’t even know who Nate Berkus was until everything I picked up in Target for 5 years straight was made by that dude.
Magnolia on the other hand… I’d go into Target just for them.
So… iBudget.
Related post: How to play a styled shoot
I know that there’s such a thing as the Target Effect so I set a budget of $20. Gives you some margin when you’re shopping the Dollar Spot.
Step 4: Make a mental list
Since you don’t know what you’ll find when you go shop for your flat lay, make a mental list…
nothing that will take up 1/2 of your styling board
small objects
larger objects
objects with corners
objects with a softer edge
The shape of the props is important. I like to mix up different shapes and textures to keep it balanced.
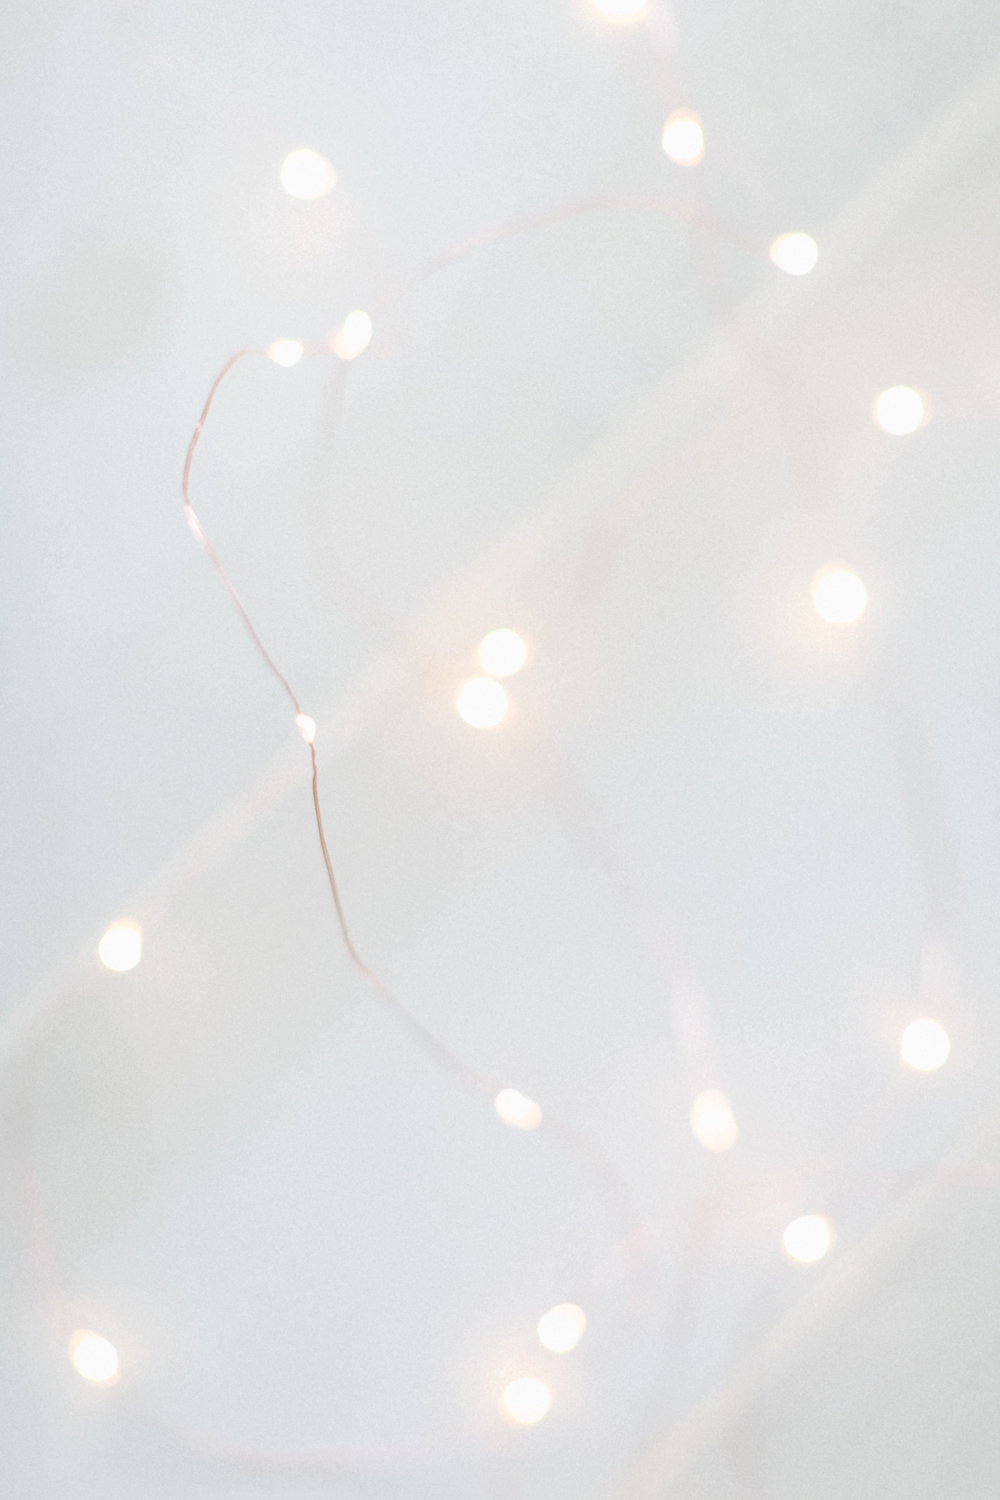
Step 5: Natural light… kind of
I love shooting with natural light for flat lays but only when the light is just right. The studio space I rented worked great, but I brought my Canon flash just in case.
When I use a flat for flat lays, I shoot the flash into a reflector. It creates a softer, more natural light.
Related: 85mm vs 50mm with unedited photos
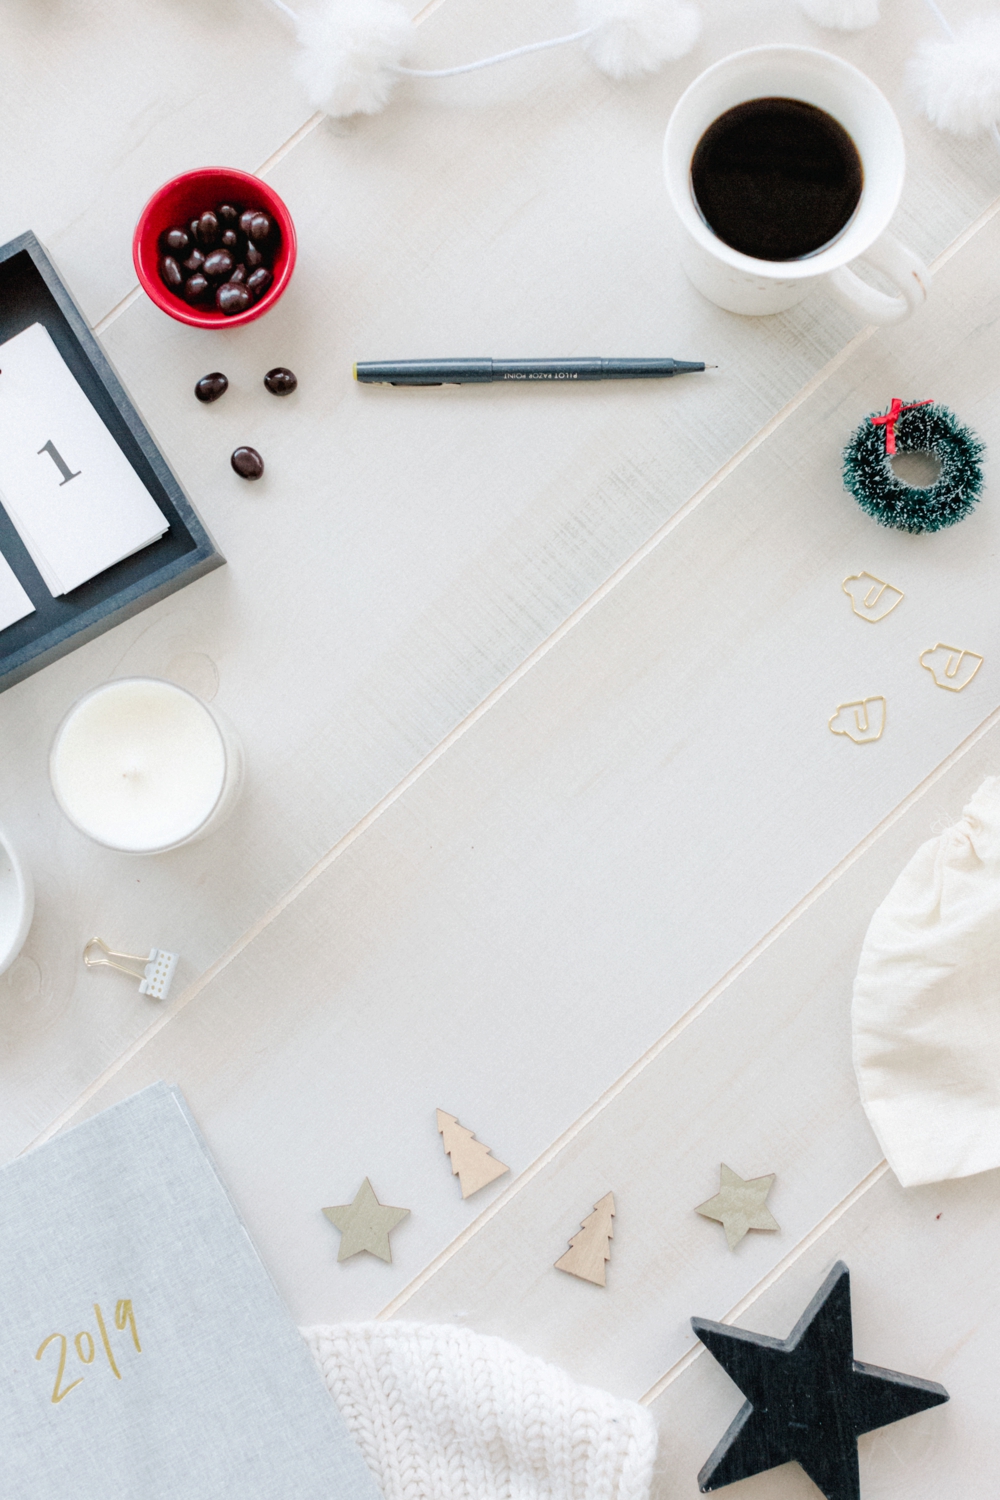
Step 6: Start with the focal prop
Place your main prop in the center of the board and style around it.
Once you get your shot, you can remove it, take another photo and now you have an image you can put text over.
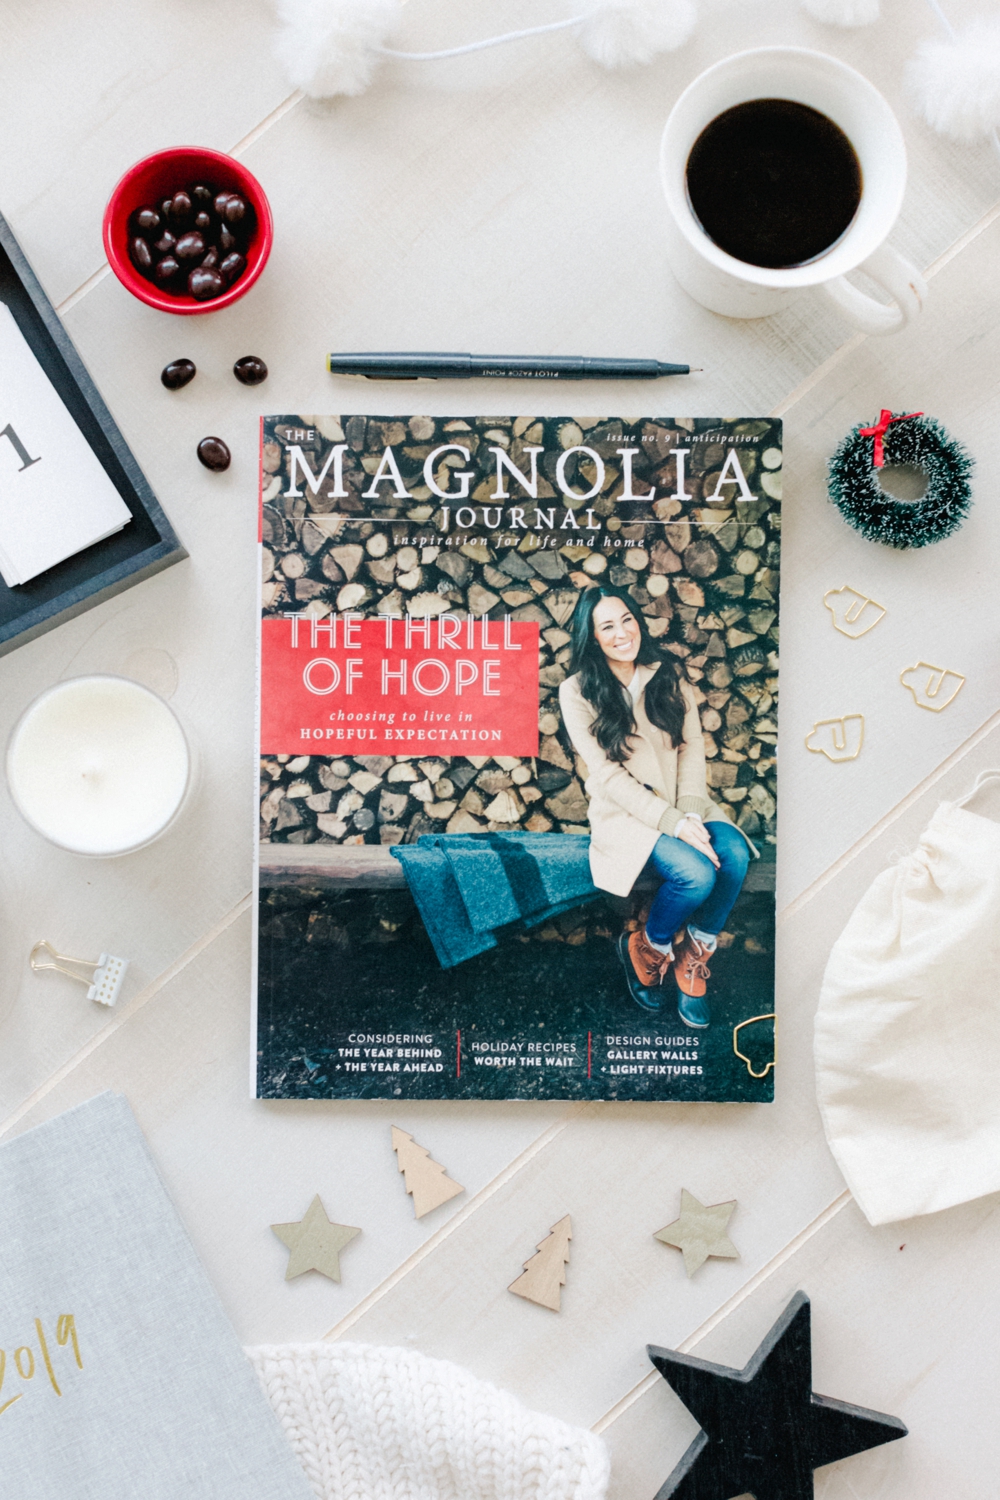
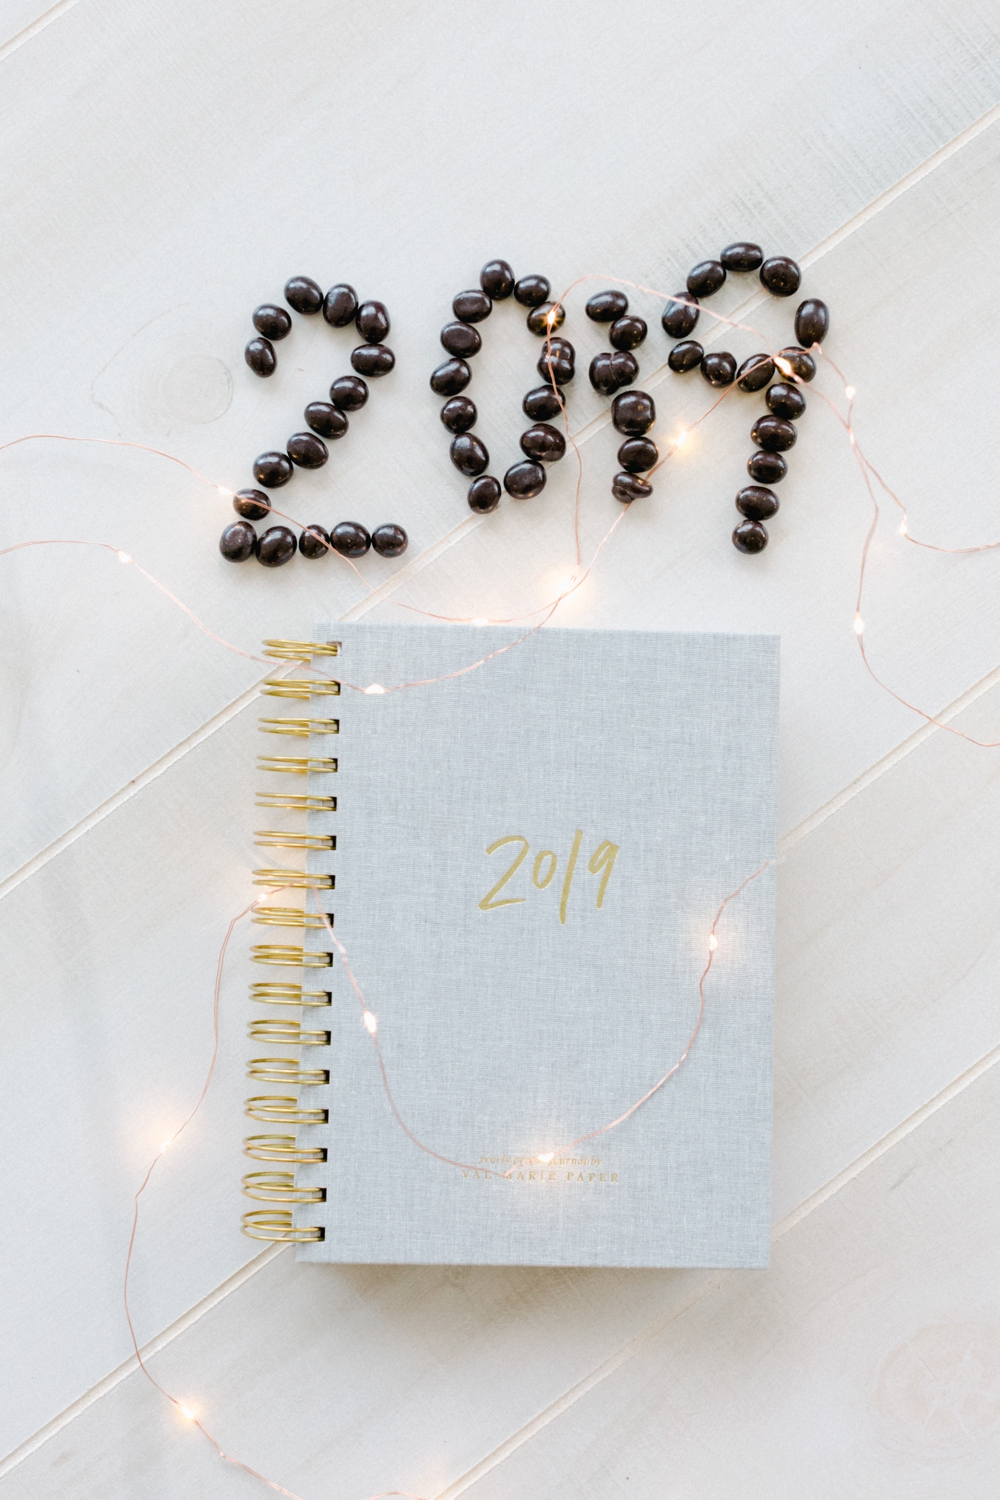
Step 7: focal prop inspires the layout
Next, I pulled in my Val Marie prayer journal and styled around it.

Even though red would have paired well with that grey linen cover, I wanted to keep the color scheme minimal.
The green bowl of espresso beans (bottom right) balanced the house prop (bottom left).
Step 8: Edit those flat lays
I went with a clean edit on these — a dash of a pro film curve + some film-inspired color grading — and stayed away from an all-out fuji or portra look.
What can I say? I just love a clean edit for those flat lays.
I used Brittley Pro (inside the Brittley Preset Suite) and bump the contrast + used the muted saturation preset for a few trickier images.
Without the BPS, I never would have been able to edit these images so fast and know that I was getting a clean, professional edit.
Step 9: Choose the right lens for your shoot
Updated to add*
I’ve had a few questions about what lens I use for flat lays and it’s hands-down the 50mm. I’d use the 85 if I was 12 feet tall.
The 50 provides little to no distortion on flat lays and the 35 really distorts my flat lay shots.
I prefer the super wide angle when I’m filming youtube episodes and love a good 50 or 85 mm for portraits.
The sun was setting fast and Isaac was on his way with the kids as I was wrapping up this shoot. We wrapped up the studio time with their Christmas photos and a movie of the two of them!
If you can think of a way you could use these images in your business… whether it’s to celebrate the start of 2019, that winter launch you’ve got going in February or a social media post, go ahead and download the images.
I hope they simplify your marketing around the holidays!

love pinterest?
You and me both. Pin this image and come back anytime!