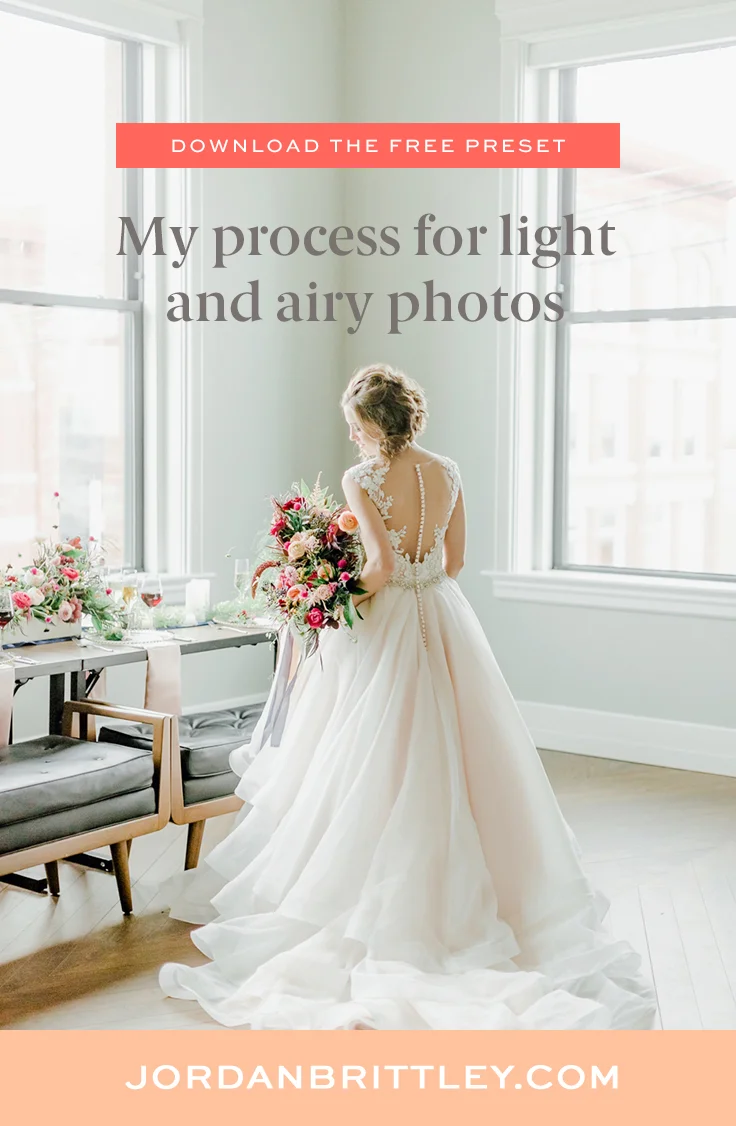
My Process for Light and Airy Photography
There's something about a light and airy instagram feed, right?
Today I'm sharing my process for creating bright and airy images and my free light and airy preset so you can start editing those bright, looks like film insta images asap.
Let's talk location, time of day, lighting, mastering that looks like film blur and so much more. Ready? Let's go!
Download my free light and airy preset to get started with the basics of light and airy editing.
Choose the Setting
Think of your location, and every single detail that makes the image, as the groundwork for the image. You can’t shoot a light and airy image in a pitch-black room without some intervention or manipulation. Look for light and look for a lot of it.
Step One: Light the foreground
You will want to have a good, even, light source either between you and your subject or behind you (assuming you’re not blocking the source… so, like, you will need the sun). Look for a light source that has been diffused, or scattered. Think about light like a flashlight and a white or neutral wall. The flashlight is your light source and the white/neutral wall is your light reflector. Okay, so if you stand 3 feet from a white wall and turn on your flashlight, there will be a bright spot on the wall. For airy photography, you’re not looking for this kind of light.
If you stand 10 feet from a white wall and turn on your flashlight, the light will cover more of the wall. You are looking for this kind of light.
Related Post: Edit light and airy cloudy day photos in Lightroom


Step Two: Light the background
Now that you have a scattered, or diffused light source on your subject, you want to introduce light into your frame behind your subject. Look through your viewfinder from different angles. If there are a lot of deep shadows behind your subject, try a different angle. Look for a background similar to the foreground.
Related Resource: Learn to shoot in manual


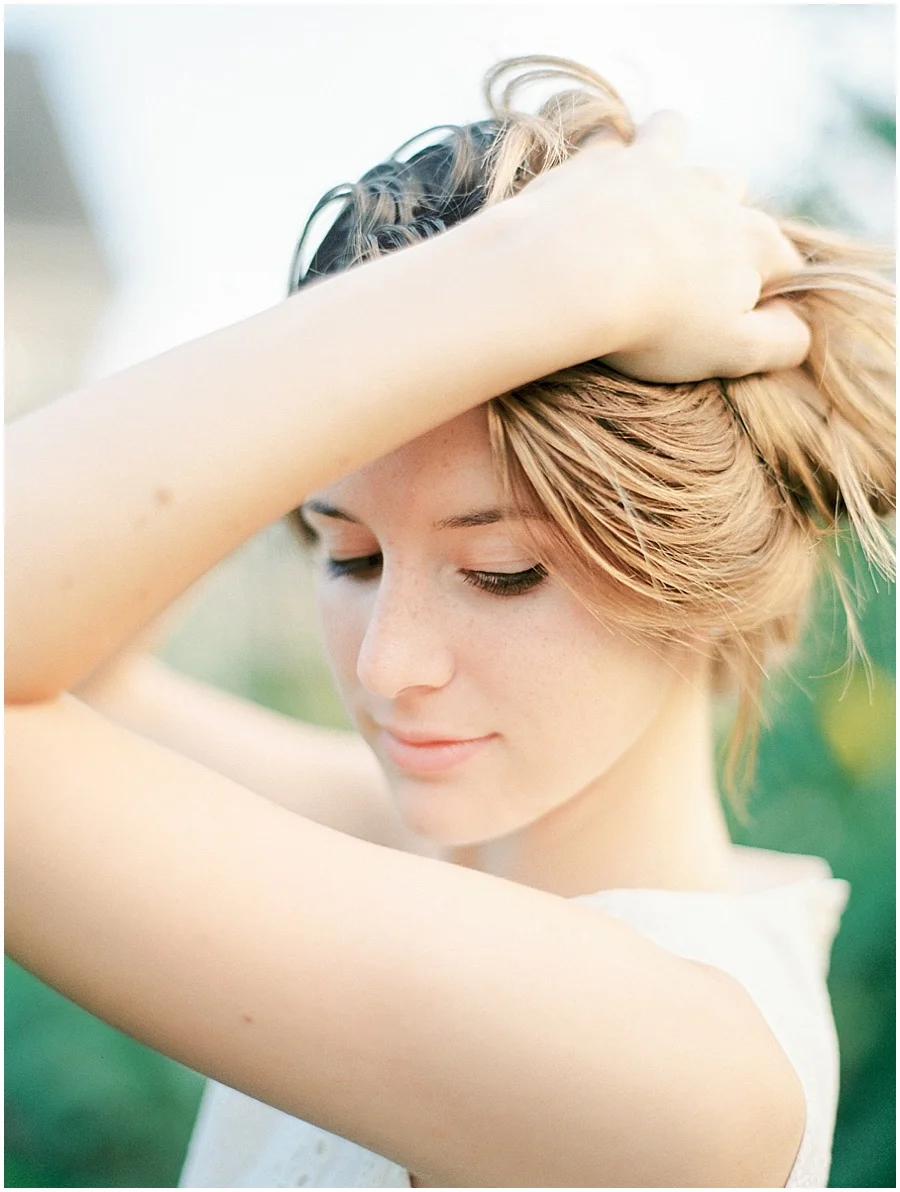
Step Three: Shoot during golden hour
Try shooting in the first two hours of the day or the last two hours. There is a lot more flexibility with lighting during these hours because the sun isn’t hitting everything. The sun is to the side and the sky has become the main light source (like using a flashlight on a white wall from 10 feet away).
Related Post: 85mm vs 50mm with unedited photos


Pick digital or film (or both)
If you're shooting digital
If you are shooting digital make sure to avoid bright spots in your photograph. Digital images don’t handle overexposure very well, so you'll want to watch for that. You have seen highlight loss if you have ever seen someone lose the top of their head in an image (or you don’t know where there hair stops and the background begins).
Related Post: Flat lay photography tips and free marketing images
Shoot in RAW. If you want light and airy digital photos, you are going to need to make edits to your image and you're going to need all the detail you can get (aka shoot in RAW)! Full tutorial below.
Edited with the light and airy Brittley Preset Suite


If you're shooting film
If you are shooting film, you will want to overexpose your images. Film does not handle the shadows as well as digital. The detail in underexposed shadows can turn into a muddy mess on film if you aren't careful. Making sure that your light is well-balanced (light in the foreground and background) will help you avoid these issues.


Master your bokeh
Bokeh is just a cute name for blur. You get a lot of blur in your images by having a low aperture (sometimes listed like this: f/1.8 or f/2.0). So low aperture = narrow depth of field = blur. As you lower your aperture, less and less will be in focus. Using a low aperture really helps you to achieve the light and airy look because it (1) naturally brightens the image (2) puts the focus on just a few details. Blur is your light-and-airy friend.
Related Post: How to plan a styled shoot
Time to edit those light and bright film images
start a conversation with your lab
Don’t be afraid to tweak your film images to make sure they are just right. But also, don’t be afraid to have a conversation with your lab. They want to make sure that you’re not re-editing every image they send your way. There might be a few things you can change while shooting and there might be a few things they can change on their end!
Light and airy lightroom presets
Looking for a done-for-you formula for your editing?
So. was. I.
The Brittley Preset Suite is made up of some mix-and-match presets so you can build your own look and 2 Brittley one-click presets. Click play on the video below to steal some of my Lightroom slider settings!
Like & subscribe on YouTube for more photo and editing tips
Step one: edit on a dark grey background
The easiest way to make sure your lighting and coloring is right where you want it to be is to edit on a dark grey background.
I used to edit entirely on a white background, but this way is so much easier on the eyes and you don't end up with as many adjustments!
Just click “develop” in the menu, right click the background, and select “dark grey” for the background color.
Step two: Download the free light & airy preset
Apply this beauty to every digital image! Click the button below, enter your name and tell me where to send your free light and airy preset.
Ready for the free preset?
Or…
Get a head start and get the whole light and airy look…


Related Post: Get started with Lightroom Editing & edit like a pro
Light and airy for the win! Happy shooting and editing. If you have any questions about my process, I would love to answer them in the comments below.