
Mastering the light and airy look in-camera
Something that will make mastering the 10 second edit easier than brewing a cup of coffee? Getting it right in-camera.
You could spend a bunch of time editing a tricky image — and honestly, sometimes you just gotta do what you gotta do — but if you consistently nailed the light and airy look in-camera? Well, you’d be walking away from any shoot feeling more confident than ever.

And those photos would be easier than ever to edit with the Light & Airy Preset Suite.
I’ve seen photographers pull a pretty challenging image into Lightroom, go through the 10 second edit with the L&A Preset Suite, make a few adjustments, and their image looks like it’s straight film.
But what if there was a way to cut the stress? Because the last thing you need after a long wedding day, blogger shoot, or flat lay sesh is to be worrying about whether or not your image is going to be workable when it comes time to edit.
Mastering the Light & Airy look in-camera
There’s a lot that Lightroom can do and there’s a lot of data in those images from your DSLR. But in the photo industry, we haven’t quite bridged the gap between all that data that’s being captured in your camera with the editing programs. So that means that getting it right in-camera will cut down on any stress post-shoot.

Light and Airy Recipe
Edited with the Light & Airy Preset Suite - Home of the 10 second edit
1. Inspiration shoot on a cloudy day in the midwest while playing your favorite music
2. Add dreamy window light
3. Apply the L&A Fuji Modern preset
1. Shoot in RAW
Why shoot in RAW? In short, there’s so much more data in the RAW image than in the JPEG image. And even though editing programs aren’t maximizing all of the data in a RAW image, they are certainly able to get way more data than from a JPEG image.
What does this mean for you? It means that you’ll be able to push an image to that light & airy look with the Light & Airy Preset Suite.
For example, with a JPEG image, you’re only able to just barely bump the exposure in Lightroom before the image starts to distort.
But with a RAW image, you’re able to push the exposure up a lot more. This allows you to bring down the highlights and whites and do some other things to “push” the image to its maximum ability.
Woah, woah — that was just a bit nerdy. I blame all the manual-reading I did in high school. I mean… if I wanted to learn something in-depth, I just read the manual. What in the world?! Haha! Let’s try this…
When you’re playing a competitive sport, you’re really intentional about every decision you make — you get good sleep, you have mental routines to get you ready for a game, and you’re strict with what you eat. You want to give it all you’ve got. You want to be able to look back and know that you performed to the best of your ability.
Shooting RAW lets your perform to the best of your creative ability.

2. Look for clean light
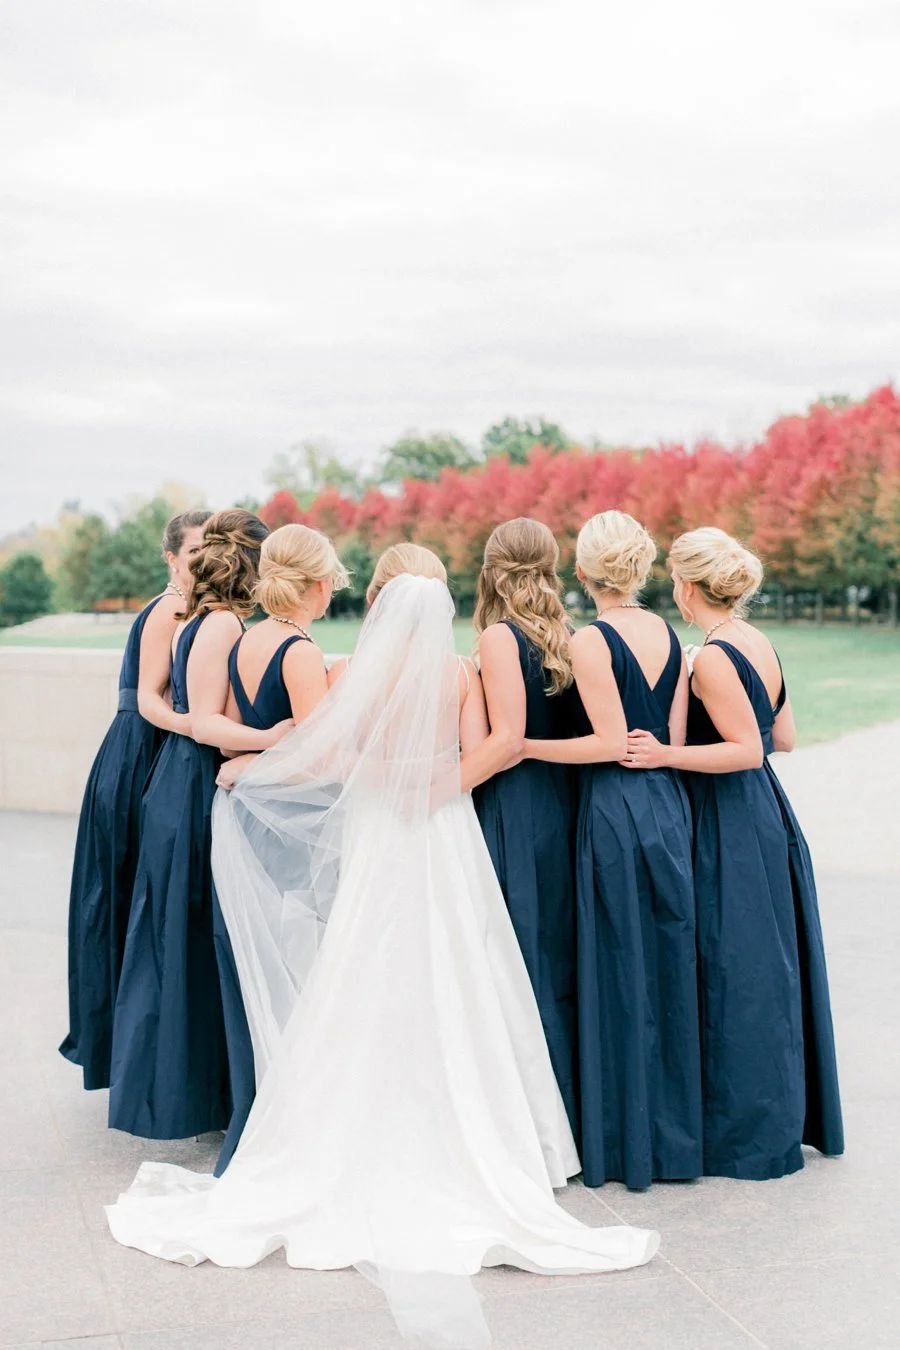
In the midwest, October is one of the most popular months for photographers. The leaves are changing, it’s not as humid, and there’s just something about fall. I get a little nostalgic about pumpkin spice lattes. Just sayin'.
There are a lot of things to love about October, but I think the biggest reason photographers get booked solid in the fall is because of the leaves.
Bright and beautiful red, yellow, and orange leaves cover the hills, the forest floor, and the streets. It’s like a parade of color wherever you go. What’s not to love?
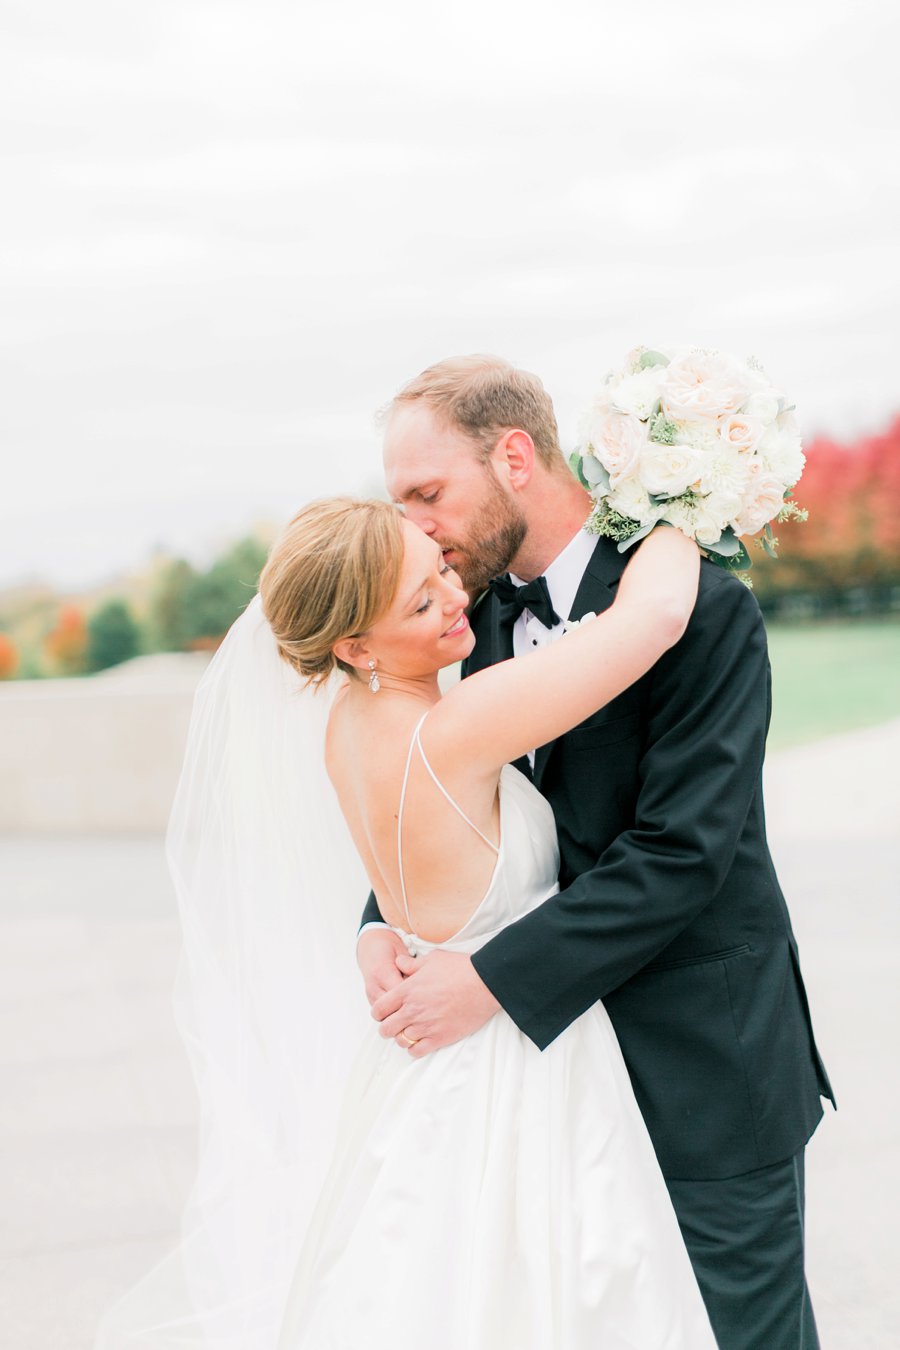
But the challenge of shooting in the middle of leaves are all of the color reflections. You could have the most gorgeous backlighting, set everything up right, and get into Lightroom to realize that everyone looks just a little too red… or yellow… or orange.
Because as those beautiful light rays come streaming down behind your clients and all that light is bouncing around looking all lovely? Well, all that light is bouncing around. And once that light meets the red, yellow, and orange, those colors are floating back up and casting color all over your subject’s face.
So instead of shooting in the middle of a group of trees? You want to pull your subjects to the edge of the trees and make sure the light that’s being reflected is a neutral color.
Picture this: you’re taking a selfie in the middle of a bunch of buildings. You stand in the shade (way to go — rock that shade!) of one building and turn to face the building across the street. That building is red. When you turn and face that building, you’ll see red on your face.
But if that building is white, grey, beige, or any other neutral color? You’ll have an illuminated image with clean skin tones. Use this same rule wherever you’re shooting — middle of a field, forest, mountains, you name it!
3. Shoot in manual
Now before you roll your eyes and say, “No way, Jordan. I can’t learn to shoot in manual…” I want to tell you something.
I was once there! I had to learn to shoot in manual at one point. And honestly, once you learn how to do it, you’ll be asking yourself why in the world you ever put it off.
Here’s the truth about shooting in manual: you can do it… you just think you can’t.
And this belief that you can’t do it? That’s not really fair to yourself. Who told you you couldn’t learn something new? Who told you that you didn’t have time? You’d never tell your best friend she couldn’t do it, so why are you speaking this over yourself?
Let me speak some truth over you, friend: you are smart enough to learn to shoot in manual. You are courageous. Seriously… you do hard things every day! Maybe that looks like running a business, writing words on your personal blog, raising little ones, or encouraging your friends.

Shooting in manual?
Yeah, you can do this and it’s time to let go of the limiting belief that you can’t do things like this.
So shooting in manual? Yeah, you can do this and it’s time to let go of the limiting belief that you can’t do things like this.
Maybe part of the reason you’ve put it off is because of all the techy lingo you’ve seen: f/2.0, 1250 ISO, 1/125. That’s why I decided to create a free guide for you. I share how to make the switch to manual and my go-to camera settings for any situation so you can just plug them in and make it happen.
You’ll need to tweak a few things because every lighting situation is different, but this guide will get you started on the right foot and be a handy guide on your creative journey.
Time to make it happen, friend!
Insider tip: Print the guide and cut out my camera settings so you can pull them out of your camera bag or desk anytime you need them.
With a guide like this one, I’d suggest giving yourself some homework. Find one of the lighting situations that I talk about in the guide, plug in your settings, and follow the step-by-step process for shooting in manual.
There’s nothing like going out and doing the work to really hammer in something that you’ve learned.
Happy shooting, friend!

Love Pinterest?
You and me both! Pin this image so you can come back to this post anytime.
Name your board "Light & Airy Photo Tips" so we can find your faves!
Tell me in the comments below: do you have the guide? I’d love to hear how it helped you get from point A to point B! Comment below and tell me about your journey to shooting in manual!


