A Secret Look Inside My Styling Bag
Oh friends! This has been a long time coming! I started receiving questions about styling details after I shared Hannah and Tyler's Garden Wedding on the blog. Bridal details are romantic, brides love them, they look great on gallery walls and in albums, editors love them, and they really bring out the character of each wedding!
Bridal details are something my couples get excited about (well, mostly the ladies get excited about them)! I schedule time during each wedding to shoot bridal details and finally have a system that feels smooth and stress-free! Have you ever been in a situation where you're wrapping up bridal details and there's still a huge mess to clean up? I can't tell you how many times I have left Isaac cleaning up different fabrics and returning items while I go photograph the girls getting ready. It was never a problem, but I wanted to have an easy-to-clean-up system that was great for my clients and us.
I give you the styling bag.

Yes! Finally there's a no-stress, easy-to-clean-up setup for photographing bridal details! Don't worry about using the wedding dress as the background for bridal details. Don't worry about using leftover linens or collecting fabrics to style the details to perfect. I want to have more time to be creative with my styling!
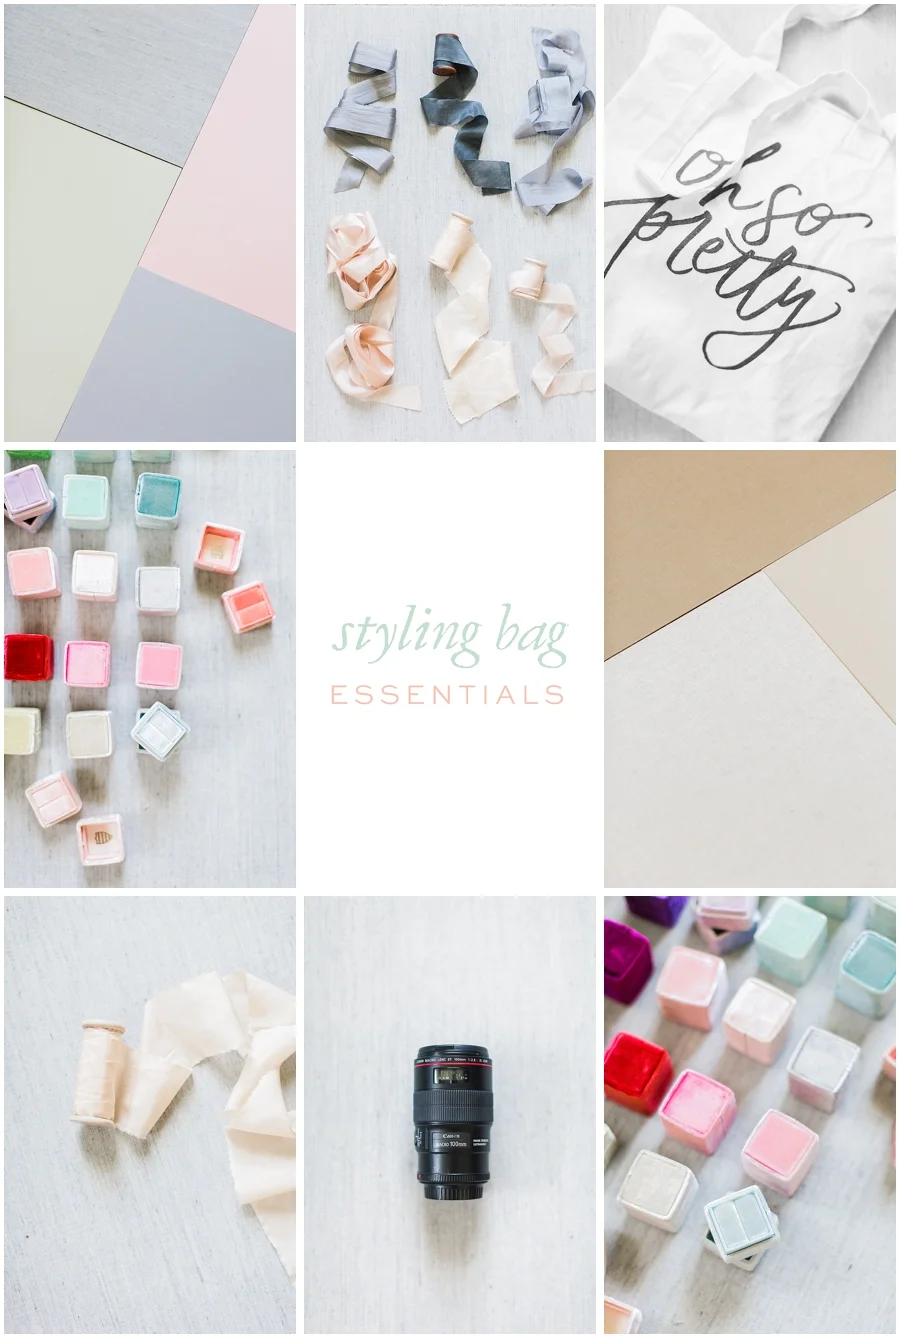
Here's the breakdown of my styling bag and how I use each piece. I am continuing to add to my collection because I love different fabrics and textures. I love photographing details in a way that makes them feel like they belong with the rest of the wedding images. Let's create!
(1) Mrs Box Styling Collection
This collection includes a velvet ring box in each color — 26 ring boxes total! I love to shoot the rings on the invitation suite (or another paper product), and then in these boxes. I bring the whole set with me and keep them in plastic zipper bags so that I can match the box to the colors in the wedding! Yes, I have thought about putting them in a cuter bag, but then I wouldn’t be able to see the colors. Practicality wins this time!

To make up for the lack of cuteness in the ziplock bags, I do use the bag below to hold all of the ziplock bags! My sweet friend, Charity, gave it to me and it's a fave!


(2) 4 styling boards (8 colors) from Heirloom Bindery
If you can only invest in one piece for your styling bag right now, this is what you should get. No more draping curtains over chairs. No more using the dress or collecting fabric!
Say hello to styling boards. Now, you just need to find beautiful light, lay the board down, and get to work!


(3) Lots of ribbon from FrouFrou Chic, Silk & Willow and Heirloom Bindery
I don’t think every photo needs ribbon, but I love having it on hand just in case! If you style the ribbon so that it’s tight across the board, it makes the wedding feel more classic and sophisticated. If you style it so that it’s loose, it makes the wedding feel more relaxed!

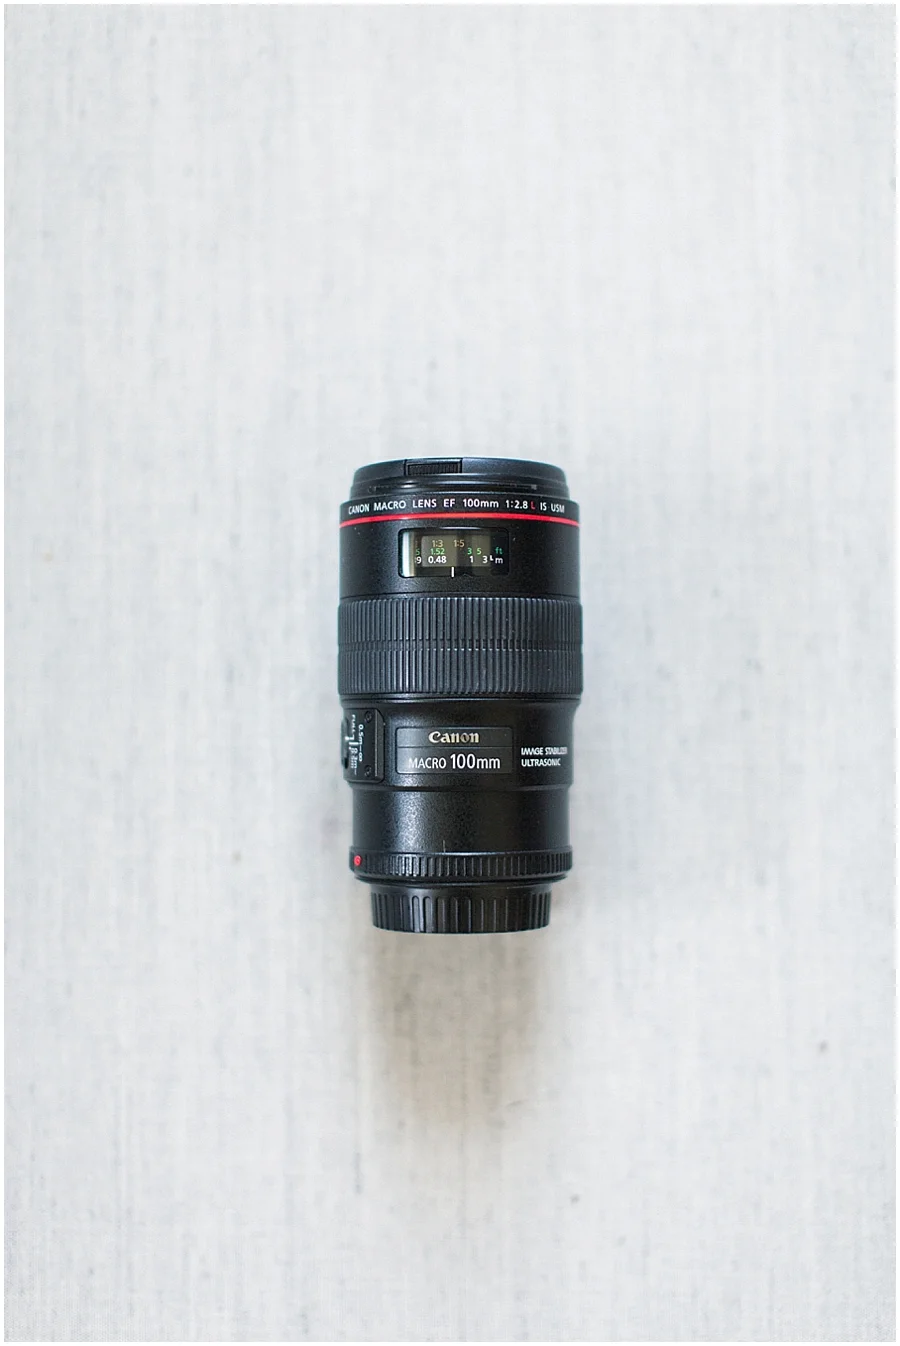
(4) Canon 100 Macro f/2.8 L Lens
We use this lens for photographing the rings and earrings. You could also use it for the ceremony, reception, or even couple photographs, but we stick to our Canon 50 L, 85 L, and 70-200 L most of the time. Because of this, this lens lives in the styling bag!
(5) The Kelly Moore Libby Bag!
This bag used to carry my equipment! I tend to be a little hard on bags, so we now have the Roamographer, the Prince Street Bag, and the Tenba (which has been with me from the beginning) to handle those tasks. The Kelly Moore Libby Bag is perfect for my styling bag because there’s a space for everything and it’s designed to be left unzipped! Love!
(6) Foliage
Isaac wants me to include this one! I collect a lot of things on the wedding day! Sometimes the florist will send me fresh blooms because I love using them to style the invitation suite! If I don’t have blooms from the florist, I will find something to use! I cut hydrangeas at Cassandra’s home (with permission, of course), I used fake flowers that were left over from wedding decor for Madalyn’s wedding, and used flowers that had fallen off plants at Mariah’s wedding!


Think through your artistic voice! How can you give your clients a “Wow!” experience through bridal details? Where should you shoot the details? Will the bride and bridesmaids feel more relaxed if you’re in the room or if you find a different space to photograph the details? I find that I’m more creative if I am not sharing the same space! The last thing I want is to be stepping over people to take a photograph. I can give everyone a better experience by taking everything outside or to a corner of the room!
A behind-the-scenes look at my setup
I found a beautifully illuminated location at Kristina and Brady's wedding and photographed all of the bridal details there. I pulled in flowers and a pair of scissors from the bridal suite, Isaac picked a few books from the reception, and we pulled in a few gold-painted leaves. The fabric you see behind the invitation is actually the sash of a bridesmaid dress. Once I pulled in all of the pieces, I started styling. You can see all of the styling right here.
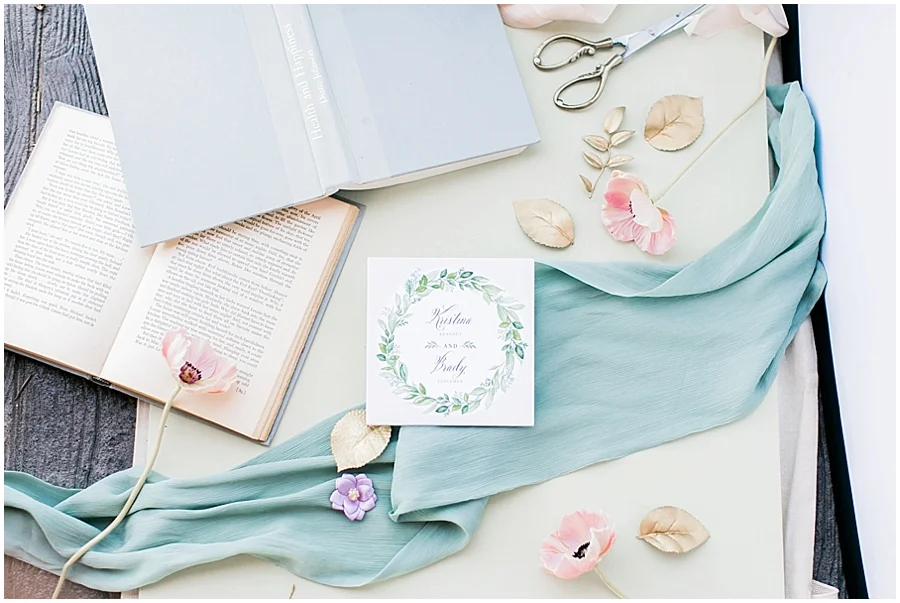
You will notice the styling board, the ribbon (top right), and the reflector (right). The light was already really clean with no harsh color reflections and I was wearing black. The reflector added some fill light so that the image didn't feel moody, but soft and elegant. I knew from other wedding details that their wedding day was going to feel more whimsical and free! I wanted the details to reflect that feeling.
The source of creativity and how to access it every time
I walked outside and sat on the front porch. I only had 15 minutes left with bridal details and I needed to start over. I had just spent over an hour taking photos that I felt were lackluster. They were beautiful, but they weren’t anything special. And I wanted to give Randi and Adam something really, really special. I wanted it to be my best work yet!
I turned the camera off and quit my endless scroll through my camera’s memory. After all, it only proved what I already knew: I wanted something more. I looked up to the blue, midday sky and prayed. No, really, I prayed. That wedding day was a turning point in my business because I learned that God is able to give me a new mind - even when I’m shooting weddings! I shot all of the details again in those 15 minutes and you can see them right here! This wedding was even published on Style Me Pretty!
love pinterest?
You and me both! Pin this image so you can come back to it anytime.
Name your board "Light & Airy Photo Tips" so we can find your favorite posts!
I have learned a lot since that hot summer day 3 years ago, but the one thing that has been affirmed over and over again is that my creativity comes from my Creator! I had a lot of emails in August asking me how I do it - how do I put my best work out every time? How do I style bridal details? First, you all are so sweet and that means a lot! I strive to make each shoot my best yet because I know that I'm working for God and not for man!! When I rely on Him to give me new eyes to see, everything changes. If you're a Christian, start a conversation with Jesus about creativity and ask for it! He gives us good gifts.


