
My process for making digital look like film
I think the look of film is so much more than a trend. The look of film shaped the world’s view of photography until digital was introduced in 1975. Warm skin tones and a blue-er background are just nice to look at. So it’s no wonder that everyone is wondering how to make digital look like film.
So today I’m sharing my exact process for making digital look like film!
Yes, the BPS is key to keeping it consistent for me, but it’s so much more than an editing system. It starts before you even pick up your camera.

My process for making digital look like film
Step 1: understanding the limitations of film
Film isn’t a perfect solution to coloring issues. If you shoot film under mixed lighting — like incandescent or fluorescent lights — you’re going to run into some… well, ugly color. Film really shines in the first few hours of the day and in the last few hours. It shines if you’re shooting in an illuminated room in the middle of the day.
But if you shoot film in the middle of the day under some tall trees, you’re going to have green color reflections popping back onto your subject’s face. You can do a little bit of editing in post to nix that, but you’re just going to be able to tell that the coloring is a little off.
Step 2: understanding why you love film so much
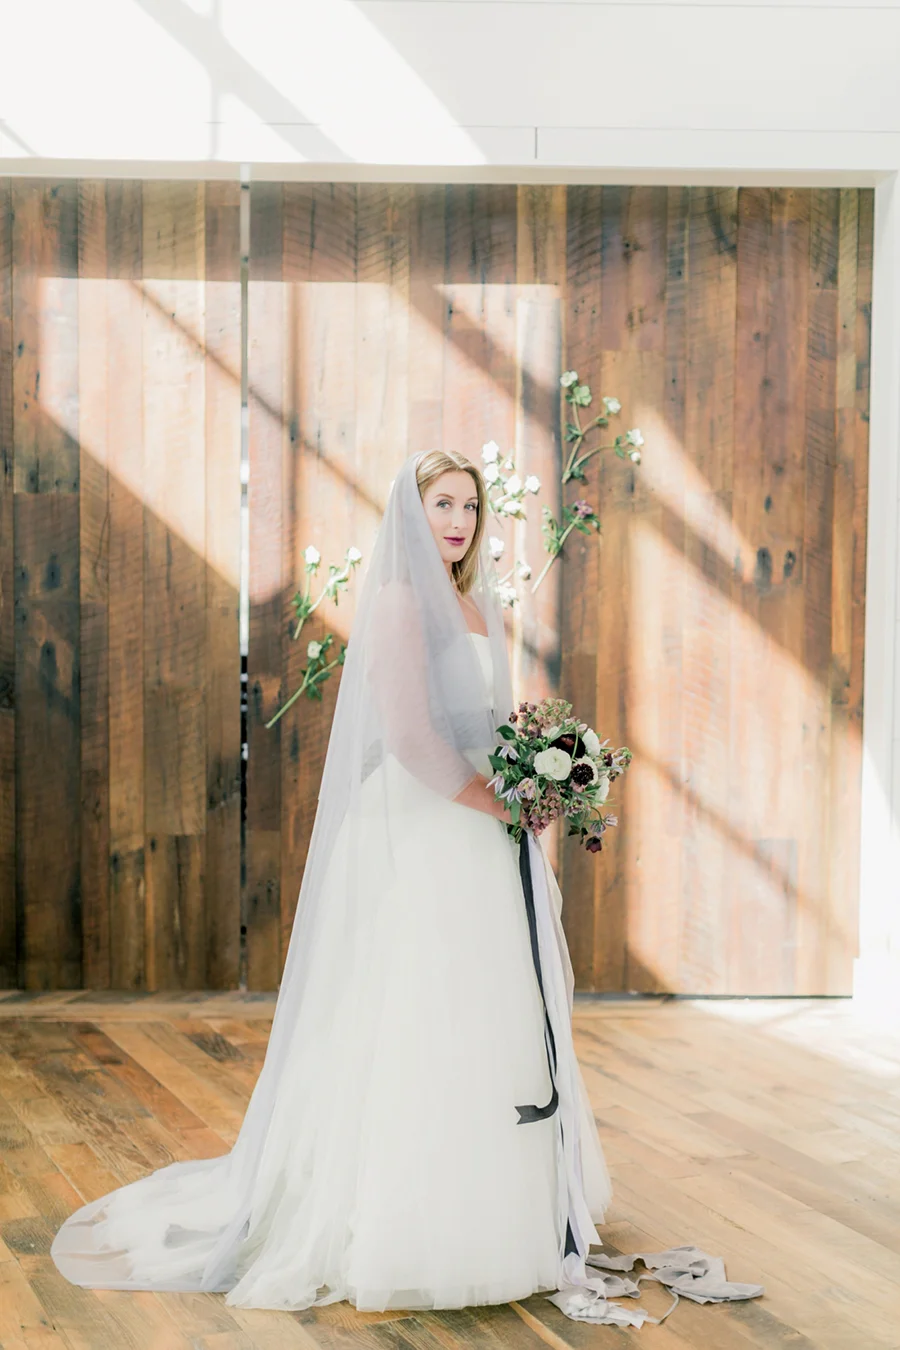
Personally, I love the creamy, even skin tones that are warm (but not too warm) and the greens and blues that happen in the background. And can we talk about the bokeh, too? There’s a sharpness and a richness to film but it all still looks so soft!
Here’s how you can make that happen when you’re shooting digital!
Related Post:
85mm vs 50mm with unedited photos
Step 3: Shoot in the first two hours of the day or the last two hours
These hours hold the softest light of the day and the colors just have that iconic film look to them! Why? Haha! Well, because filmmakers and photographers have known to shoot in these hours (or with extravagant flash systems) for decades!
If you’re not shooting a wedding, strongly and sweetly encourage your clients to shoot during the two hours after sunrise or in the the two hours before sunset.
Step 4: Turn on highlight tone priority on your camera
This isn’t a feature on all cameras, but I know that if you have the Canon 5D Mark III, you definitely have access. This feature is located in your menu options and it will save the parts of your image that are beginning to lose detail in whites. You’ll still want to make sure that you’re not overexposing your image, but this will help a lot!
Step 5: Shoot in Manual
I wrote an entire blog post on how to shoot in manual (click here to read it). It will walk you through my exact process for setting my aperture, ISO, shutter speed, and white balance.
And if you need to start nailing your images in-camera, I wrote an entire guide just for you! Click here for my light and airy camera settings.
Step 6: Shoot in RAW
The first thing you should do when you pick up your DSLR? Switch that camera over to RAW!
Step 7: Use a reflector
Even when you’re shooting film, illuminating your subject is a must-do. So pull out your reflector and put it in front of your subject to bring light to their skin or angle it so the reflector is throwing light into the shadows. Play around and find what works for you!
Step 8: Shoot for those blue-greens
If you love those blue-greens, shoot them! You can walk around your subject and look just past them… what colors are in the background? It seems obvious to look for something like this, but it’s actually not.
When you’re shooting, you have so many things on your mind — client experience, shooting in RAW, lighting, manual settings, posing — that sometimes color isn’t front and center.
But shoot the color that’s closest to the kind of color you want and watch your images really come alive!
Step 9: Shoot in the shade if the sun is high
Just avoid blown out images all together! So if the sun is high, shoot in the shade. There are times where you can shoot a subject backlit in the middle of the day, but only if you have enough light in front of them to balance it out. So give that technique a try, but not when you’re on the job.
Shoot in the shade when you’re on the job and then when you feel confident about shooting backlit in the middle of the day, do it! Also, it’s totally normal for photographers who’ve been doing this thing for years to never shoot backlit in the middle of the day. Find what works for you and your style and own it!
Step 10: Edit in Lightroom
Lightroom is the easiest way to edit images! You just import your images, edit an image, and then you can apply that edit to the rest of the images that were taken with that type of lighting.
Let me say that a different way: you can quickly edit an image and then apply that edit to other images that look kind of similar.
Curious about getting started with Lightroom? I have a post for you!
Step 11: Update Lightroom
When I first got started with Lightroom, I just purchased the program as a whole. But these days? I’m an Adobe Lightroom subscriber. They got me.
Here’s why I love it: I am always working with the most recent and up-to-date version of Lightroom. Editing platforms still have a long way to go (we are losing 70% of color just from camera to computer), so getting those updates when they’re released will literally pay off in your business in the long run.
Not sure which plan to get for Lightroom? I share what I did in this post.
Step 12: Bring the whites and highlights down in Lightroom just a little
When you’re in Lightroom, just go ahead and bring down those whites and highlights ever so slightly. This will clip some of the brighter part of the images and make sure you’re not losing too many details in the whites.
Sidenote: the Brittley Preset Suite handles this area like a boss. Really, it handles the whole histogram (minus the temp and tint) for you!
Edited with the BPS
Step 13: Add some grain
There are so many areas when it comes to editing that help you really get to a looks-like-film look, but I’ll just leave it with this one! When it comes to shooting digital, noise is bad and grain is good. So nix the noise in your editing and add some grain instead!
Step 14: Keep it simple with the brittley Preset Suite
Like anything — even a super helpful tool like Lightroom — some things take time to really master. The Brittley Preset Suite is one of those, but I can guarantee that you’ll see a major different “right out of the box.” It doesn’t actually come in a box so I need to put those handy little quotes in there!
Related Post: the Light & Airy Preset Suite is now the Brittley Preset Suite
It’s a direct download and I have tutorials waiting for you in the membership area if the light and airy looks-like-film look is your thing.
Either way, apply these things to your shooting and editing workflow and you’ll see a major difference! Try to look for those warm skin tones and blue-greens while you’re shooting and play around to find what works for you in Lightroom.
Step 15: Adjust the HSL sliders to get the color you want
If you have the Brittley Preset Suite, you don’t have to worry about this, but if you don’t, here’s a general idea of what I like to do!
I always bring down the saturation of oranges, yellows, greens, and bring down the blues just a tad. I don’t typically mess with luminance too much unless I’m dealing with a tricky image. I also love to change the hue of the greens to look a little more blue-green instead of yellow-green!
Related Post: HSL Lightroom Panel

love pinterest?


