
Lightroom to Instagram export settings
Have you ever uploaded a photo to Instagram and later thought, "Hey... wait a minute! That looks a little off. Oh, it's probably just my phone..."
If you've caught yourself doing this, it might be the Instagram image algorithm.
Instagram has an algorithm that is designed to compress high quality images so the images can be stored on their platform.
If you're uploading images taken with a DSLR, the width, resolution and everything else inside the Lightroom export settings panel will need to be changed. Or else? Well, Instagram will handle those details for you.
Let me just say from personal experience... they don't do a great job at this. 😂

What if there was an easy way to export your photo from Lightroom, upload it to Instagram and make sure that your image was up to par with the rest of your brand?
Would you sleep better at night?
Ha! I know, I know... the data quality of your latest Instagram photo isn't keeping you up at night, but it could be keeping your potential customer up at night.
In a study shared by Hubspot, consumers said that the quality of a product image is "very important" when it comes to buying a product (source).
The customers you're bringing in and the clients you're booking care about image quality enough to make them abandon cart or abandon their email inquiry.
Let's make sure that any time you share a photo of your product or service on Instagram, you've got the exact Lightroom export settings you need.
Today I'm going to show you how to take your image from Lightroom to Instagram. I'll teach you about every section in the Lightroom export panel and then tell you exactly what settings to plug in.
And we'll keep it simple and non-techy because that's how I roll.
Click play below to see it in action and then read the rest of the tutorial below…
Let's get your photos from Lightroom to Instagram
Getting your photos out of Lightroom is as easy as Shift + Cmd (or Ctrl on a PC) + E or going up to File —> Export.
A window pops open, you choose where you want your image to go, plug in your export settings and then it's time to get your image or images ready for Instagram.
But right before you hit export, there's one more thing that you need to handle to make sure your image is showing up well on the gram.
Related Post: 85mm vs 50mm + my unedited photos
Navigate to the develop panel so you can get your image cropped for Instagram...
Instagram ratios, dimensions and crop
Step 1: Change the crop for instagram
Once you're in Lightroom, select the image you want to export for Instagram, make sure you're in the Develop module and click the Crop Overlay tool.
It looks like the little square, dashed box below.
You can also get to it by clicking "R" on your keyboard.

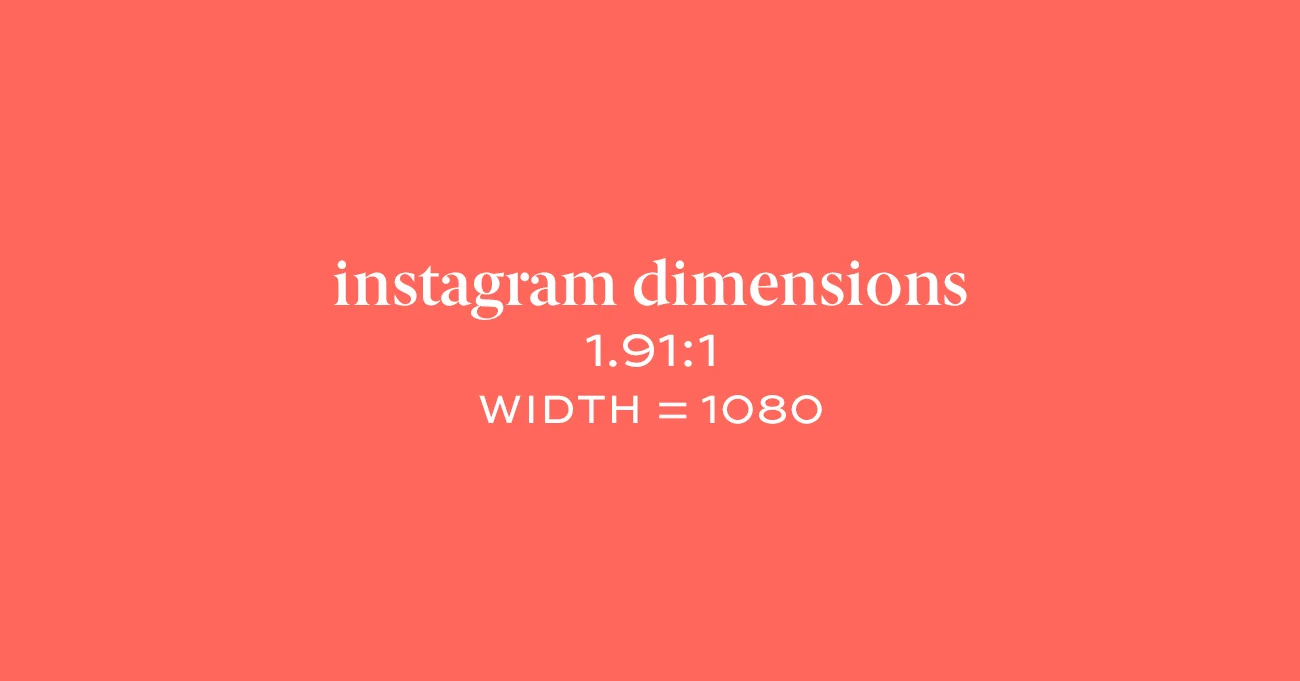
Instagram wants your image ratio to be between 1.9:1 and 4:5 (source).
In other words, Instagram wants your image to land somewhere between super long (think movie screen long) and a vertical image that's a tad shorter.
Here's what those dimensions look like...
And here's what those dimensions look like in photo form...


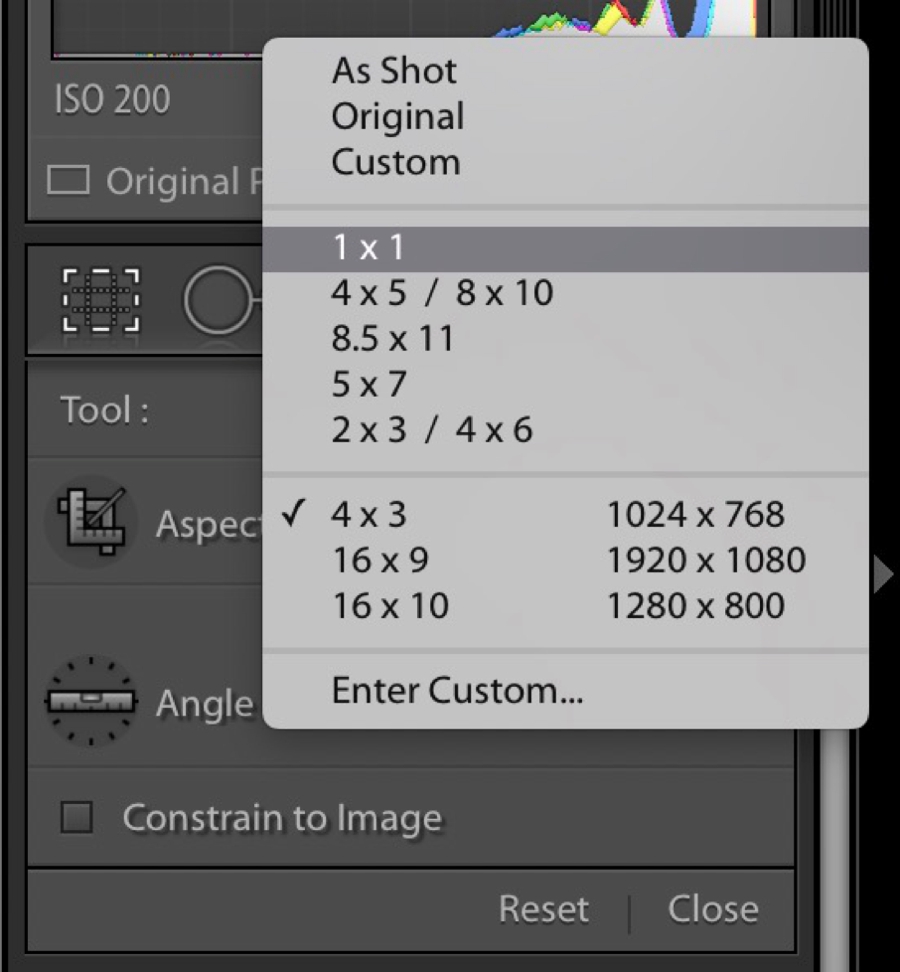
To get to get these Instagram-ready dimensions, make sure that you have the Crop Overlay tool selected (pictured above) and then click the arrows next to "Aspect:"
If you haven't changed the crop, the text next to the arrows will say "Original."

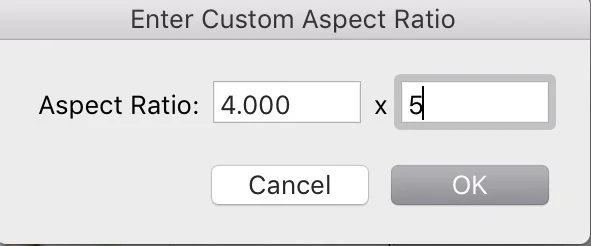
A dropdown menu will appear. Click "enter custom"

Type in the 1.91:1 dimensions to get a wide crop on your image.
This crop could be very eye-catching in an instagram ad because it isn't used very often for imagery.

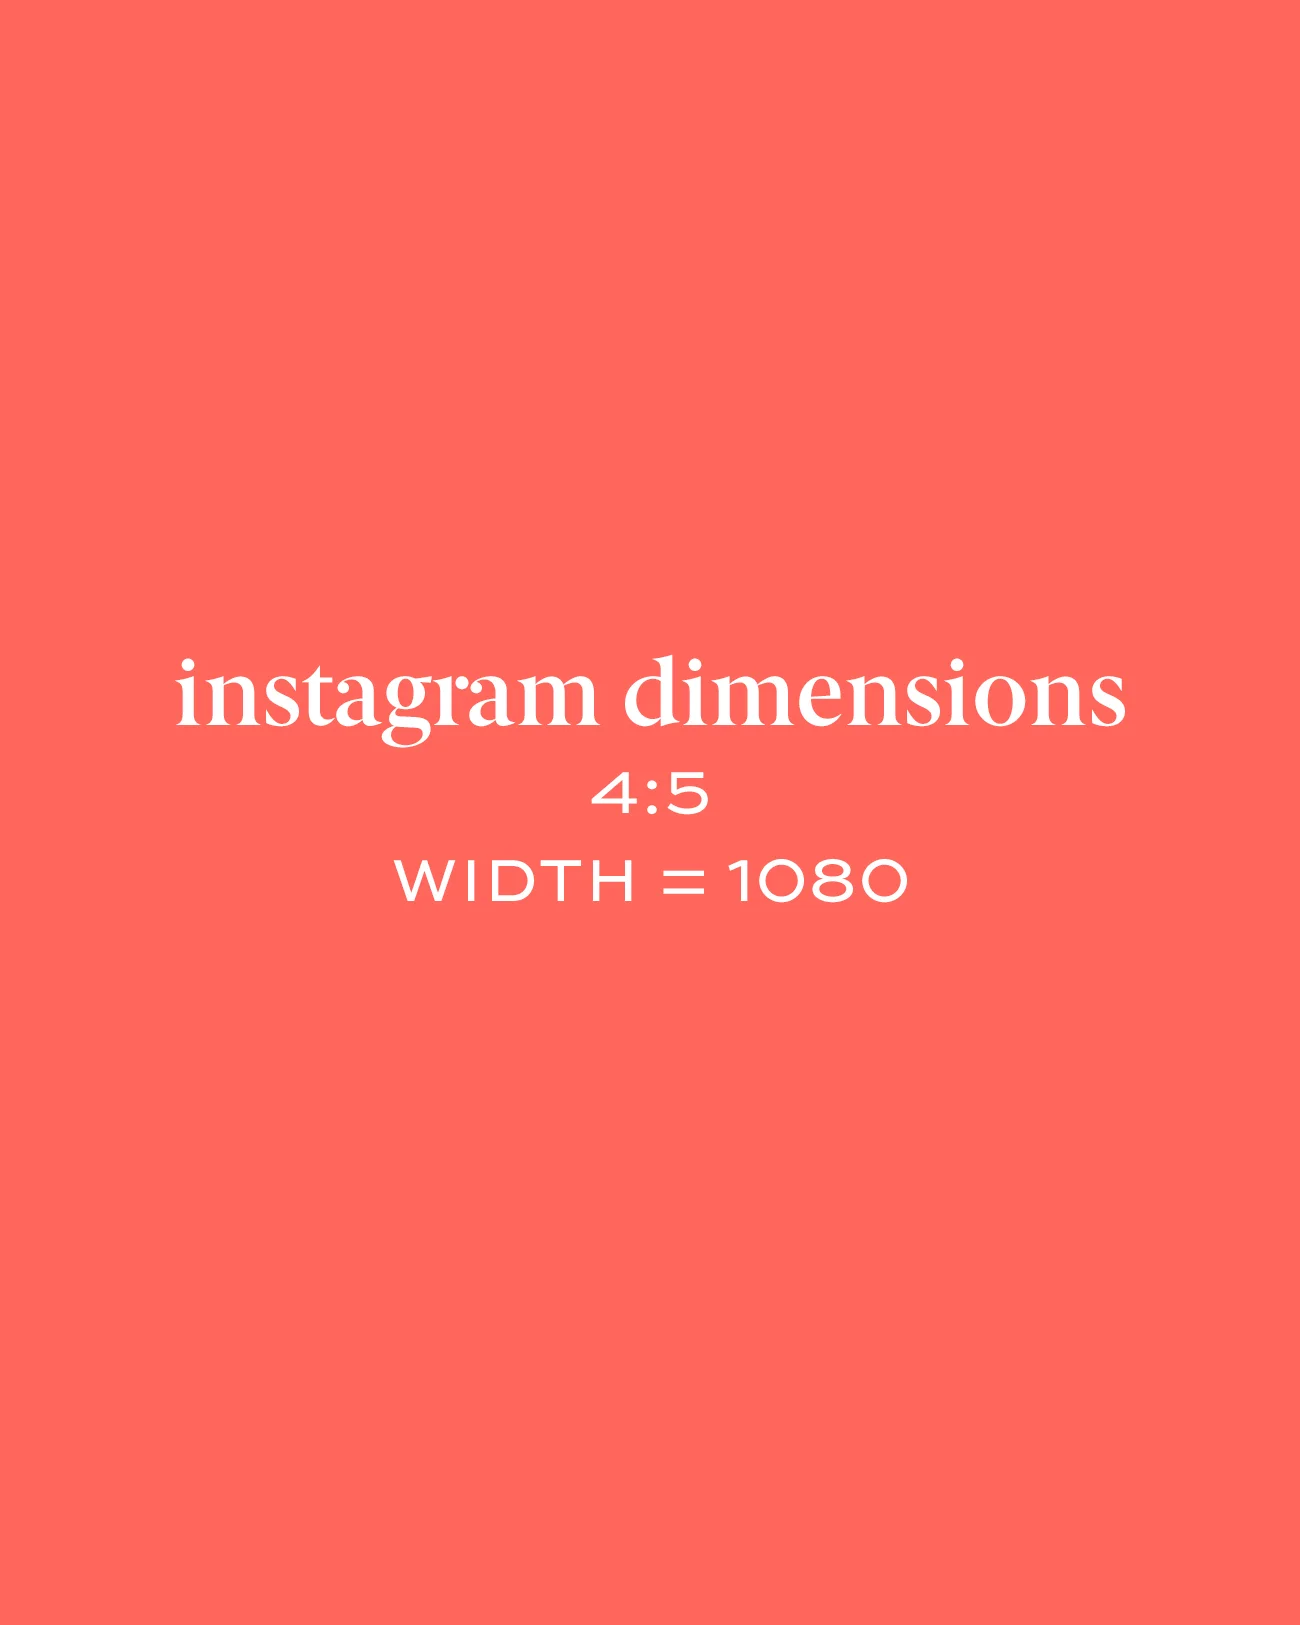
Or you could type in the 4:5 ratio for your instagram image...
These dimensions are also eye-catching because people generally leave their crop as a 4x3 or a 1x1.
Speaking of standard crops, you could also just select 1x1 or 4x3 in the dropdown menu.
Quick tip: Leave some white space + straighten
Leave some white space in the different "squares" of your image. For the image below, I could have centered myself in the middle of the image.
But if you move your object or focal point to one of the edges, you'll have a slightly more interesting crop.
Use the lines and boxes inside the crop overlay tool to make sure that everything is straight and your object or subject lands on the corner of a square or a line...

For this image, I straightened it so that the lines followed the building (as opposed to the road, which was sloped).
Lightroom export settings for Instagram
Step 2: Choose the Export Location
First, select where you want this image of yours to end up! I typically create a "final" gallery folder inside my main event folder.
But for Instagram, I like to keep it simple.
I just select the Desktop as the export location. You can change it to anything you want by going to "Export To:" and choosing "Specific folder"
Underneath, you'll see a default option. Click "Choose..." over on the right and select the folder or destination for this insta image!

Step 3: Name your file
Under file naming, you can choose to export your image with a custom filename!
Check the box next to "Rename To:" and select Custom Settings.
Choose your text and start number and you're all set!

Step 4: Change your File Settings
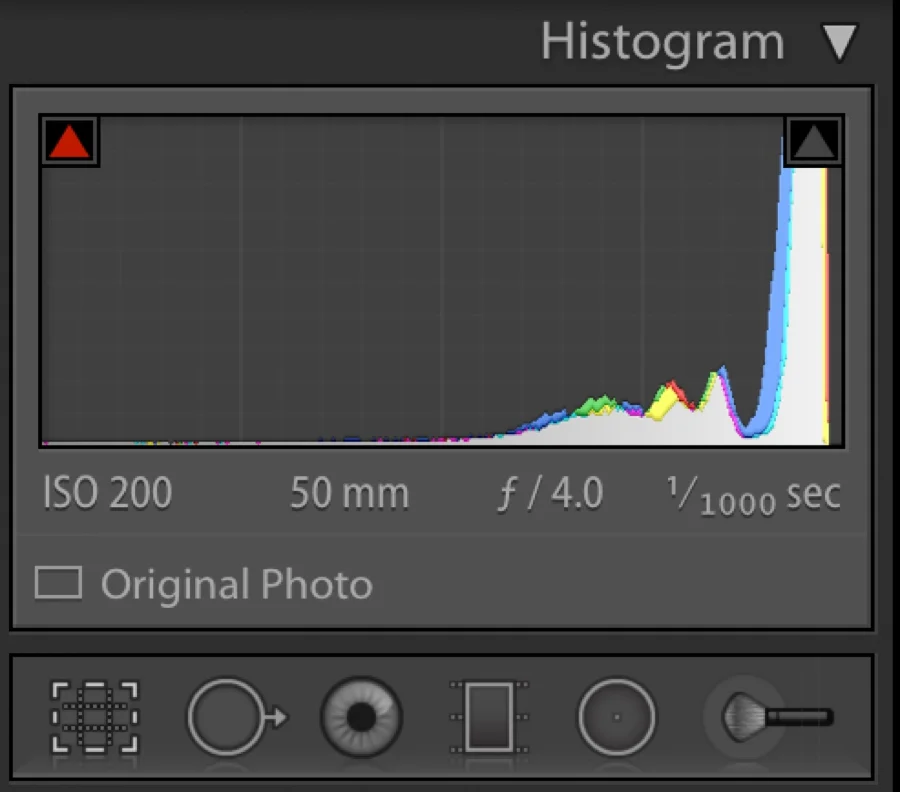
Select JPEG for the image format, sRGB for the color space and you can drop your quality to 76.
It's really important that you change the color space to sRGB.
If you leave it in Adobe RGB or RGB, then you'll have some hyper muted & green images that get uploaded.
I actually suggest switching the color space in your export settings permanently. This will make sure you don't run into any issues.
If you decide at some point that you need to print something for a billboard, go ahead and switch it back.
But in general, sRGB will serve you well!

Step 5: Update your Image Sizing for insta
The best width for your Instagram image is 1,080. If your image is larger than this, Instagram will size down your image.
To make sure that all of your images are the same width (horizontal and vertical images would naturally have different widths), check "Resize to Fit."
Then select "Width & Height"
Leave the H: section blank.
Type 1,080 into the space that follows "W:"

Step 6: Output Sharpening
I sharpen all of my instagram images for a screen. Just check the "Sharpen For:" box and select "Screen" from the dropdown lsit.
I leave the amount set to Standard.

Step 7: Metadata
This is my favorite section when it comes to exporting instagram images from Lightroom!
Have you ever sent a photo to your phone to upload it to your instagram story and it's nowhere to be found?
After a little digging, you find it way back in your phone archives.
This happens because Instagram is reading the date it was shot, not the date it was sent to your phone.
Here's the easiest fix for you! From the dropdown list, choose "Copyright Only"
This will remove the date your image was shot!
Finding photos on your phone from insta story will now be easy peasy.

Step 8: Watermarking
You can include your watermarking here if you want, but I suggest never dong this.
First of all, it clutters your beautiful feed.
Images with text typically don't perform as well.
It's a lot less likely that your image will be shared.

Step 9: Post-processing
This is fun! You can have Lightroom open your photo after its exported in a specific program.
I leave this off, but it's handy if you want to take one final look at your photo before you send it off to Instagram!

Step 10: Click export
And you're finished! I didn't want to have to remember all of these settings (or enter them every time) so I created 2 free presets.
That's right — you can have a preset handles your export settings! Click on the button to get the free Lightroom export presets that I made for ya.
Typically when you think of a preset, you probably think of a photo editing preset. It might adjust your exposure, contrast, whites, shadows and every last bit of color to make sure your image is edited to perfect! Ahem, ahem, thank you Brittley Preset Suite!
But you can also create presets for your export settings so that you're not constantly having to enter them manually.
Step 11: get the free lightroom export presets
Click the button below and I'll hand over the two export presets I've created:
1) IG export: this preset will do everything I shared above so you can rest easy that your image isn't losing any detail or quality on Instagram.
2) General export: this preset will switch you back to the settings I prefer to use when I'm exporting a client gallery or photos of my family!
Step 12: Import your export presets
Ready to import your export presets? Ha! Anyone else think that's a mouthful?!
It's really easy! Click shift + cmd (or ctrl on a pc) + E or go to file —> export while you're in Lightroom.
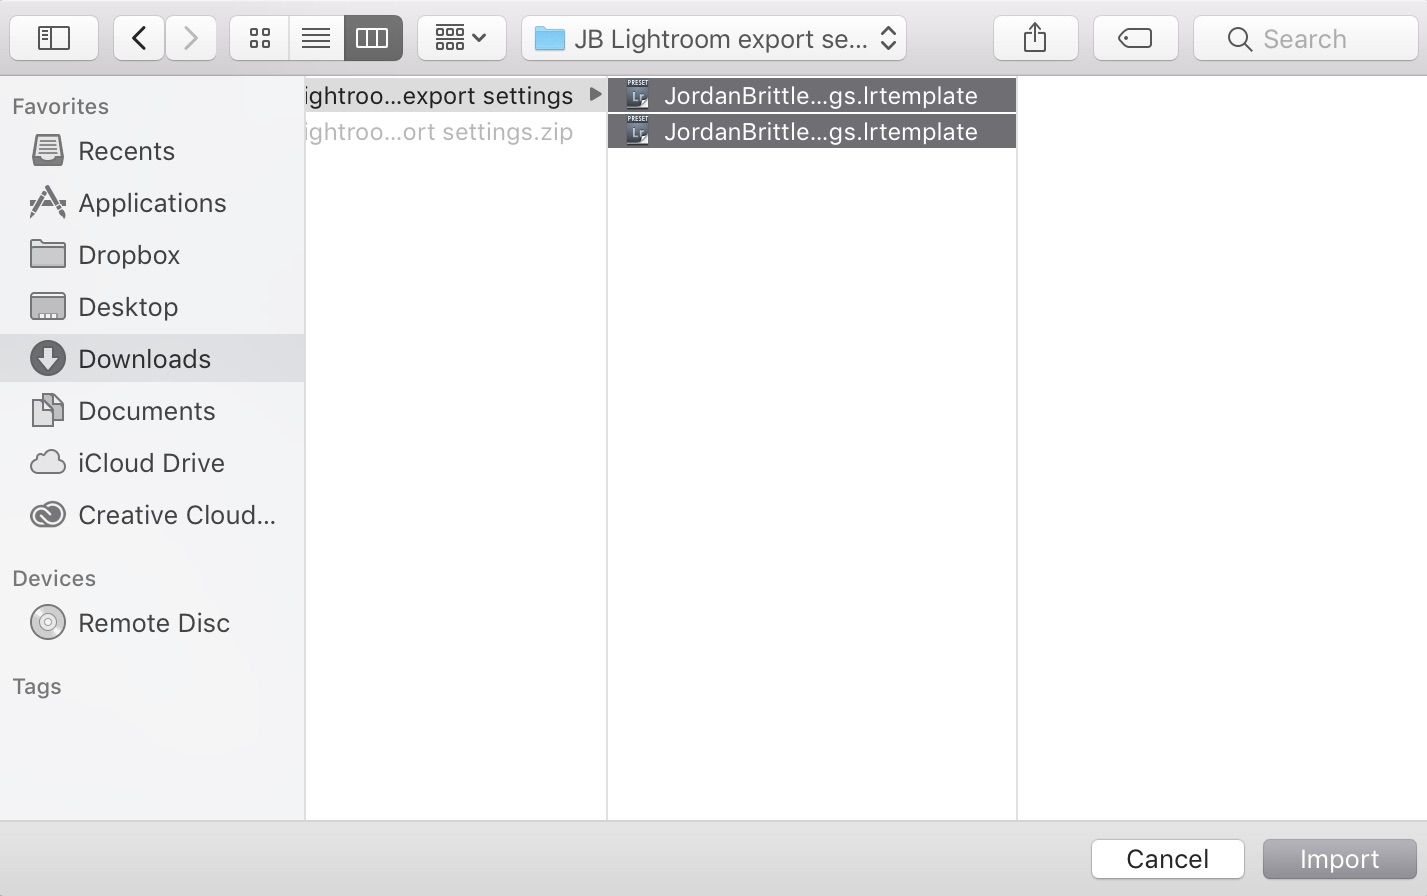
Your export settings screen will pop up. On the left side, right click and select "import."

Locate the presets you downloaded from the button above and click "Import."
You'll see the presets appear in your export panel!
Anything special for phone photos?
Instagram does a fine job resizing if you're uploading a phone photo, but if you shoot anything in a larger file size, the image isn't going to look as great as it did on your computer.
If you're shooting with a phone, you should be all set. As phones become better and better at taking photos, I imagine that Instagram will adjust how they're compressing files for a great phone-to-instagram experience.
Related Post: Edit light and airy overcast photos in Lightroom
How do you actually get your photo from Lightroom to Instagram?
I do this one of two ways!
Option 1: airdrop
If you're ready to put your Instagram image up right away and you're using a phone and computer that allows this, you can airdrop your image!
Just export your photo from Lightroom, locate it on your computer and right click on the image.
You will see an option called "Share." Hover over this option and click "AirDrop" from the menu that follows.
Select your phone from airdrop and the photo will be sent to your phone.
Definitely beats emailing images to yourself, right?! Back in the day, that was the only thing I knew to do! 😂
Option 2: instagram scheduler
If you're the type who likes to make sure the photo is going to work well in your feed, you are probably already using a tool like Planoly.
Once you've exported your photo from Lightroom, locate it on your computer and upload it to your favorite insta scheduler.
I love Planoly because everything is drag and drop and I can easily move things around to see what's going to work the best for brand messaging.
That's it! You just took your photo from Lightroom to Instagram and saved it from having color and exposure and contrast completely crushed!
Go ahead and celebrate with a cafe bon bon or a smoothie bowl.
Oh, and don't forget to drink some water with your coffee. Us creatives have to keep ourselves hydrated to keep the creative juices flowing.


Images edited with my presets.
@Jordan Brittley
👩🏻💻 Photo + editing tips
🛀🏼 Mompreneur
🍷 Jesus stories
📱 IGTV episodes for creatives
🎒 Creator of the Brittley Preset Suite
👇🏻 New blog post each week
Love Pinterest?


