
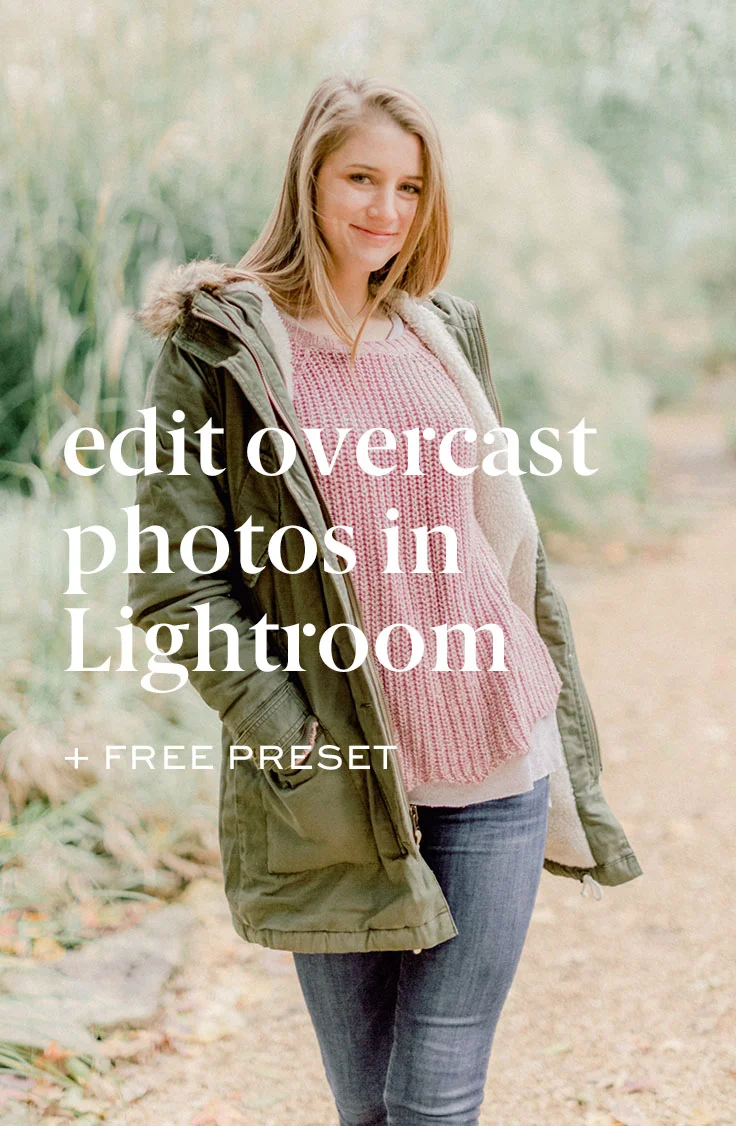
Cloudy day photography
Today’s all about those light and airy overcast, cloud day photos and how to make sure they…
Don’t look dull
Have the perfect amount of sharpness
Have depth, but don’t feel grungy
Don’t look too green or too pink (aka nix the color reflections in those cloudy photos)
Have the perfect pop of color whether you love something muted or vibrant
Here’s my exact process — including the exact sliders I use — when I’m editing those cloudy photos in Lightroom...
Keys to light and airy cloudy day photography
Don’t miss the full overcast gallery below
Last week I took you behind the scenes of my shoot with my sis and compared two of my favorite lenses.
This 85mm has the creamiest bokeh and the 50 is so versatile you could take it to the international space station.
If you haven’t seen the 85mm vs 50mm video + blog post, click the related post below to catch up on this shoot.
Step 1: Shoot the cleanest cloudy day light
Is it true that it’s easier to shoot on an overcast day than on a sunny day?
It’s definitely more flexible.
It lets you shoot out in the middle of an area with nice, even lighting.
But it can also cause problems with skin tones, color reflections if you’re not using the cleanest light possible.
A reflector is going to be your bff on a rainy or cloudy day and it might give you that added bump of flexibility when you’ve just got to shoot in that spot. Hey… I get it. You’ve got to do what you’ve got to do.
Everything looks all great on the camera and then you load it into Lightroom and you’re all eyes-wide-open emoji (you know the one I’m talking about?) trying to figure out how to get that light and airy, creamy look to your photo.
Step 2: Remember that these sliders are all related in Lightroom
Do you ever find yourself tweaking and tweaking an image over and over again and you feel like you’re just going in circles?
All of the sliders are related, so when you change one slider, you’ll have to change another (that’s why a good preset pack holds so much potential).
All of those minutes you save are going to add up when you’re editing full galleries.
Here are some general slider rules…
When you bump the exposure, the image is going to lose some of the contrast.
When you increase the contrast, the image is going to be more saturated.
When you drag up the temperature in Lightroom into the yellows, you’ll also want to drag up the tint slider into the pinks.
And on the flip side: when you drag down the temperature in Lightroom into the blues, you’ll also want to drag down the tint slider into the greens.
Step 3: Bump this, not that for overcast photos
Bring those blacks right on down before you drag that contrast slider up. Increasing the contrast makes your image look more saturated and sharp.
To own your photographic voice, you want control over each part of the editing process so only use contrast when that’s the exact look you want.
Bring down those blacks before you bump the contrast for some light and airy, creamy skin tones with the perfect amount of depth in your overcast pics.
Step 4: Should you add sharpening to your cloudy day photo?
Yes, but tread lightly.
Haha! As if we’re climbing Mt Everest.
Definitely not that risky, but oversharpening is not your friend.
Here’s what I recommend…
In the develop module inside Lightroom, scroll down to the “Detail” panel.
You’ll be able to add as much sharpening to your image as you want. It’s worth mentioning that adding sharpening isn’t going to fix in-camera focus issues. It’s just going to sharpen the entire image.
I’m showing you the sharpening technique you should use in this week’s youtube video so to see this in action, watch that video.
If you hold option or command down on your keyboard while you drag around the masking, you can see the area of your image that’s being sharpened.

You’re already unique enough right now. Right as you are.
You know the look you’re going for better than anyone and I’m all about you owning your photographic voice so if the over-sharpened look is exactly what you had in mind and you’re not going after it just to be rebellious, then do it!
And yes… it’s true. Us creatives can be a bit against-the-grain and do our own thing. It’s great and it works to our advantage… except for when we don’t realize that we’re doing it just to be rebellious. Haha! Raising my hand… definitely been there.
Test things out and see what you like. Don’t be different just for different’s sake. Be you and that will make you different enough.
You’re already unique enough right now. Right as you are.
Step 5: Adjust your HSL sliders
Yeah! Time to get your editing game on!
These sliders are a huge part to helping you build your own signature look. And a quick side note here: BPS has this area handled for you. There’s Brittley Fuji & Brittley Portra which you saw in the video above. Each with their own fine-tuned and tested looks for that classic looks like film look.
There are also 5 saturation presets you can layer on for your own look or to handle trouble areas: Clean, Greens, Muted, Overhead Light and Sunset. And the most underrated light and airy preset? That’d be this one.
No matter what, you’ve got to know this section and that’s why I do a little free preset plus HSL adjustment edit for you in the video above!
Related Post: Get to know the HSL Lightroom panel
Step 6: Check this Lightroom checkbox… every single time
Are you ready for the most basic adjustment you can make in Lightroom that makes a huge difference?
It’s a checkbox found under the “Lens Corrections” panel in Lightroom.
Check the box next to “Enable Profile Corrections” and Lightroom will automatically choose your camera model and lens.
You can think about this like Lightroom is calibrating your image for Lightroom.


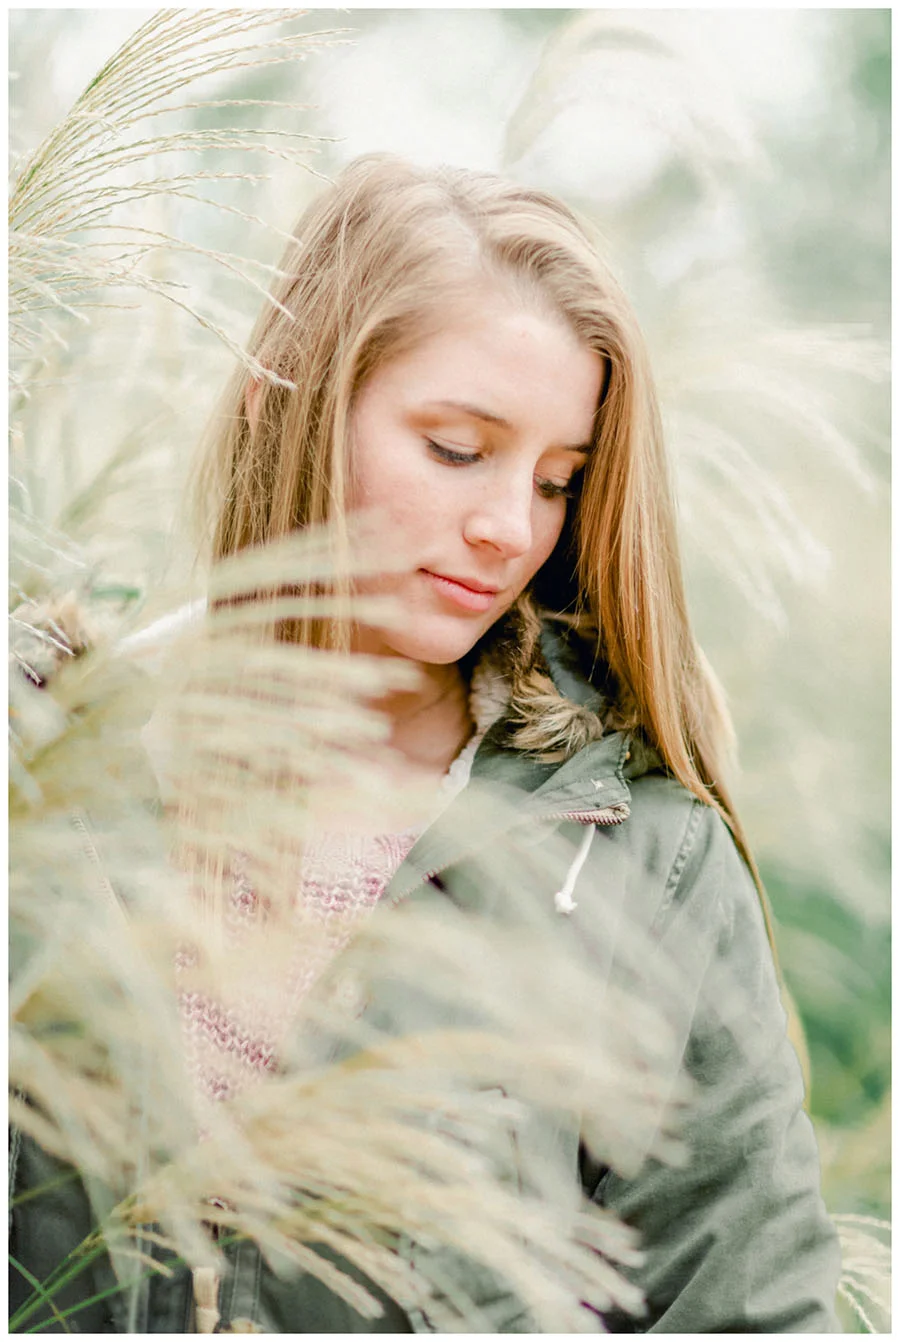
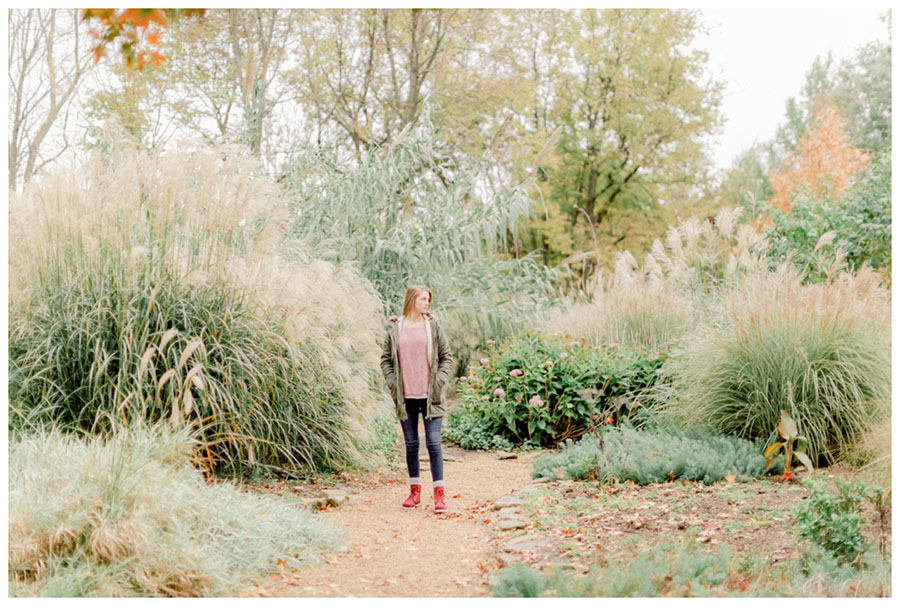
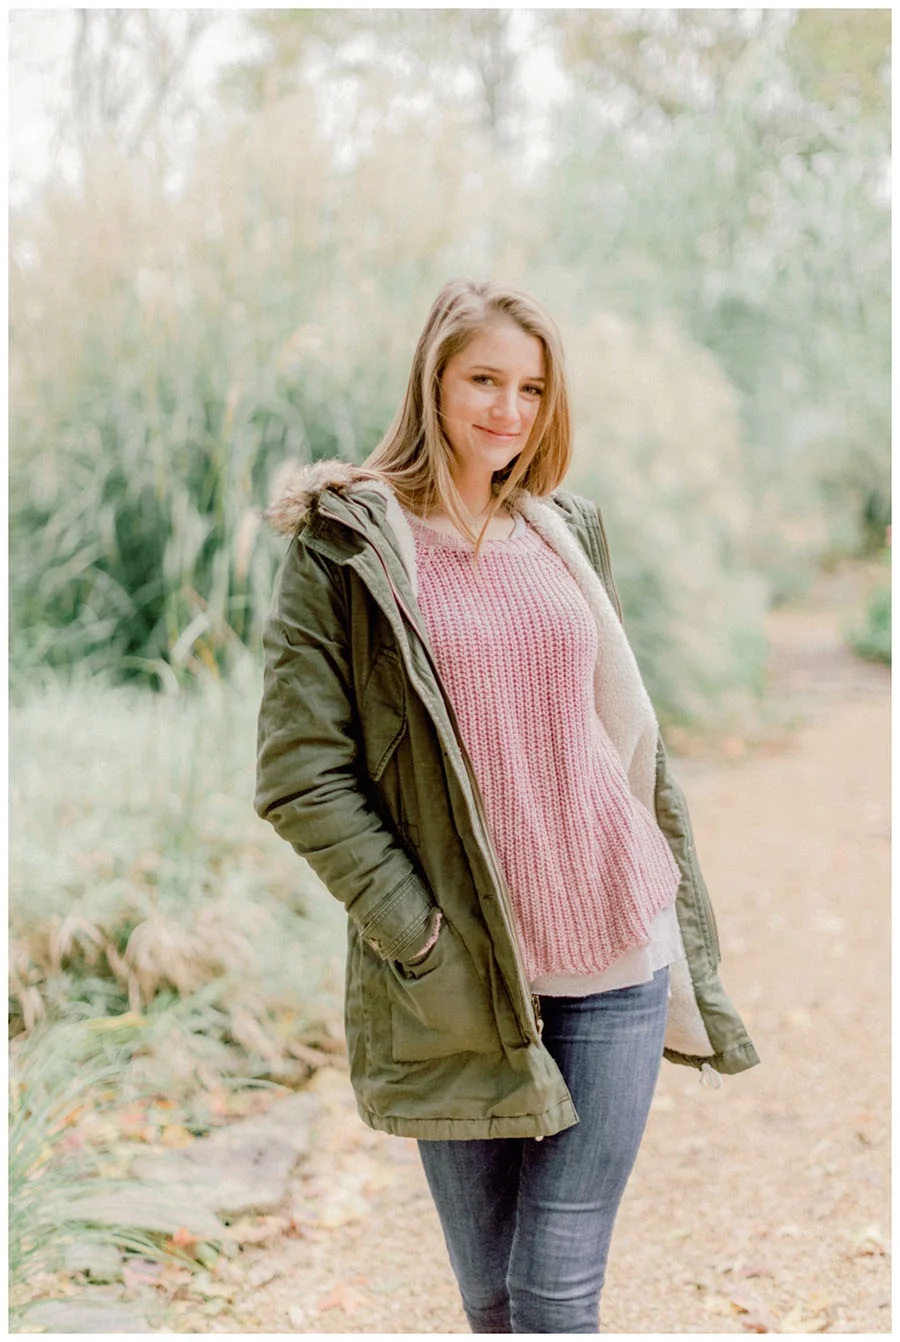
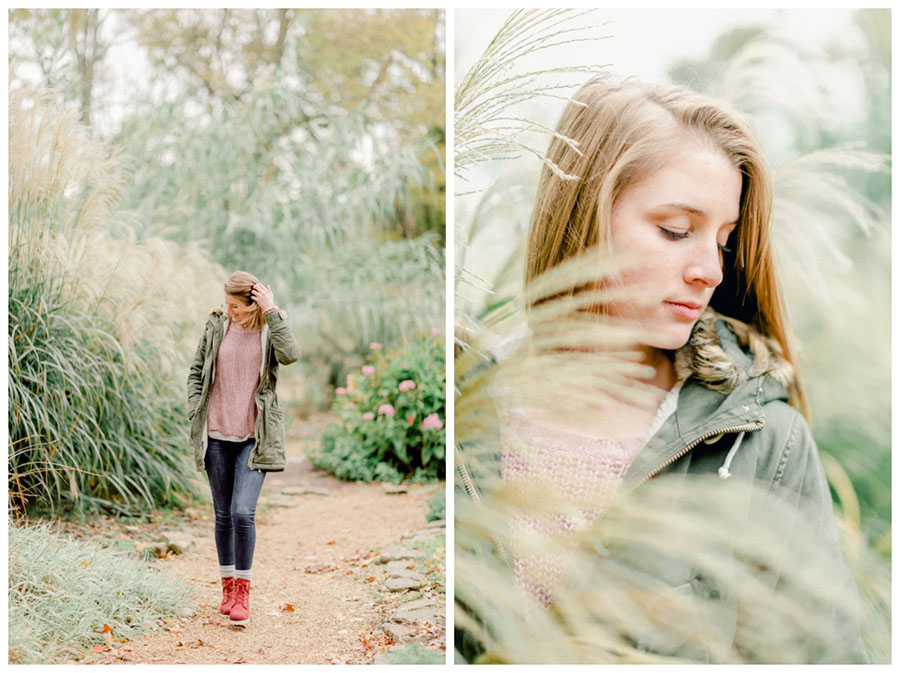
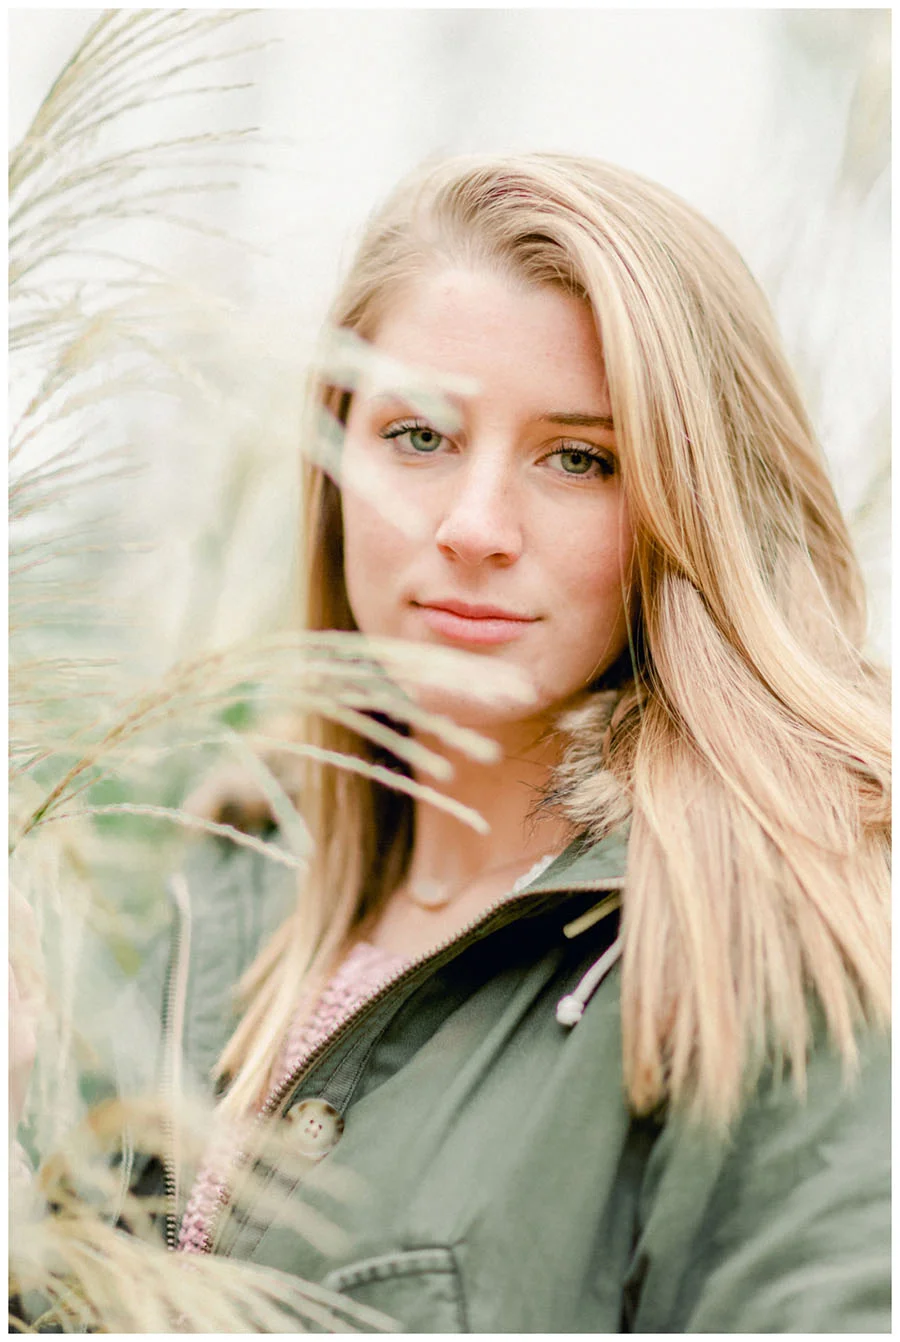
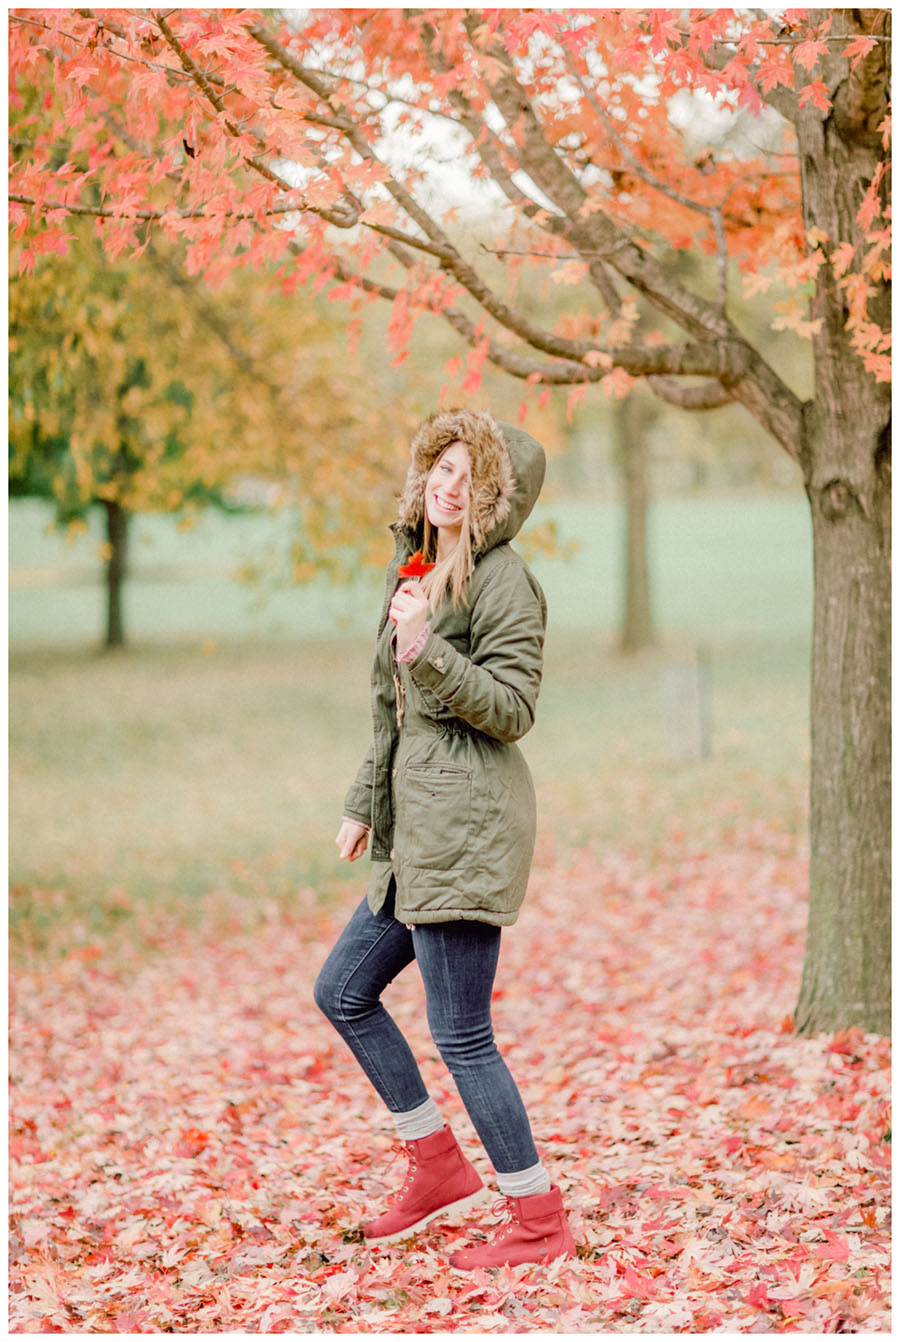
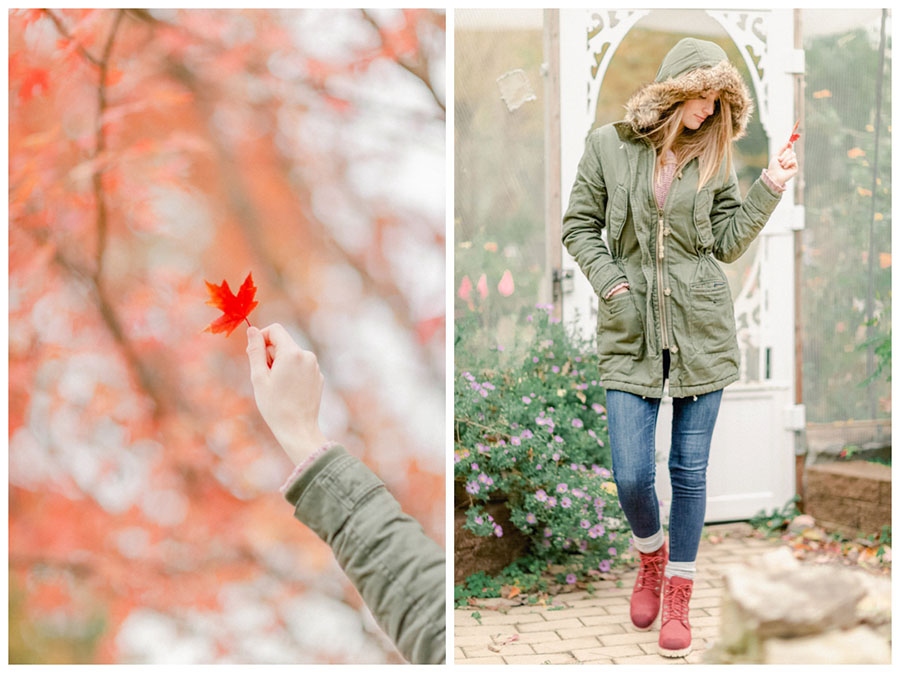
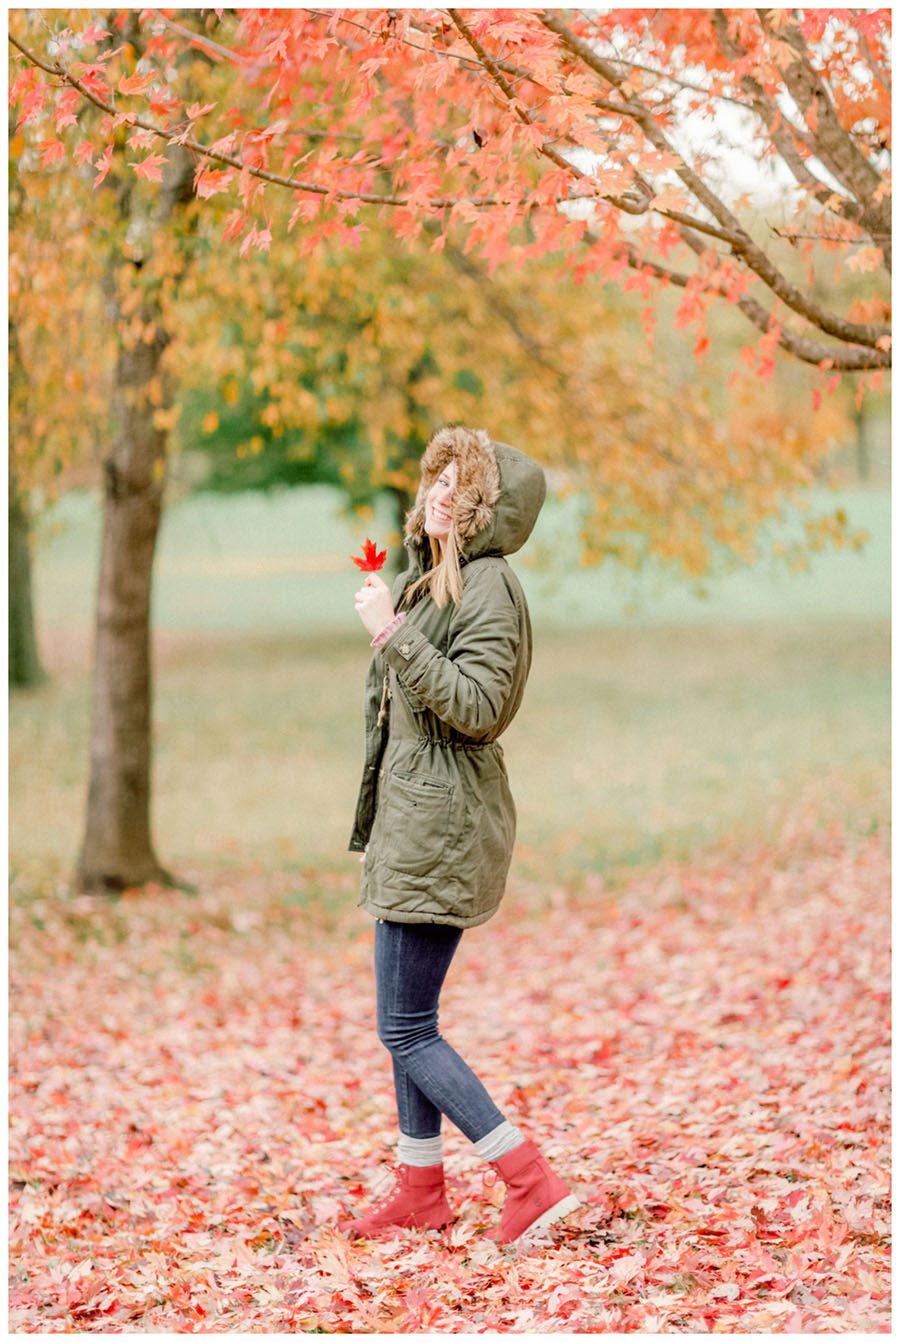
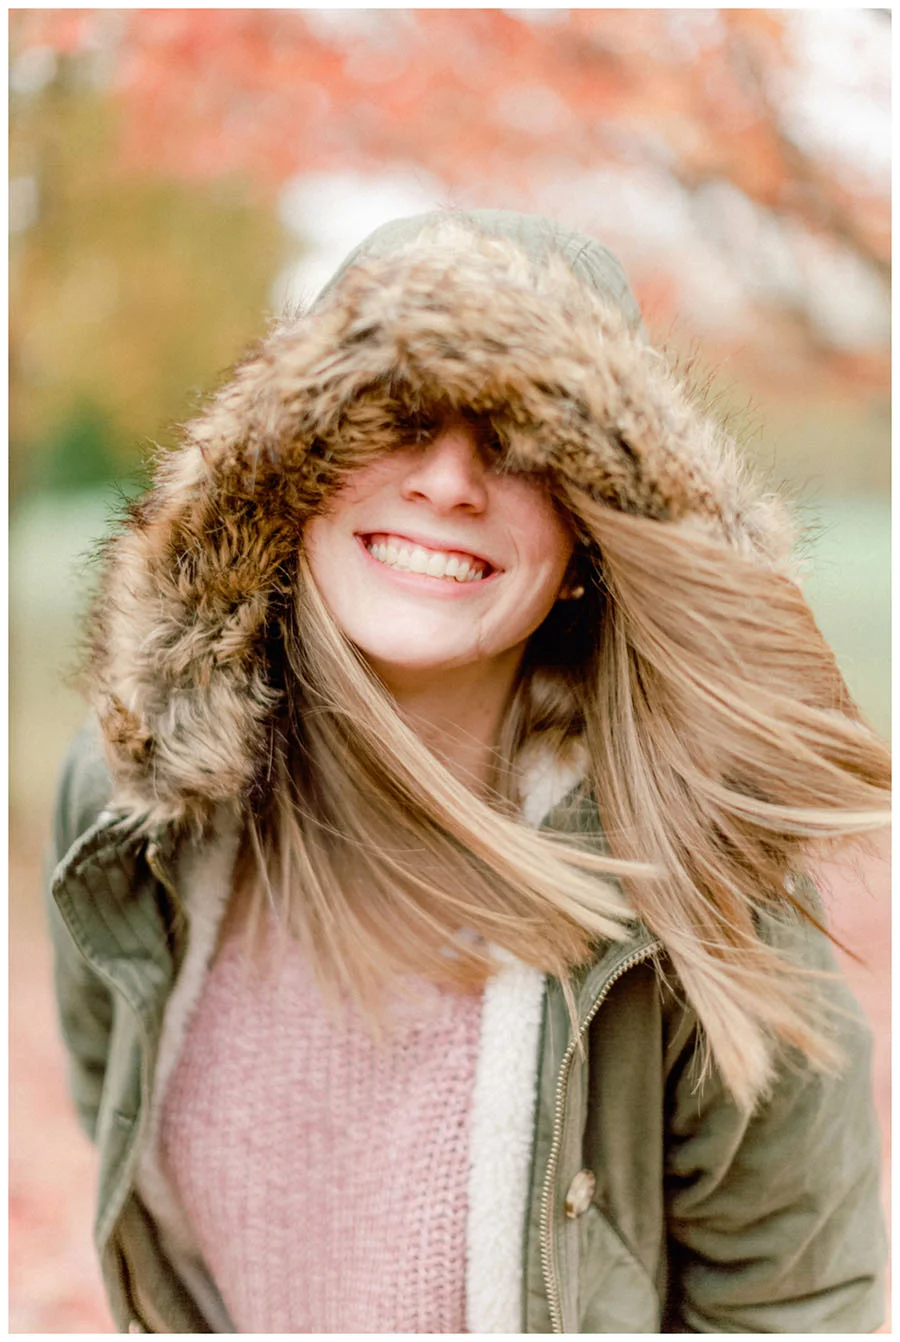
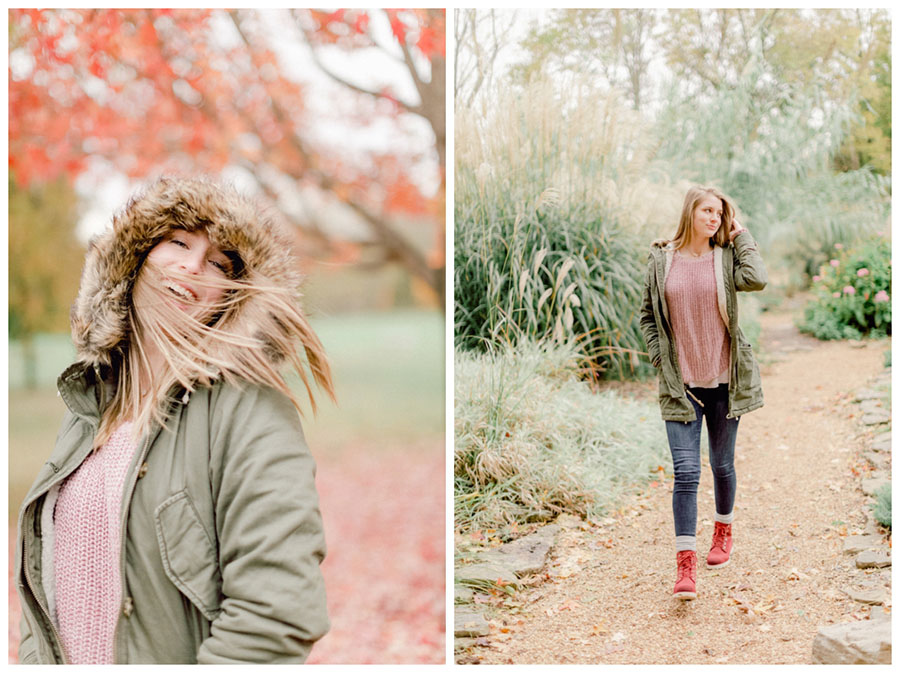
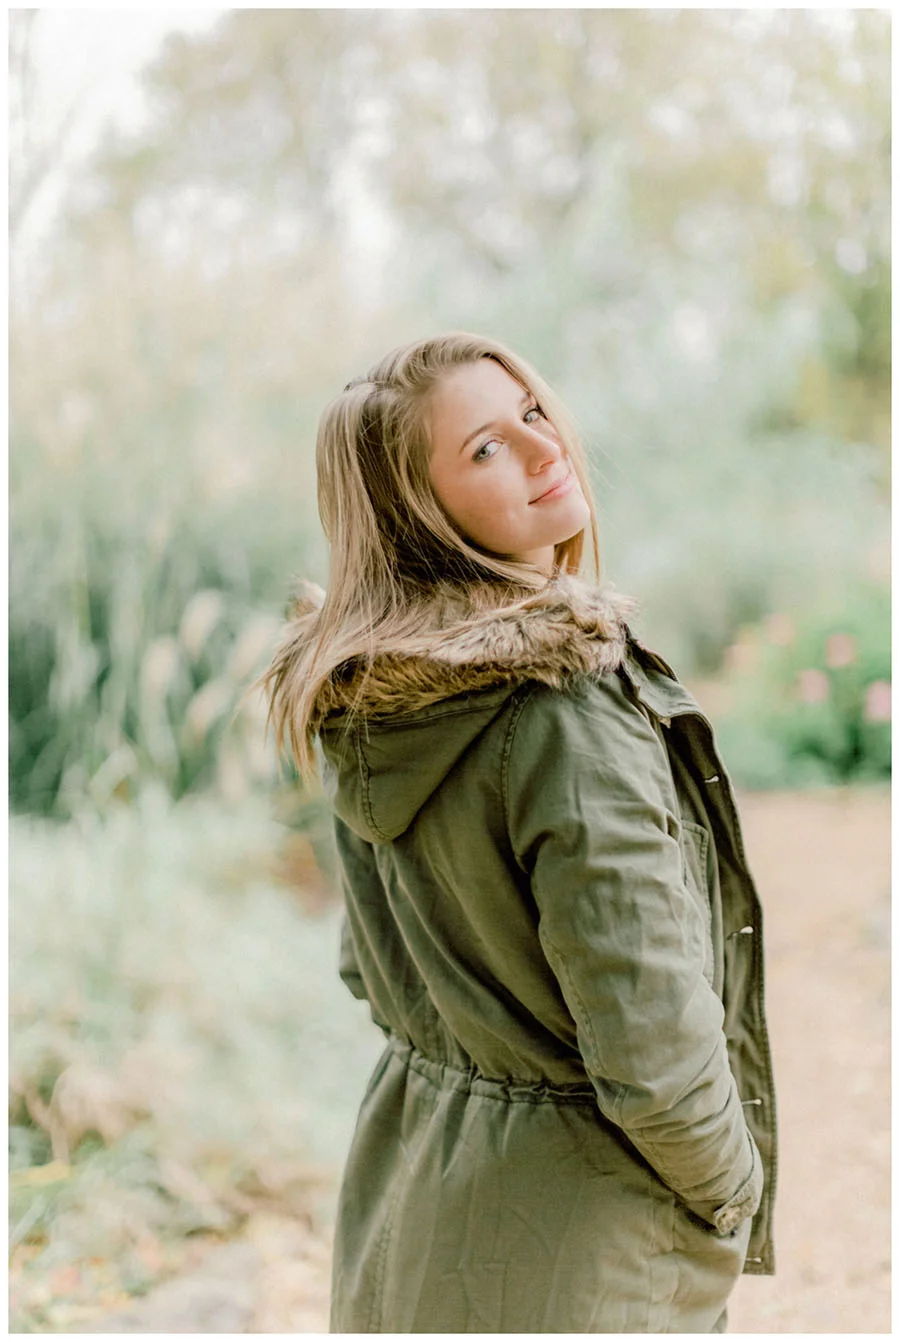
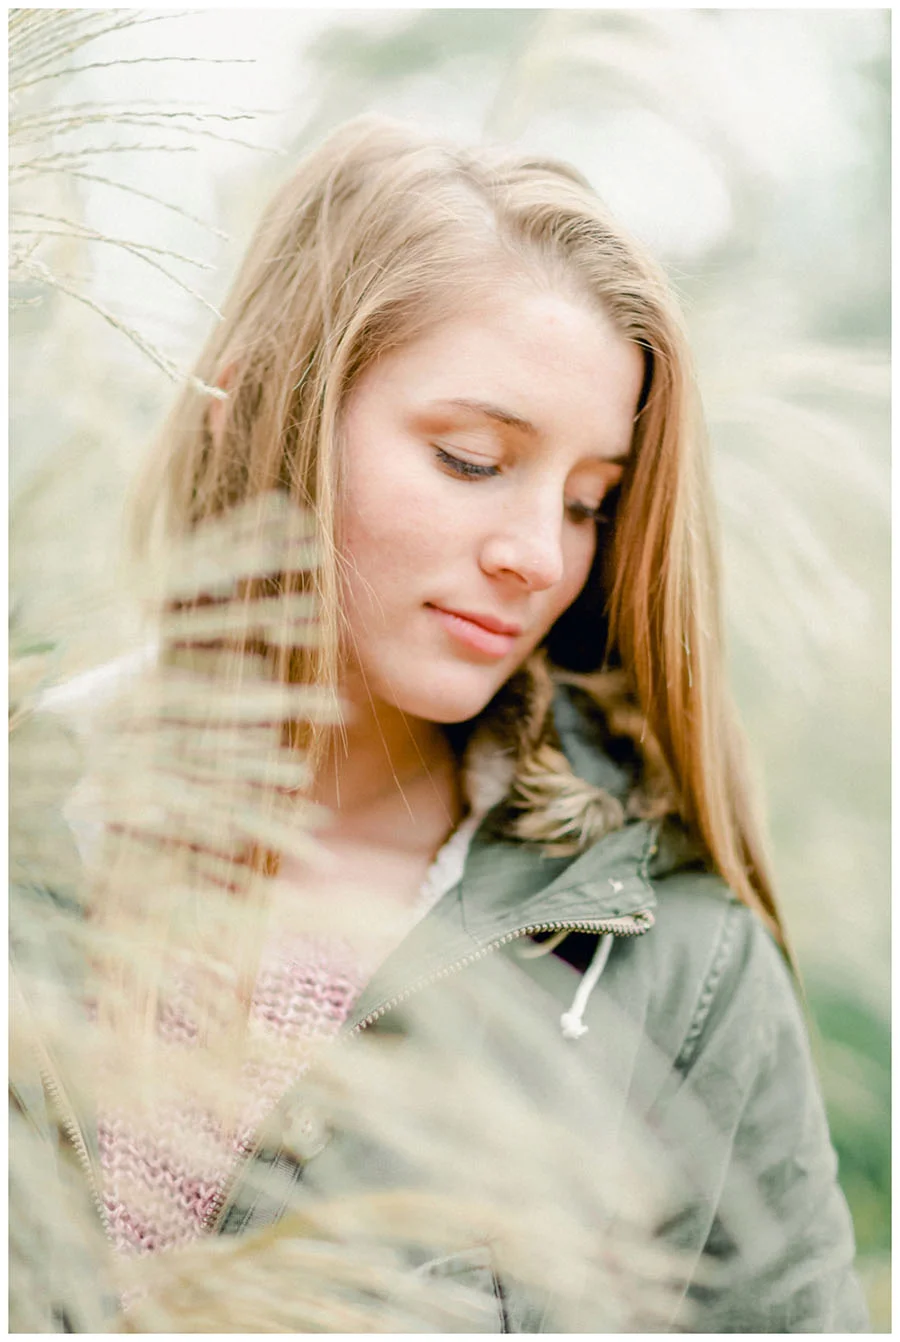
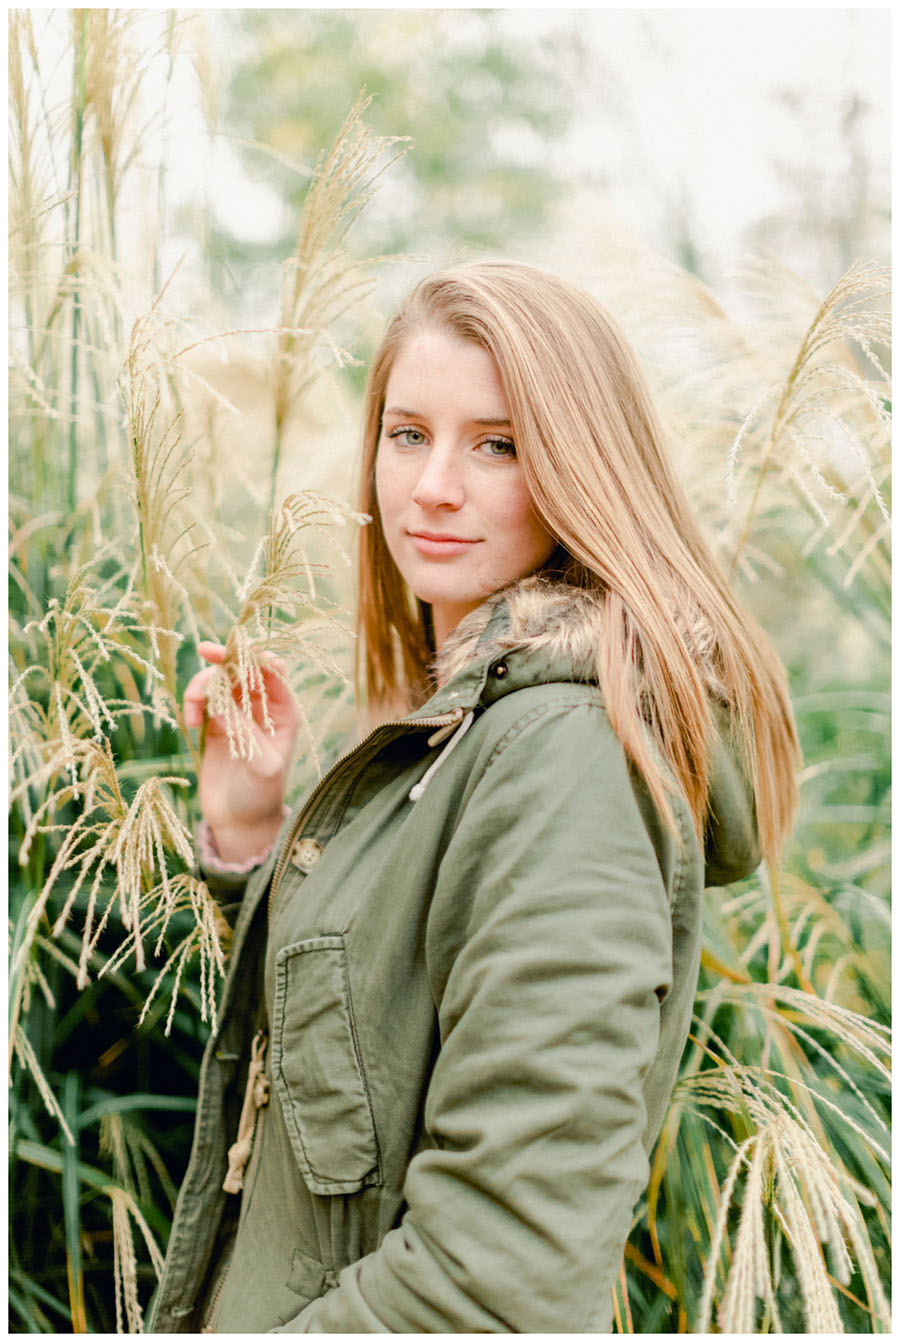
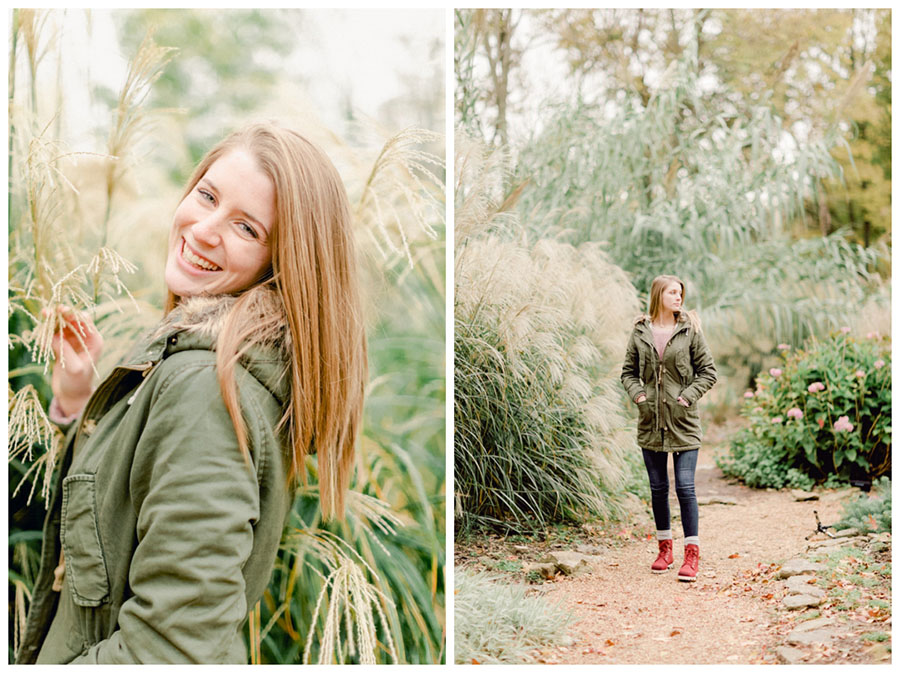
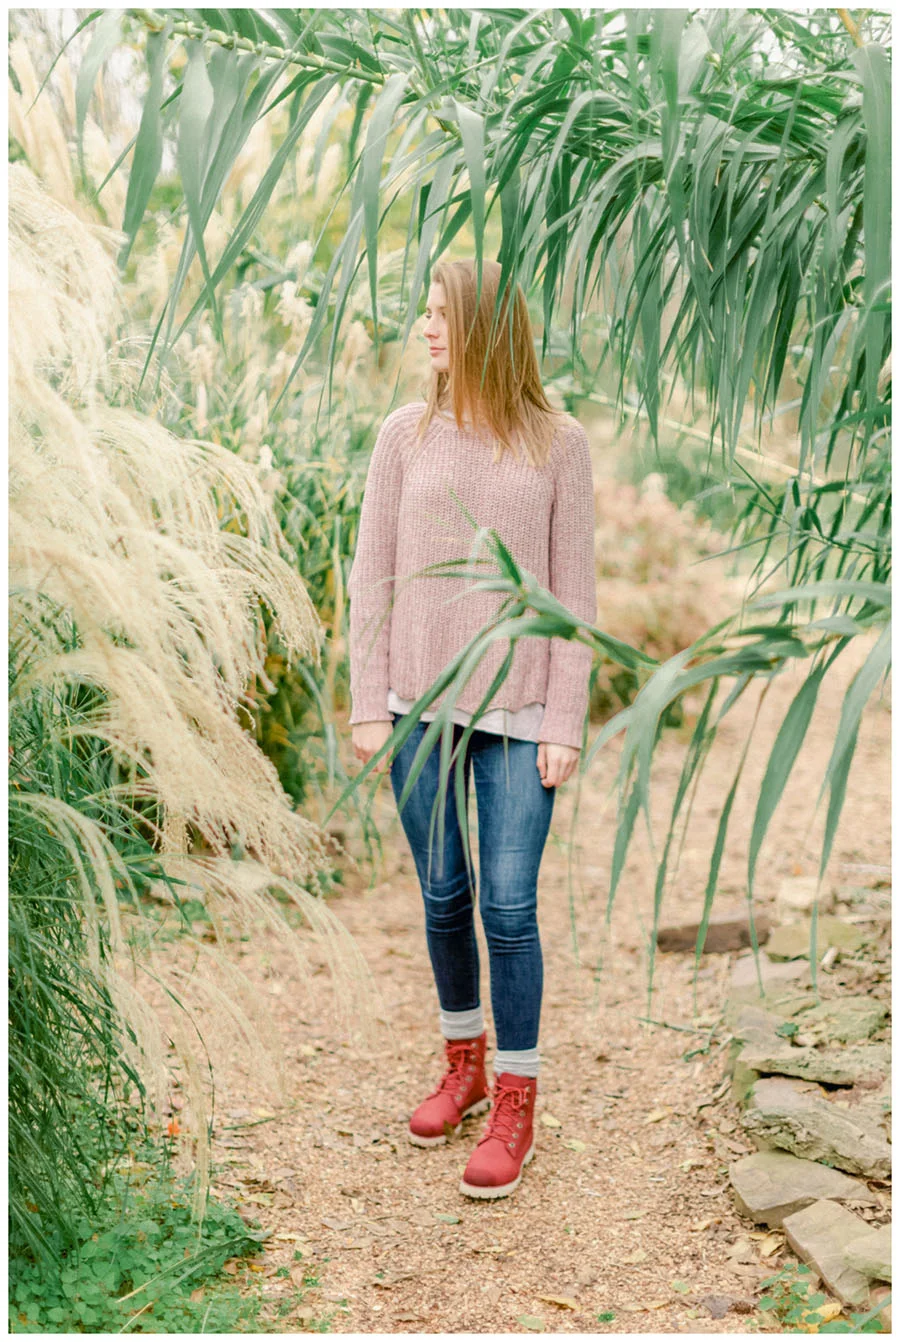
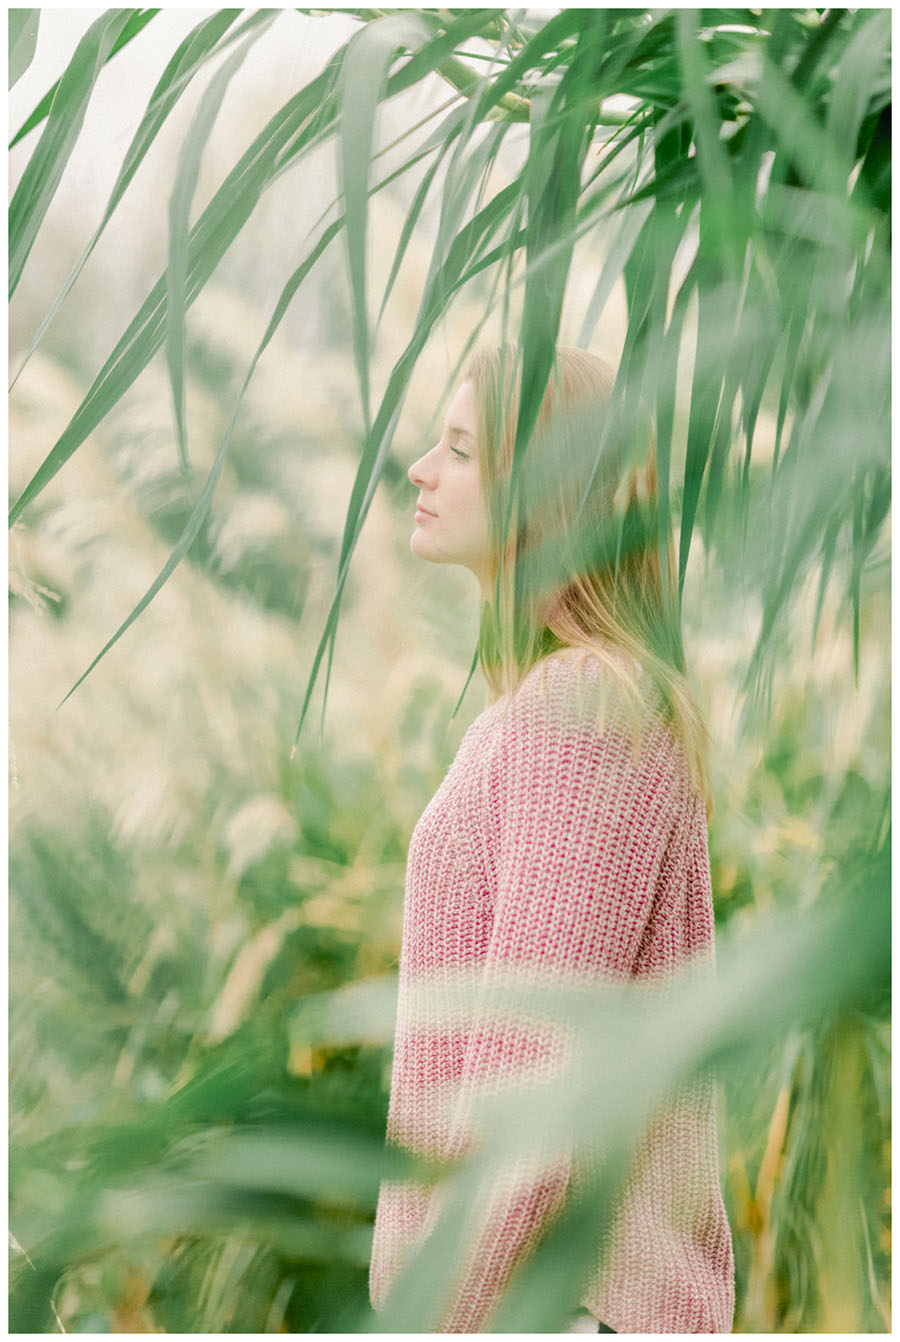
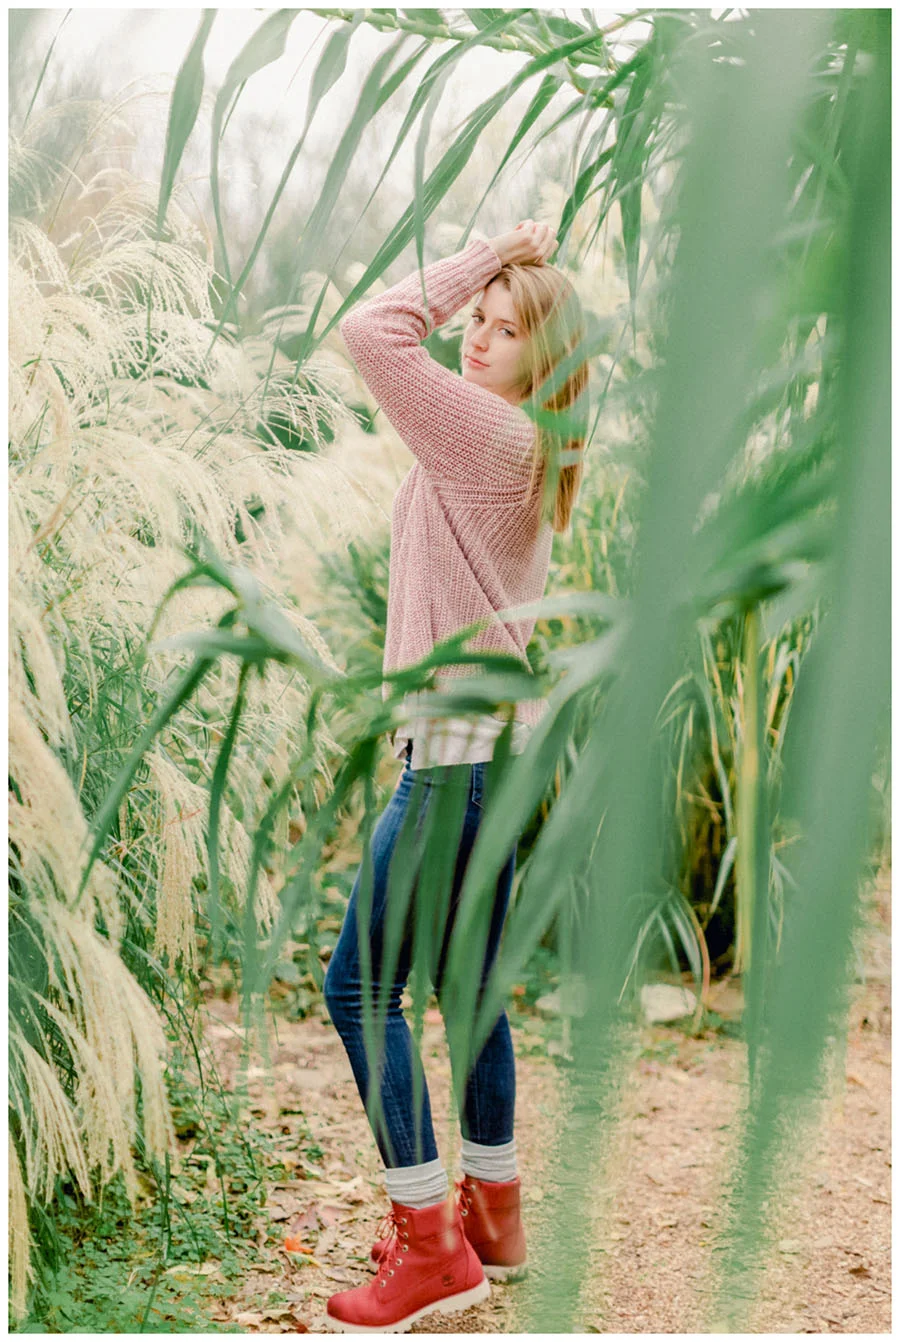
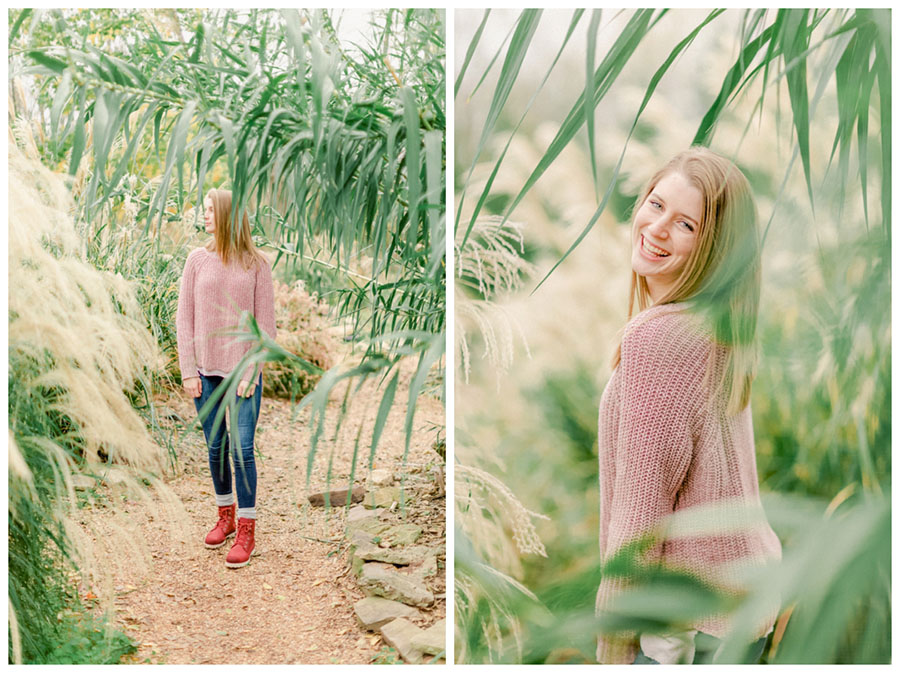
Are you ready for the overcast, cloudy day final edits?!
As promised, I’m laying out the images in this blog post exactly like I would if I was marketing these pics in a blog post.
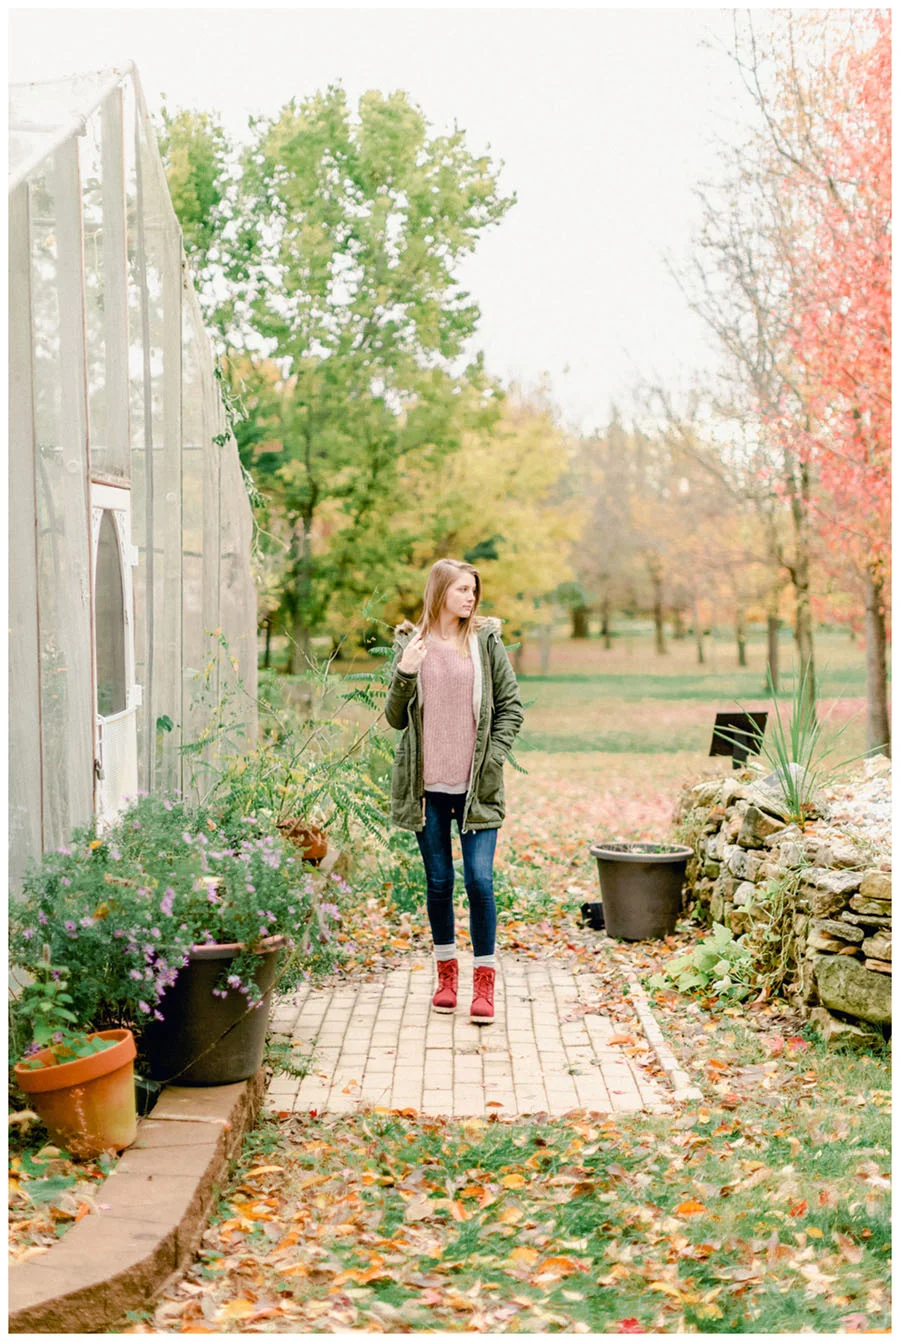
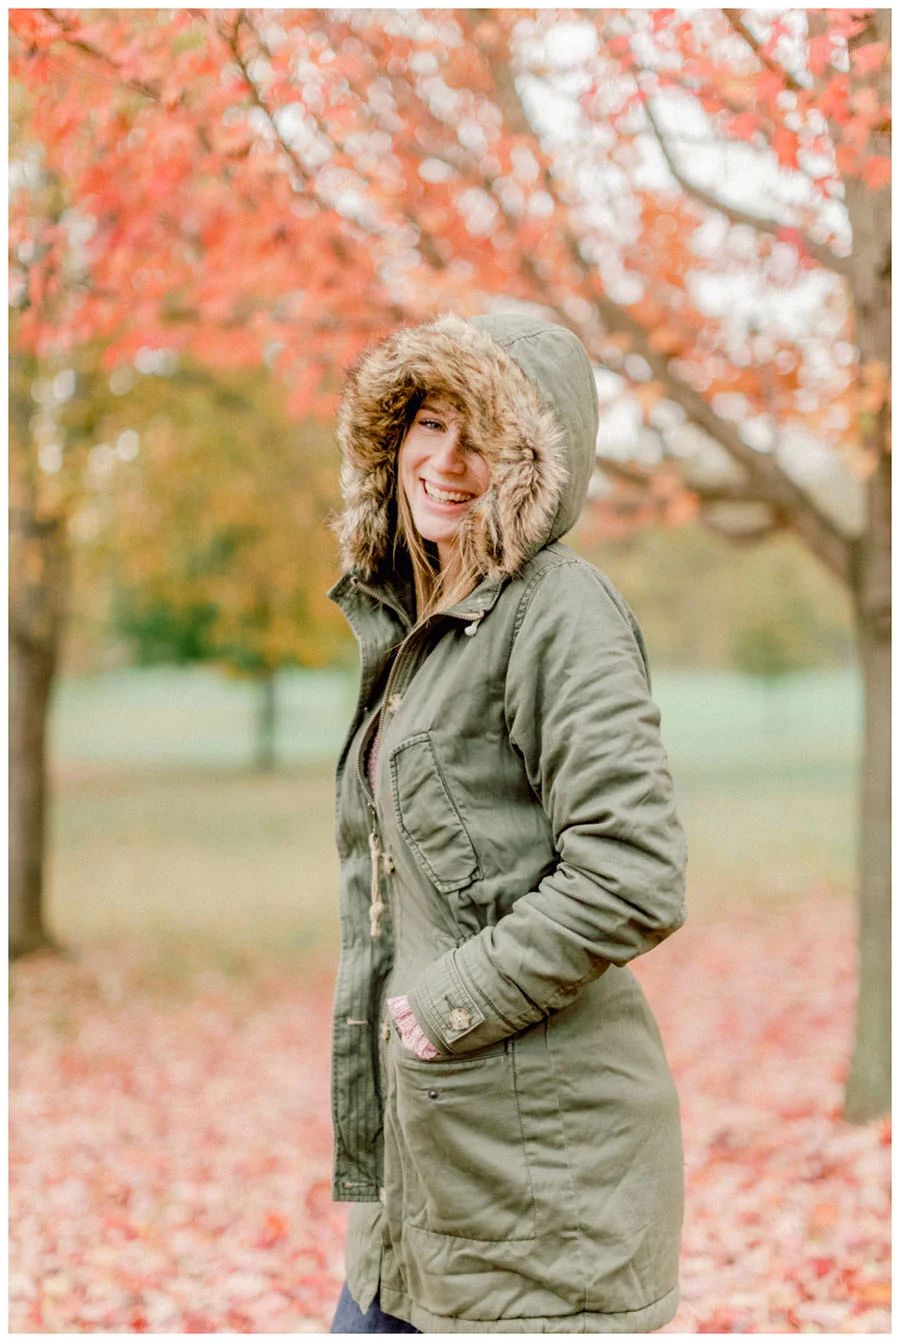
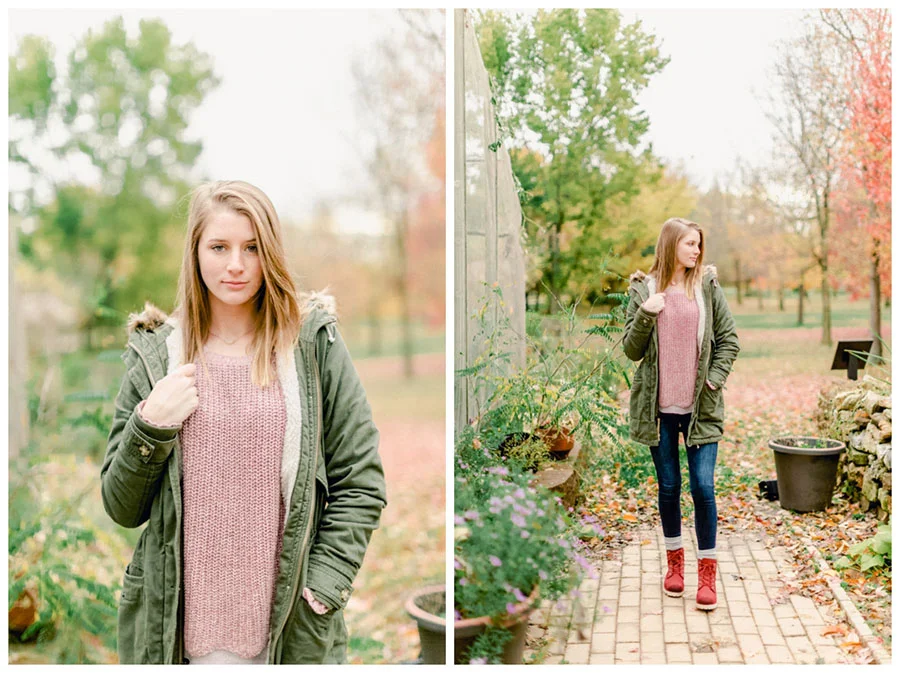
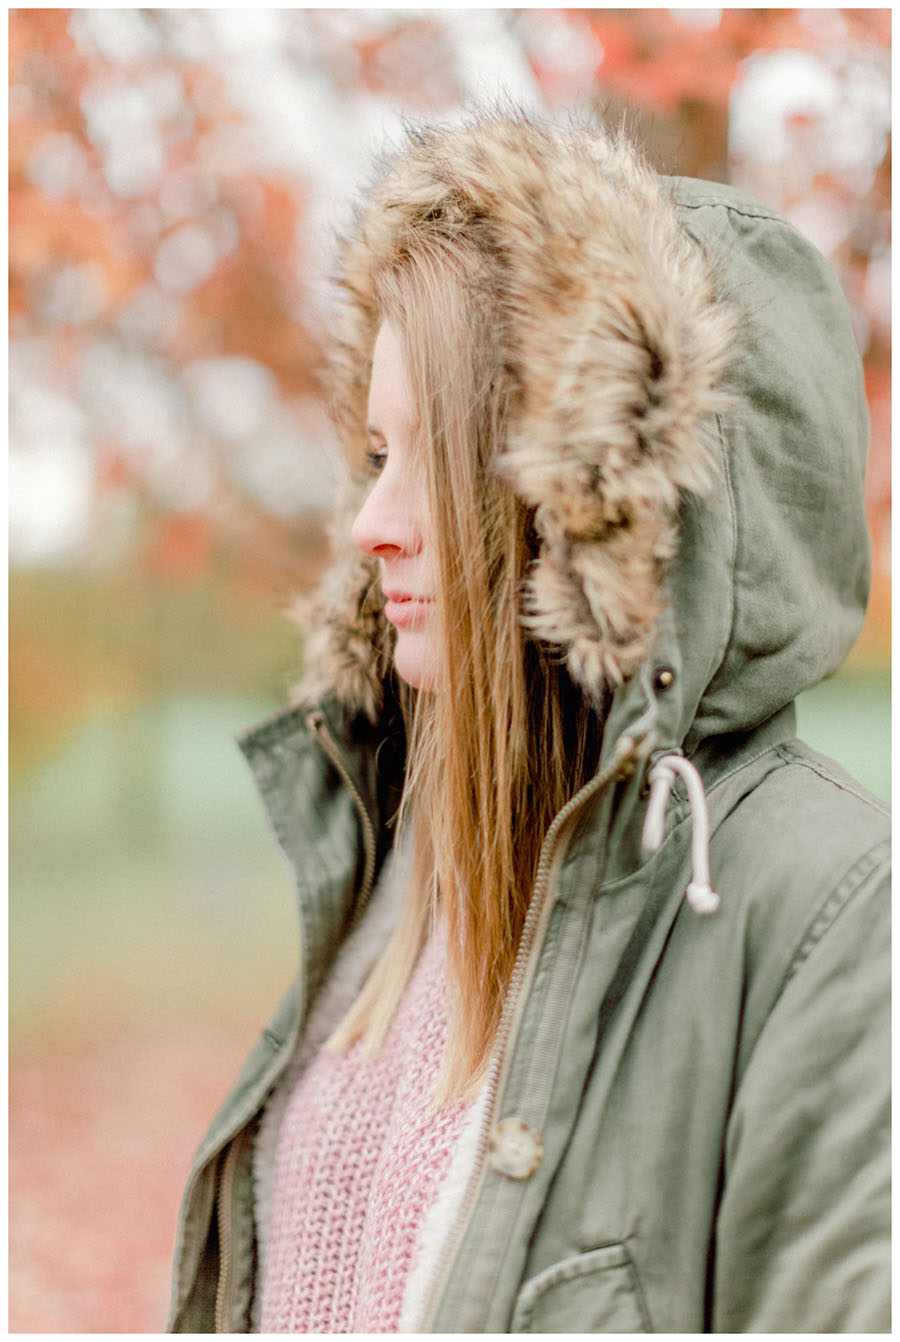
Light and airy cloudy day photography
When you’re laying out a blog post to market your work, you want to “hook” your reader with an image that will make them curious. Don’t put your best image up first (in fact, I’d save that for last). Don’t forget to write a little bit about your session, use some of the SEO tips we’ve chatted about.
And definitely always blog your work.
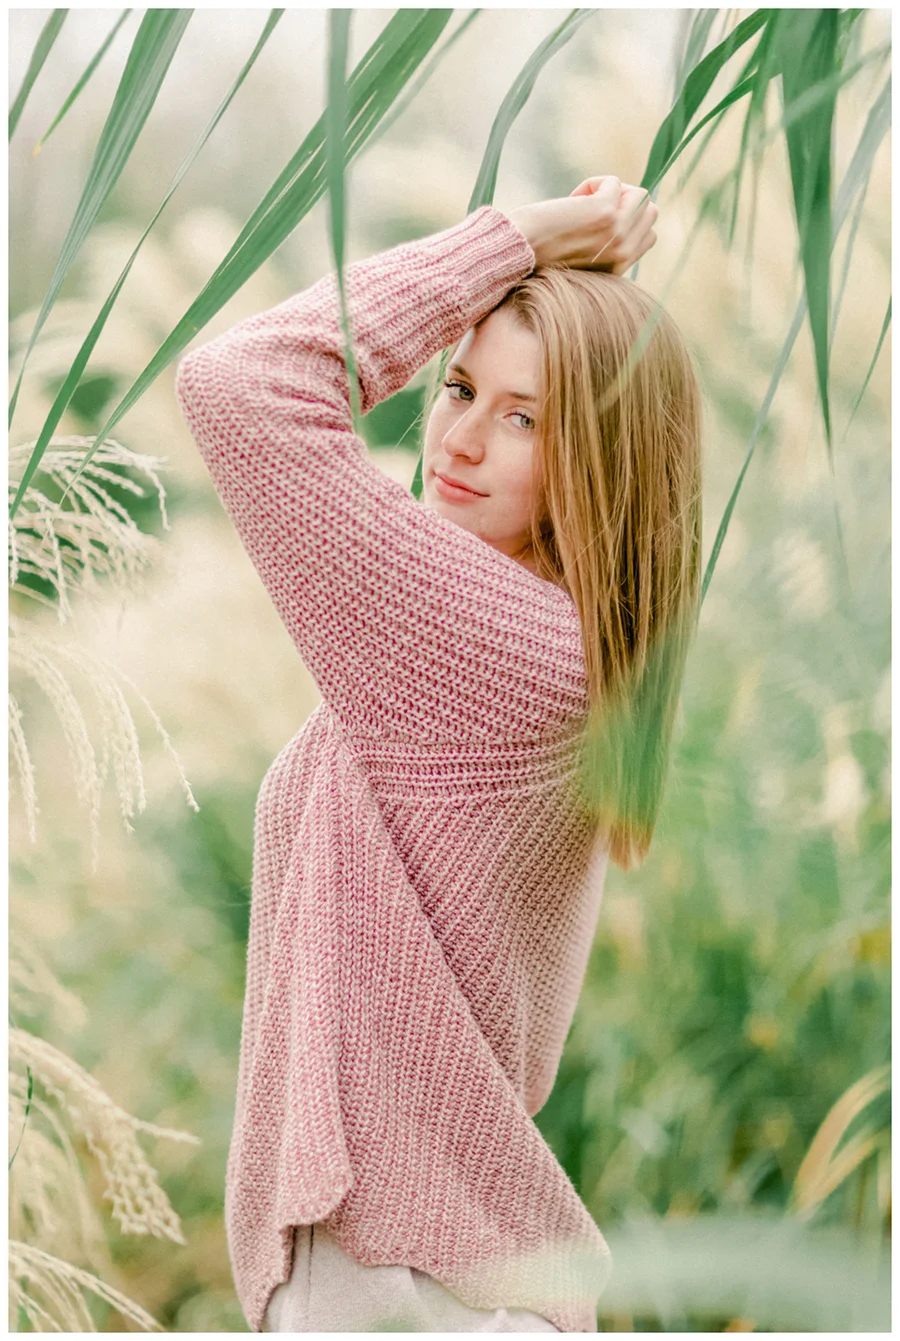
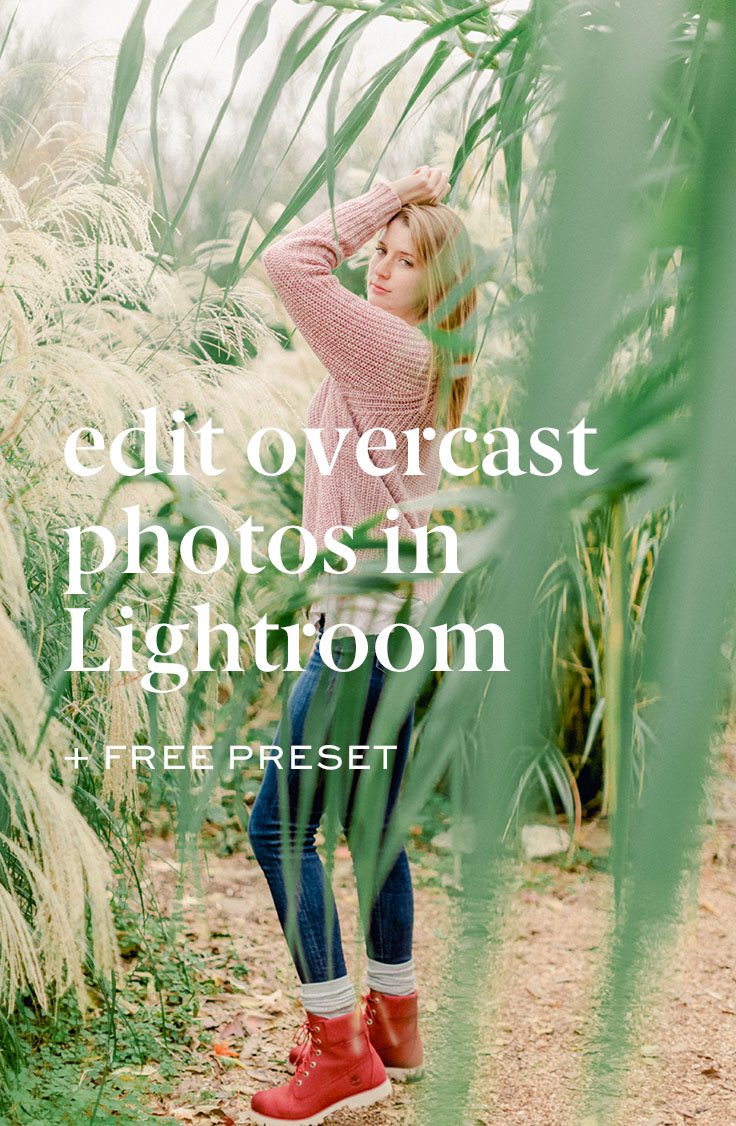
Love pinterest?
You and me both! Pin this image and come back anytime you have an overcast editing session ahead of you.
Oh! I’ve been curious what you’d say about this (asked this in the vid for today’s post, too) — what is your favorite way to edit? Are you a laptop-all-the-way kind of entrepreneur? Or are you more of a old school desktop computer user?
I like both, but definitely loved editing these while watching the snow come down in my car!


