Plan a light and airy Instagram feed (part 1)
You sit down to finally plan out that Instagram feed because you’ve heard it just might change your life to schedule your insta posts in advance.
And you? Well, right now you’ve got the “Art Director” hat on and you’ve got to visually lay out your photos in a way that supports your brand message.
Curled up in the coziest blanket with a warm cup of tea just dragging around photos and trying to nail that light and airy instagram feed. And you might just get a tiny bit frustrated trying to keep your brand colors, brand messaging, photos, and all the bright and airy things on point while planning your feed.
A formula wouldn’t hurt.
Related: Flat lay photography tips + free marketing images
And when it comes to formulas, I’m your girl. So I’ve got a formula today for laying out your airy instagram feed and I’m bound and determined to keep it simple and save you tons of time.
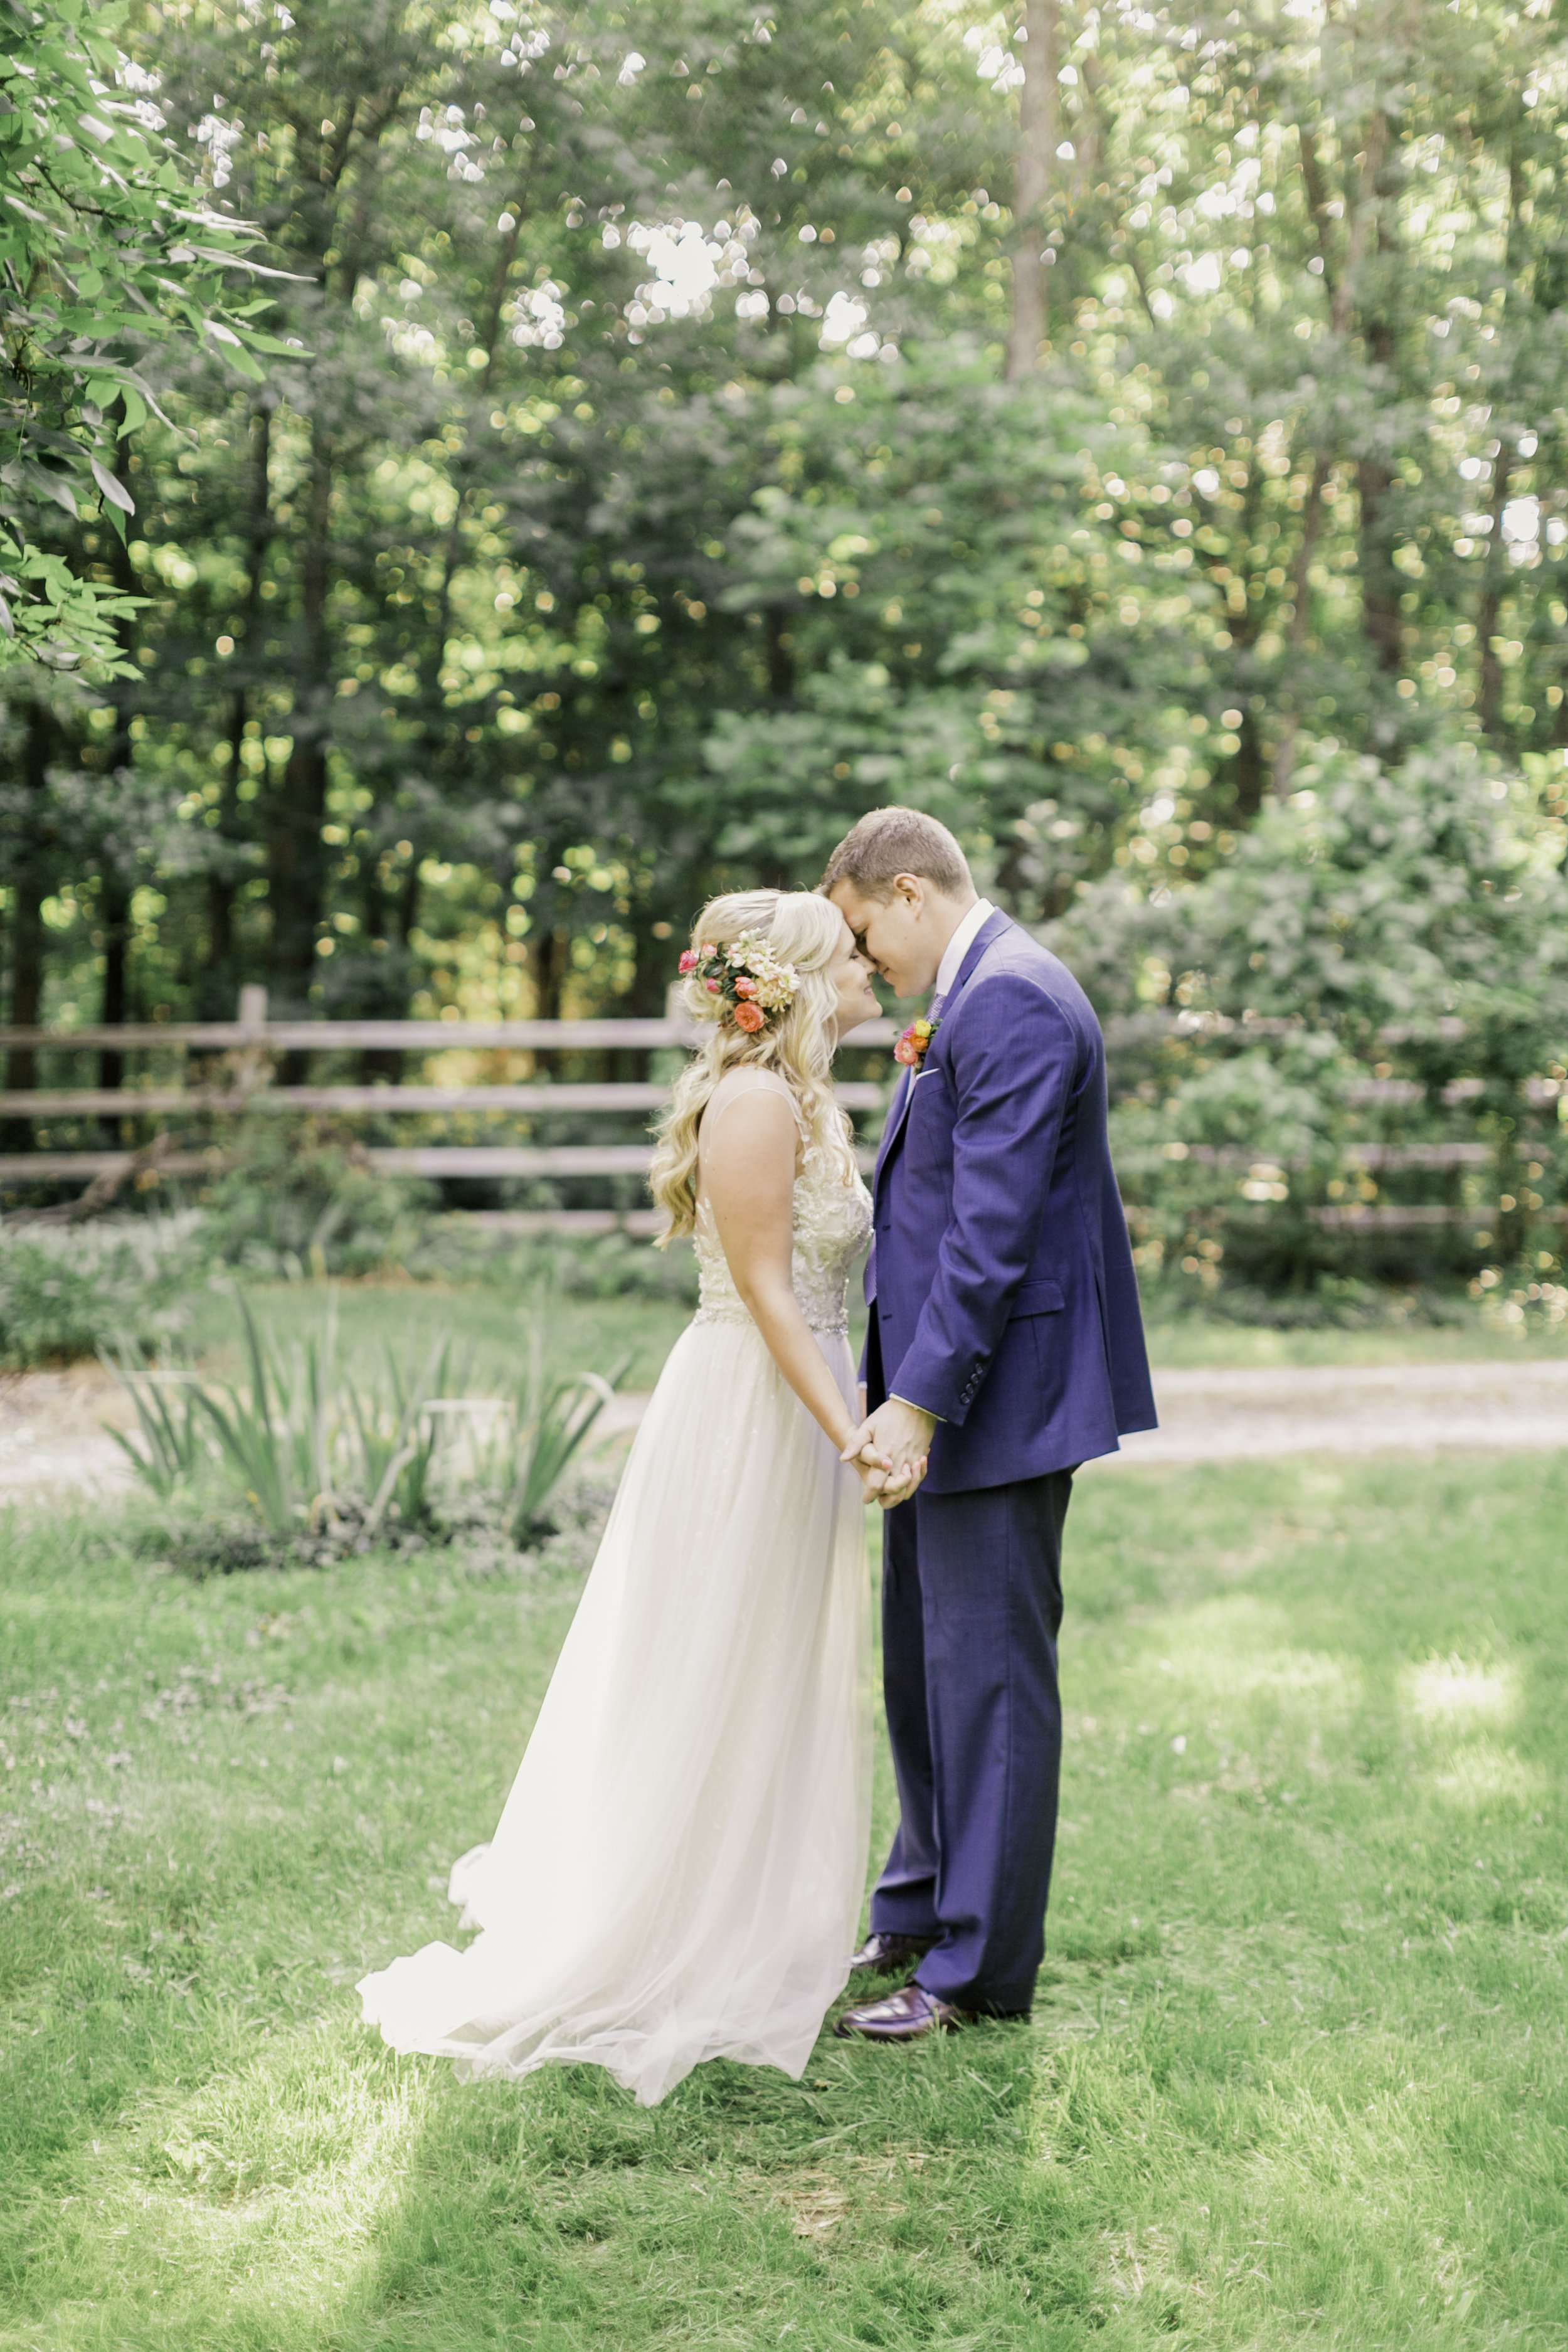

Light and Airy Photo Recipe
Edited with the Brittley Preset Suite
1. Schedule an inspiration shoot for the summer
2. Drink lemonade and jam to your fave music while you shoot
3. Apply the Brittley Portra preset
4. Drink more lemonade
How to plan your Light & Airy Instagram feed
Part One - You know, because I can’t stop talking about all the light and airy things.
I want you to feel inspired while you’re laying out your feed. Not that you need to feel inspired to create something inspiring. But you and I? We kinda love being inspired and if there’s a way to keep a weekly task inspiring, we’re all about it.
I laid out the entire BPS Instagram feed before I went on maternity leave and I want to show you exactly how I did that and the branding aspects I was thinking about while laying it all out.
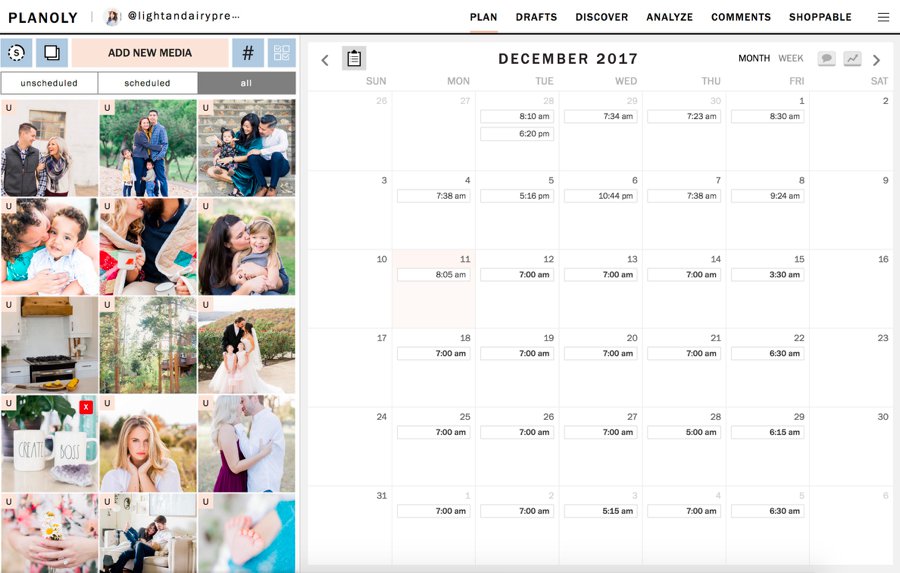
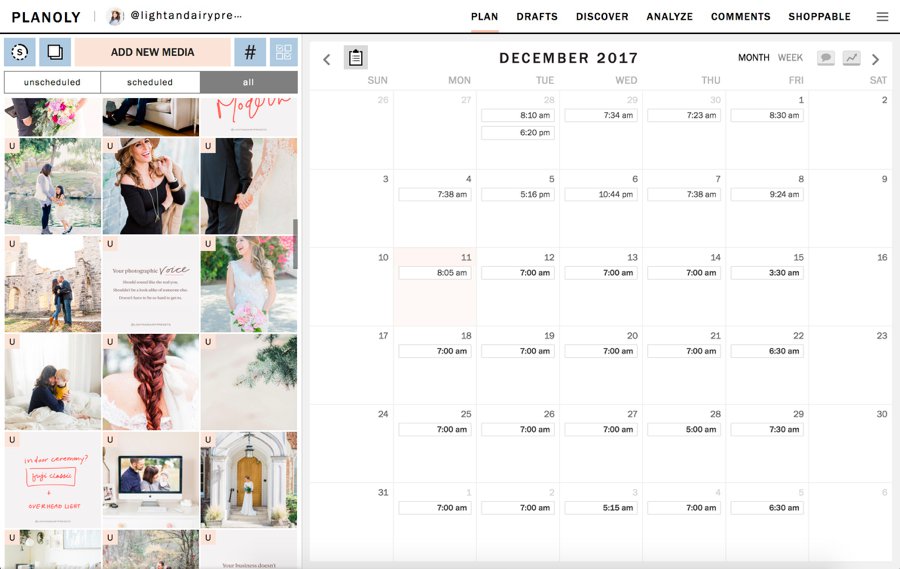
Step 1. Use Planoly to lay out and schedule your posts
Planoly is a paid app, but I love that I’m able to upload as many photos as I want and drag images around until I get the exact look I want.
We have two accounts: @jordanbrittley and @brittleypresets and @brittleymobilepresets. I only plan out the feed with Planoly with the first 2 and just wing it with the mobile presets.
Related Post
85mm vs 50mm with unedited photos
Step 2. Drag all of the images you want to use into your dashboard
Keep those photos organized in an online gallery so you can easily download them and bring them into your Planoly dashboard. By keeping each shoot in an online gallery, you’ll be able to access your photos whether you’re laying out content from your phone, iPad, or computer.
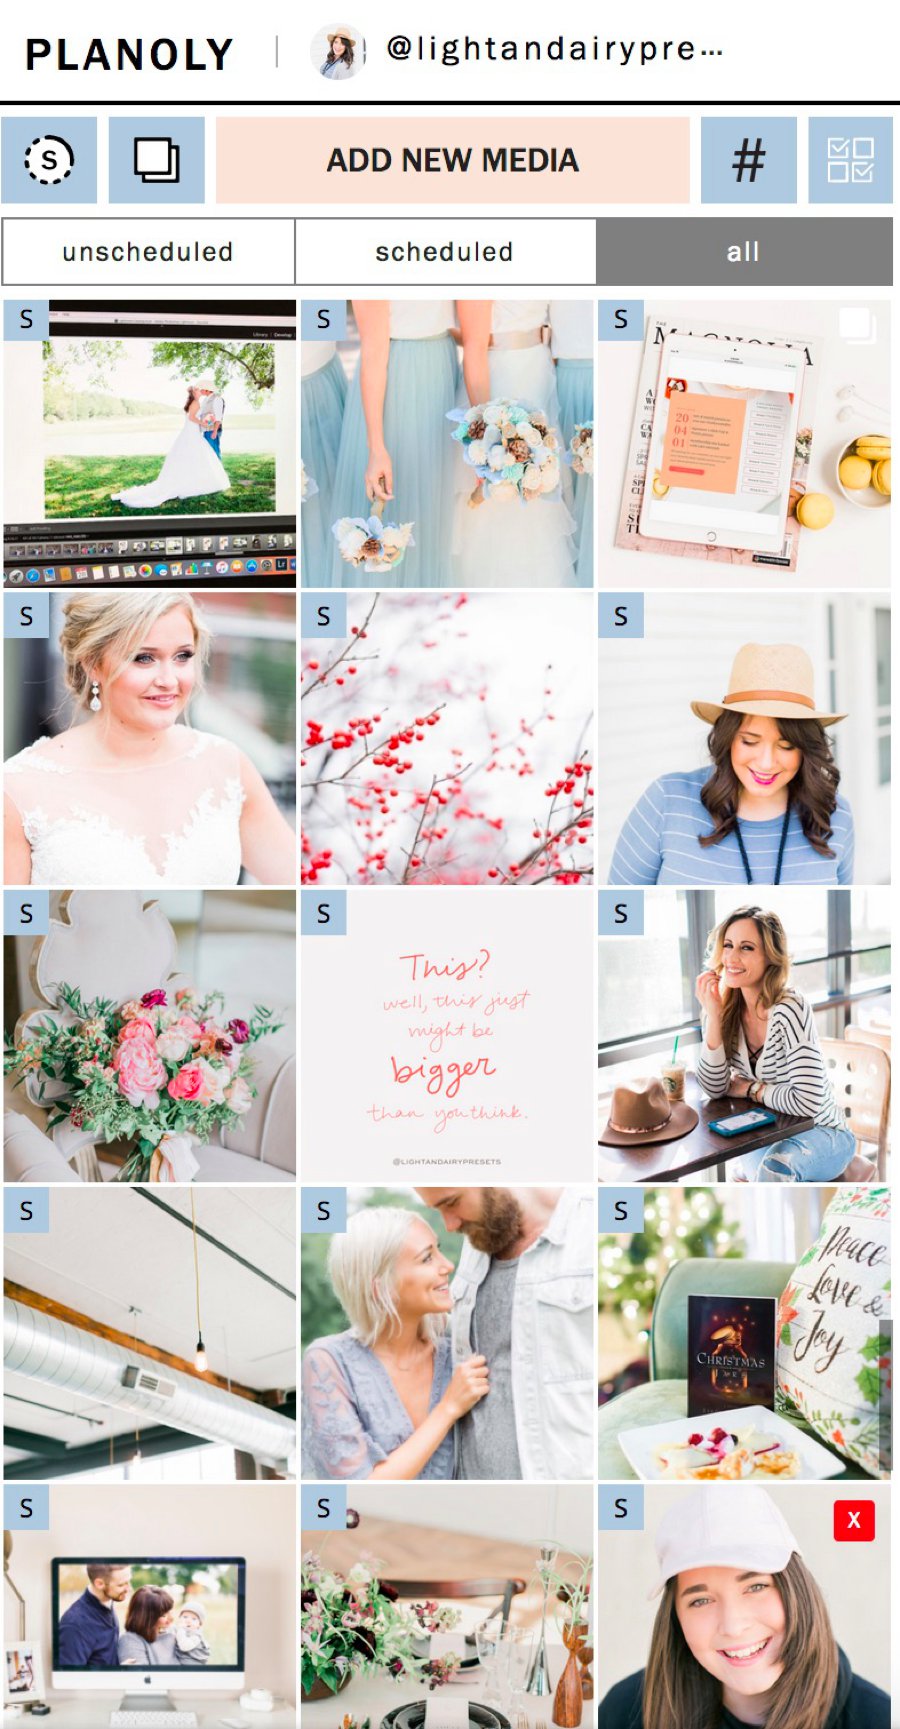
When you first bring all of your images into Planoly, it might look a little like the first image. But don't worry — we're going to get you to a bright & airy feed which is what you see in that second image...
When you’re selecting images, get particular about the colors you’re including and how the image makes you feel. If your brand is about keeping things upbeat and fun, stay away from images that feel romantic. And if your brand is about keeping things romantic and serene, then stay away from photos of someone blowing up a piece of bubble gum.
Bubble gum? I know. But apparently when I think of upbeat and fun, I think of bright pink bubble gum in front of a multi-colored confetti wall. I don’t know where these things come from, but you’d think I spent my last career planning birthday parties for kids and not shooting the most darling and romantic weddings. Let’s call it… creativity. Ha!
Step 3. Know how to add spur-of-the-moment photos
Sometimes you’ve got your feed laid out and you decide there’s something else you want to share. Maybe it’s an image of your latest adventure or a few words that need to go out into the world right now.
Lacey asks...

Adding Photos to a Planned Feed
How do you make it look consistent even if you add more posts in after you've planned your feed? ALL the things! Teach me.
@laceyrene.studios
I love this question because I’ve found myself in the same situation — I’ve got a scheduled post and I really want to share what just happened or what I was just thinking about.
Totally get it.
When I want to post something spur-of-the-moment, I ask myself if it’s really something that needs to be shared right now. Will it carry just as much weight if I wait until next week? If it’s really time sensitive and needs to be shared asap, I can swap it out for a photo that’s already scheduled (and not time-sensitive).
Like when you need to add just one more photo from your most recent wedding to drive traffic to your blog post or just finish telling the story. I just swap out that wedding photo by scheduling it for the same day as the photo that’s getting the bump. Then I can unschedule the photo that’s getting bumped and work it into the feed at a later time.
Related Post
Should You Post Vertical, Horizontal or Square Images on Instagram?
Insider tip: I don’t worry about posting every day on @jordanbrittley right now because I see the biggest impact being made in my insta stories. So I don’t schedule more than a week in advance (if that). The downside of not having anything scheduled is that I can miss post because I’m not getting a notification from Planoly that it’s time to post.
This is me sharing my “unfinished office space” with you. You know, the office space you know you should be sharing on Instagram but you let your perfectionist tendencies keep you from sharing? (By the way… it’s time to share the unfinished office space!) Ideally, I’d be posting every day, but it isn’t something that’s at the top of my radar right now. Blog posts like this are at the top of my radar because they’re the best way to take my wordy tendencies and help creative entrepreneurs.
With the @brittleypresets account, we can plan much further out because it has such a specific focus: light + airy photo and editing tips for creative entrepreneurs. We share two photo tips each week, a piece of content from a blog post, and two encouraging or motivational posts.

Step 4. Using photos you didn’t create
If you want to use photos that other people have taken, you’ll want to ask permission first. If you share a photo without permission, you run the risk of the photographer billing you for using their image to promote your business. That means that you’re looking at commercial pricing, so just do your due diligence and always ask before you share.
If you’re sharing one of those cutesy quotes with the darling hand-lettering, make sure you look up the artist and credit them in the caption. It’s really not enough to just tag them in the photo and call it good. And it’s definitely not cool to repost it and leave no credit simply because that’s how you found it. If it’s not worth finding the artist that created the image so you can credit them, then I’d say it’s not worth posting.
Always ask before you share and don’t be afraid to learn to shoot your own images for your brand. Photographers have to learn to design their own websites when they’re first starting, and jewelry makers learn to write copy to promote their product. Sure, one day you can outsource all of it!
Related Post
Stuck on What to Post to Instagram? Here are 8 ideas!
Step 5. Shoot your own photos for your brand
But learning to create photos for your brand that you can use on a daily basis? Well, that’s always going to come in handy.
No matter where you are in your creative journey, you can’t outsource every word you need to write, outsource everything you need designed, and you definitely can’t outsource every photo you take.
Related Post
Mastering the Light & Airy Look in-camera
And don’t worry, friend! If you know you need to get on top of your photo game, I’ve got a free guide right here that will teach you to switch your camera over to manual without all the techy lesson. Don’t know how to edit a light and airy image? I’ve got a free preset waiting for you so all you have to do is install it (I’ll show you how) and click a button to apply a light and airy base to your photo editing sesh!

Love Pinterest?
You and me both! Pin this image so you can come back to this post anytime.
Name your board "Blogging Tips" so we can find your faves!
There’s so, so much to chat about when it comes to a bright and airy instagram feed, so I’ll be back next week with part two of How to Plan Your Light and Airy Instagram feed!
Comment below and tell me — do you prefer to share user-generated content or do you use your own photos every single time?